Time-lapse
Watch the process
Four clips from the yard — load, set, mill, and finish. Follow a slab from the log on the mill to hand finishing.
Clip 01
Loading the mill
Tennessee oak swung onto the bed — every slab starts with the log finding its place.
Clip 02
Setting the character
A rough, figured log locked in — the bark and burls that become the live edge.
Clip 03
Opening the slab
Fresh faces leave the blade — clean width, open grain, live edge intact.
Clip 04
Bringing out the grain
Hand sanding the slab — making the imperfections perfect.
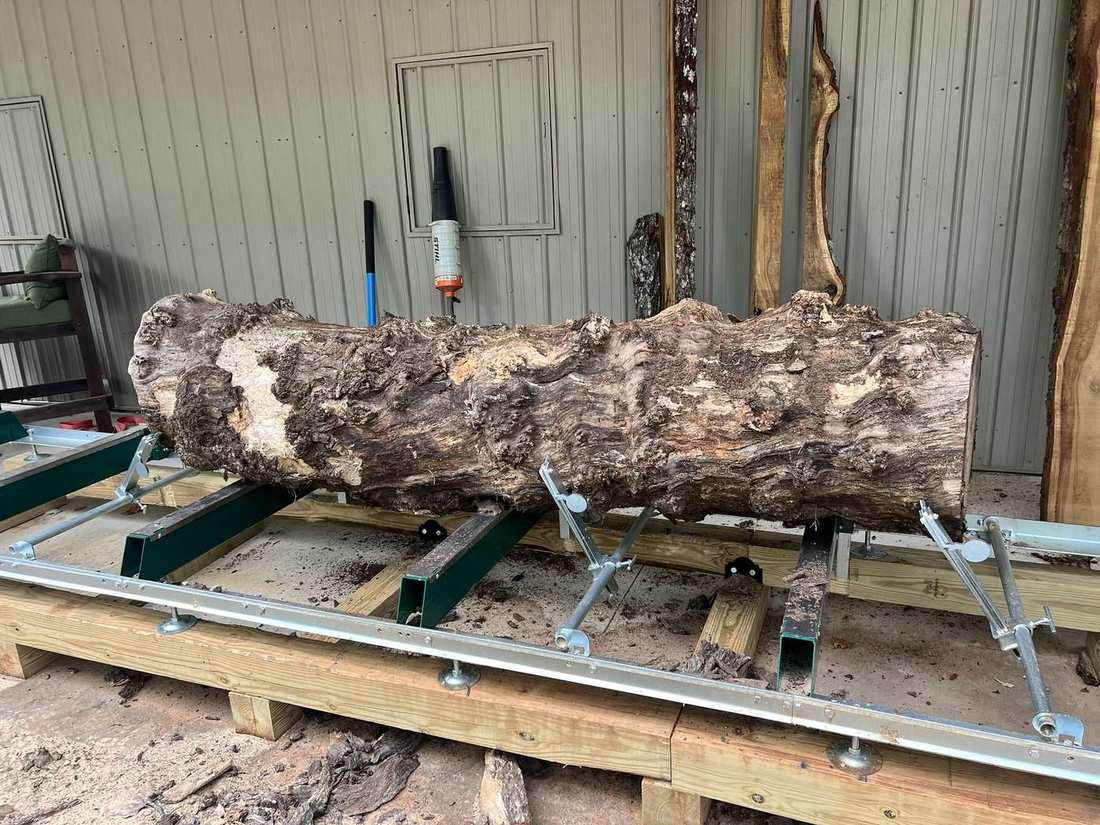
Step 01
Log on the mill
Where every slab begins — Tennessee oak set and ready for the first pass.
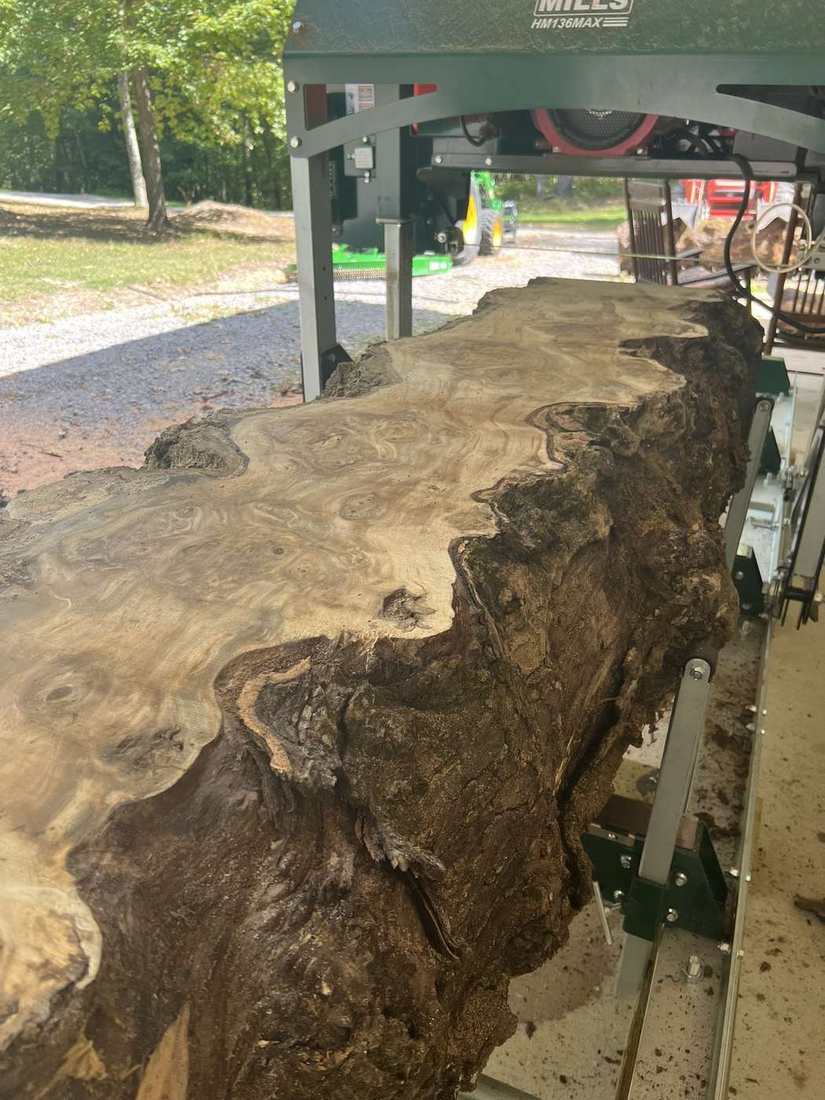
Step 02
First cut / live edge revealed
The natural edge opens — grain, character, and the story of the tree come into view.
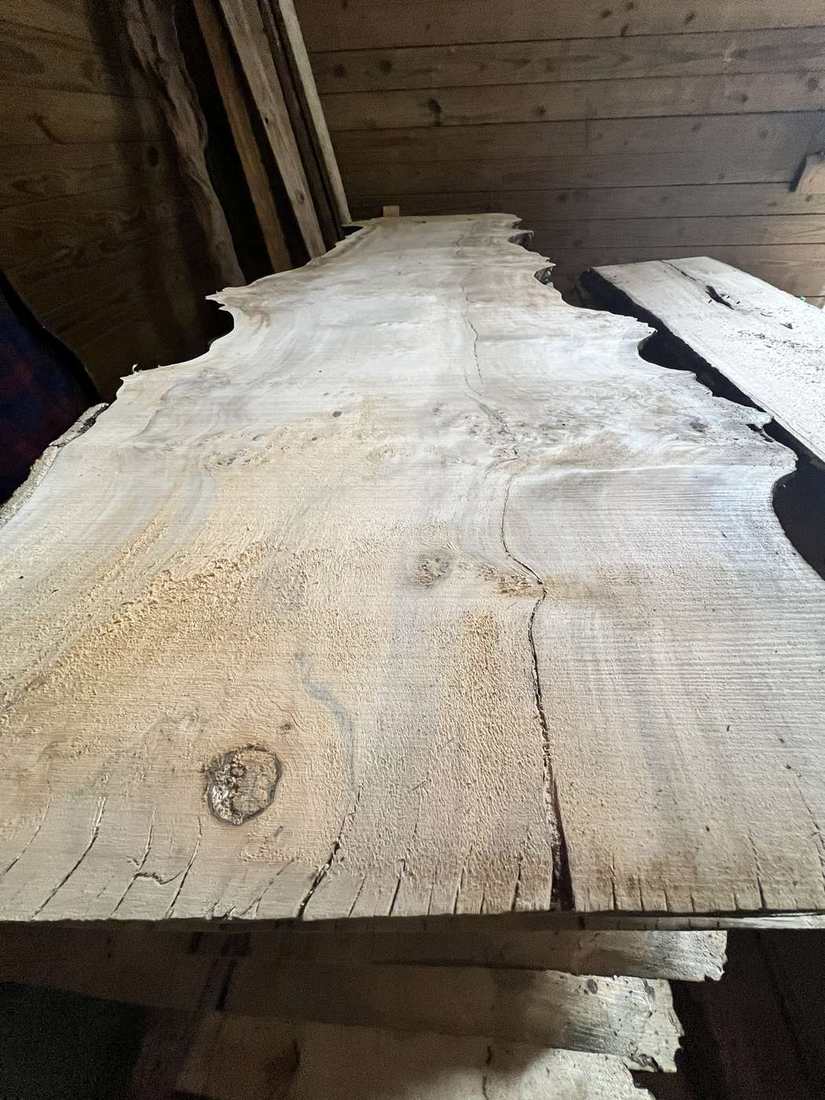
Step 03
Milled live-edge slab
Clean faces and true thickness, with the live edge preserved for furniture work.
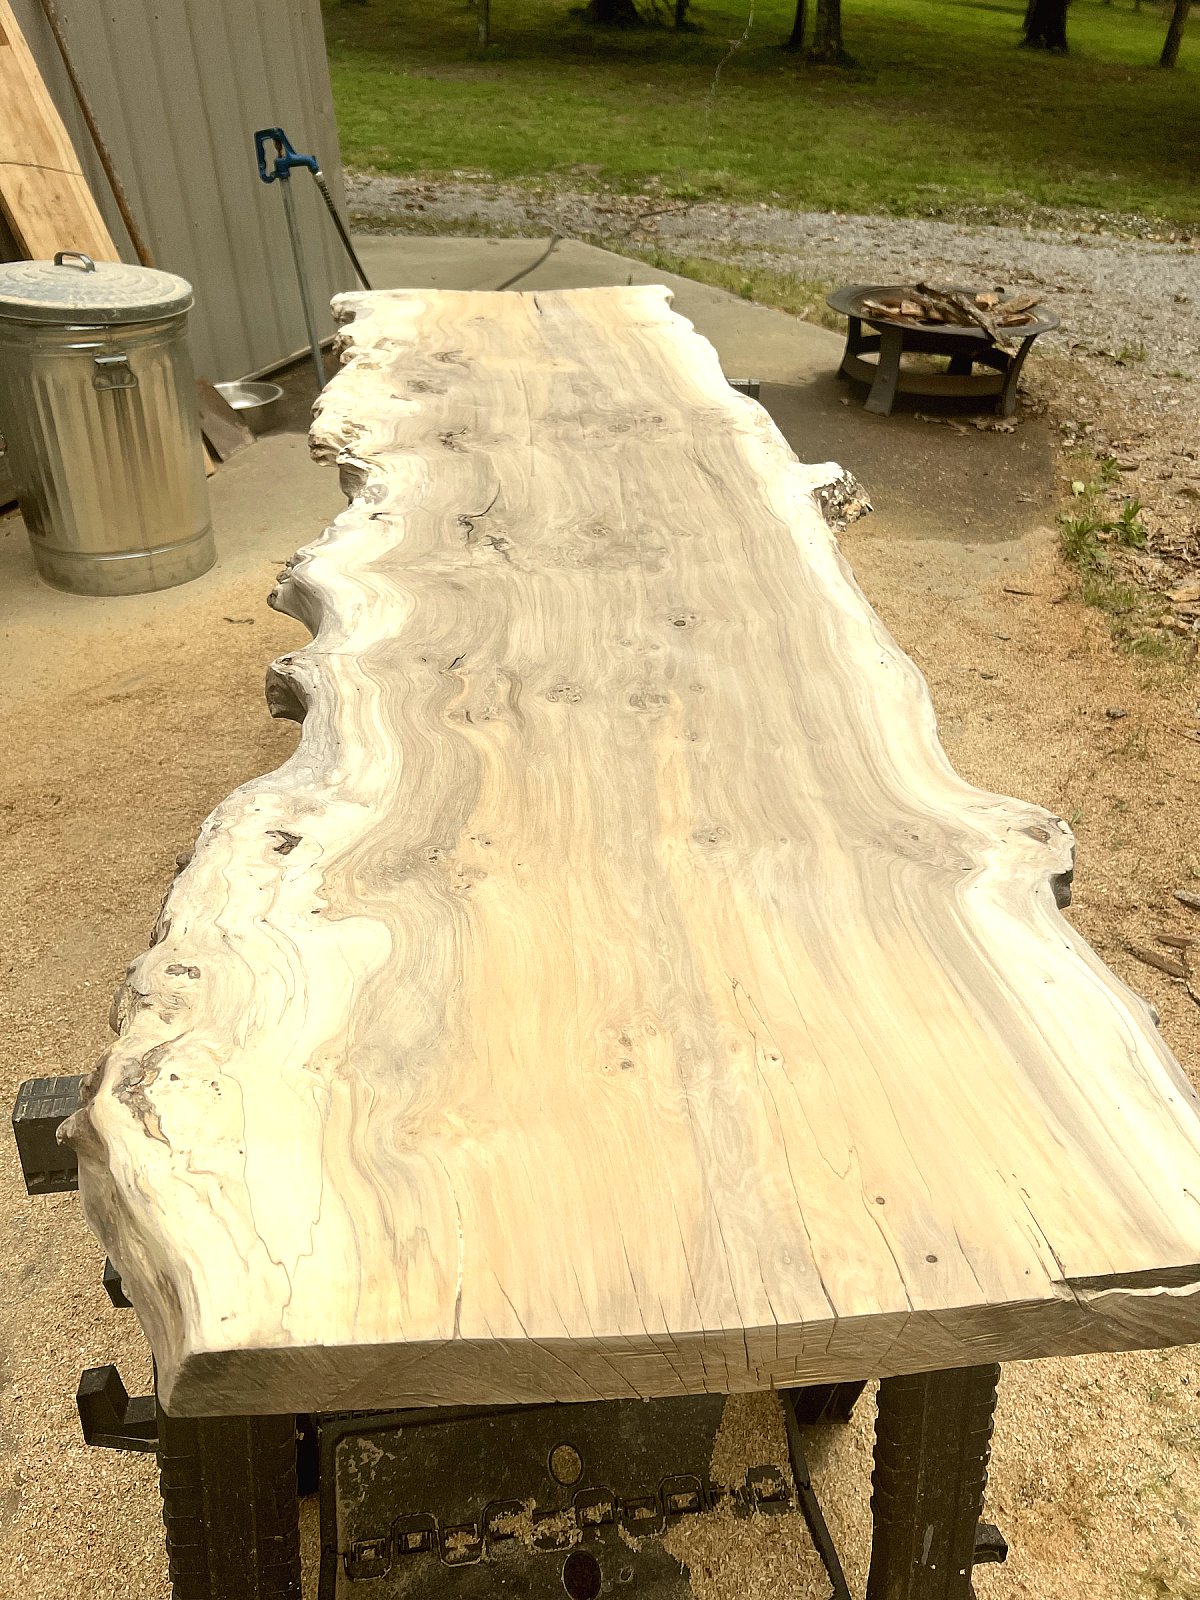
Step 04
Live-edge slab ready
Stabilized and prepared — ready for oil, custom sizing, or a client project.
Step 05
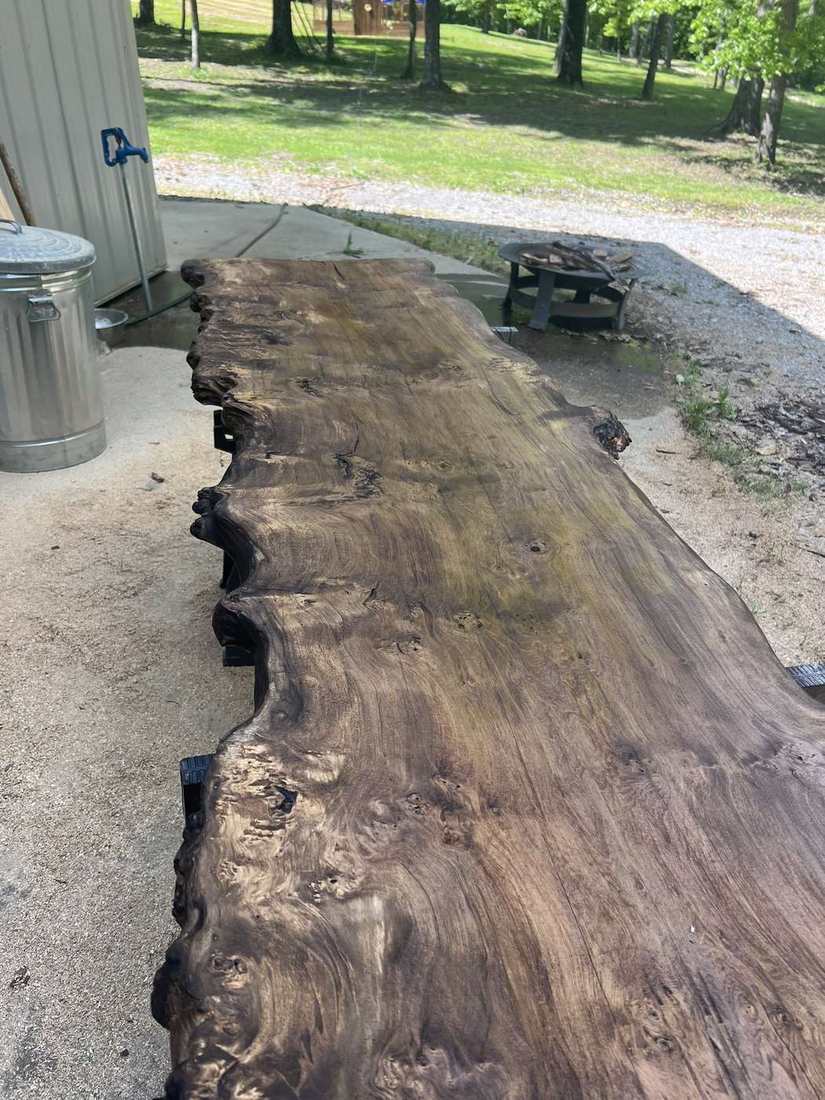
Finished / oiled slab
Warm oil brings out depth and color — furniture-ready surface you can feel.
Step 06
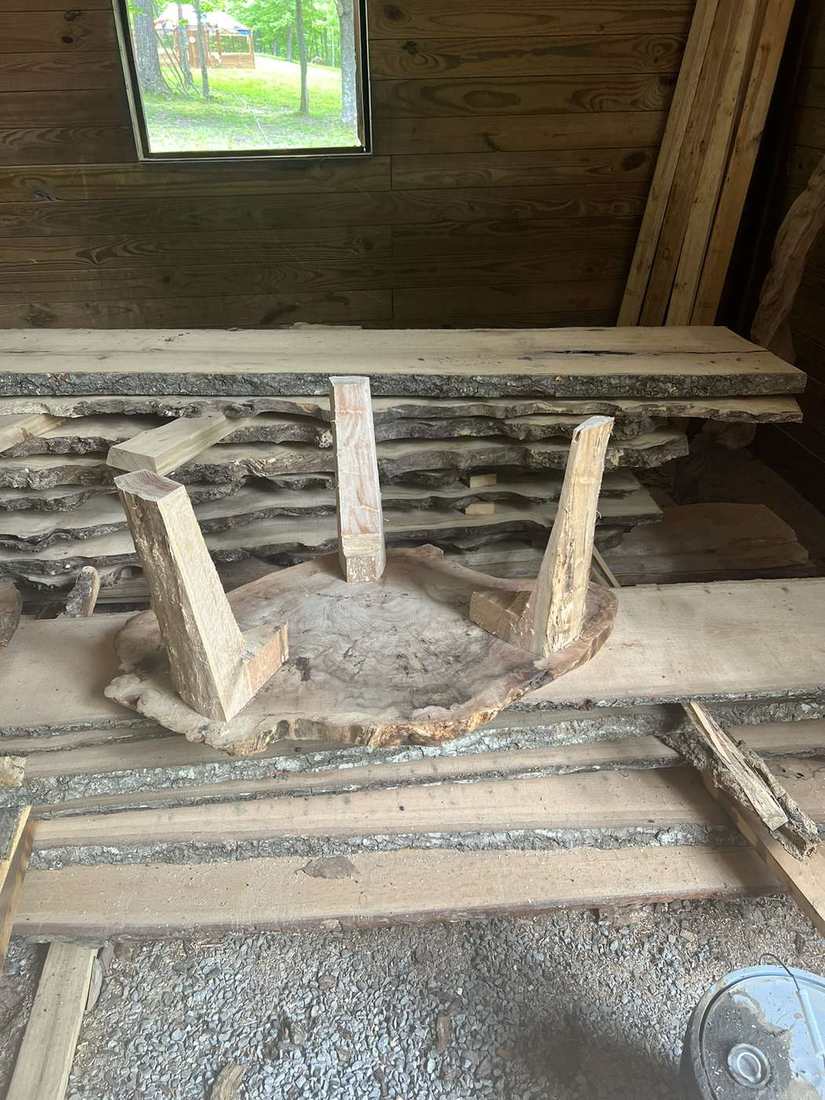
Building the table
From slab to piece — joinery and assembly for tables meant to be lived with.
Step 07
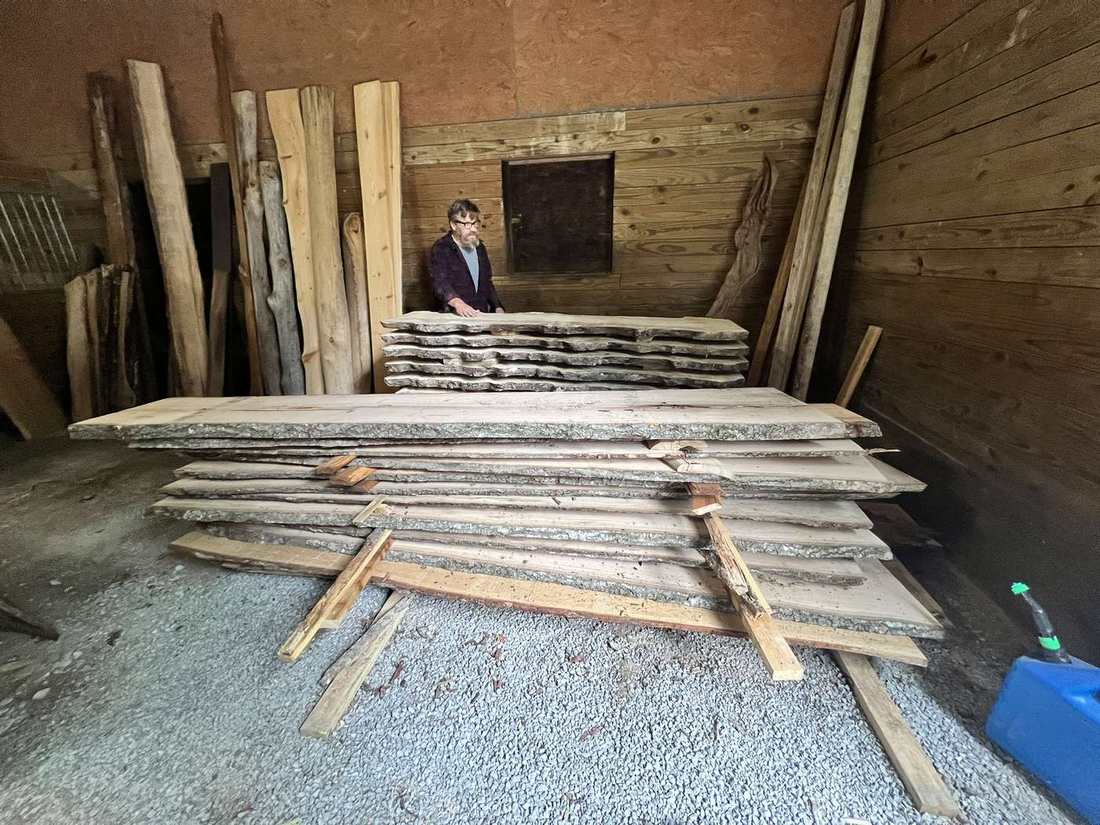
Stacked inventory
Cured slabs on hand for selection — ask us what suits your space and timeline.
In progress
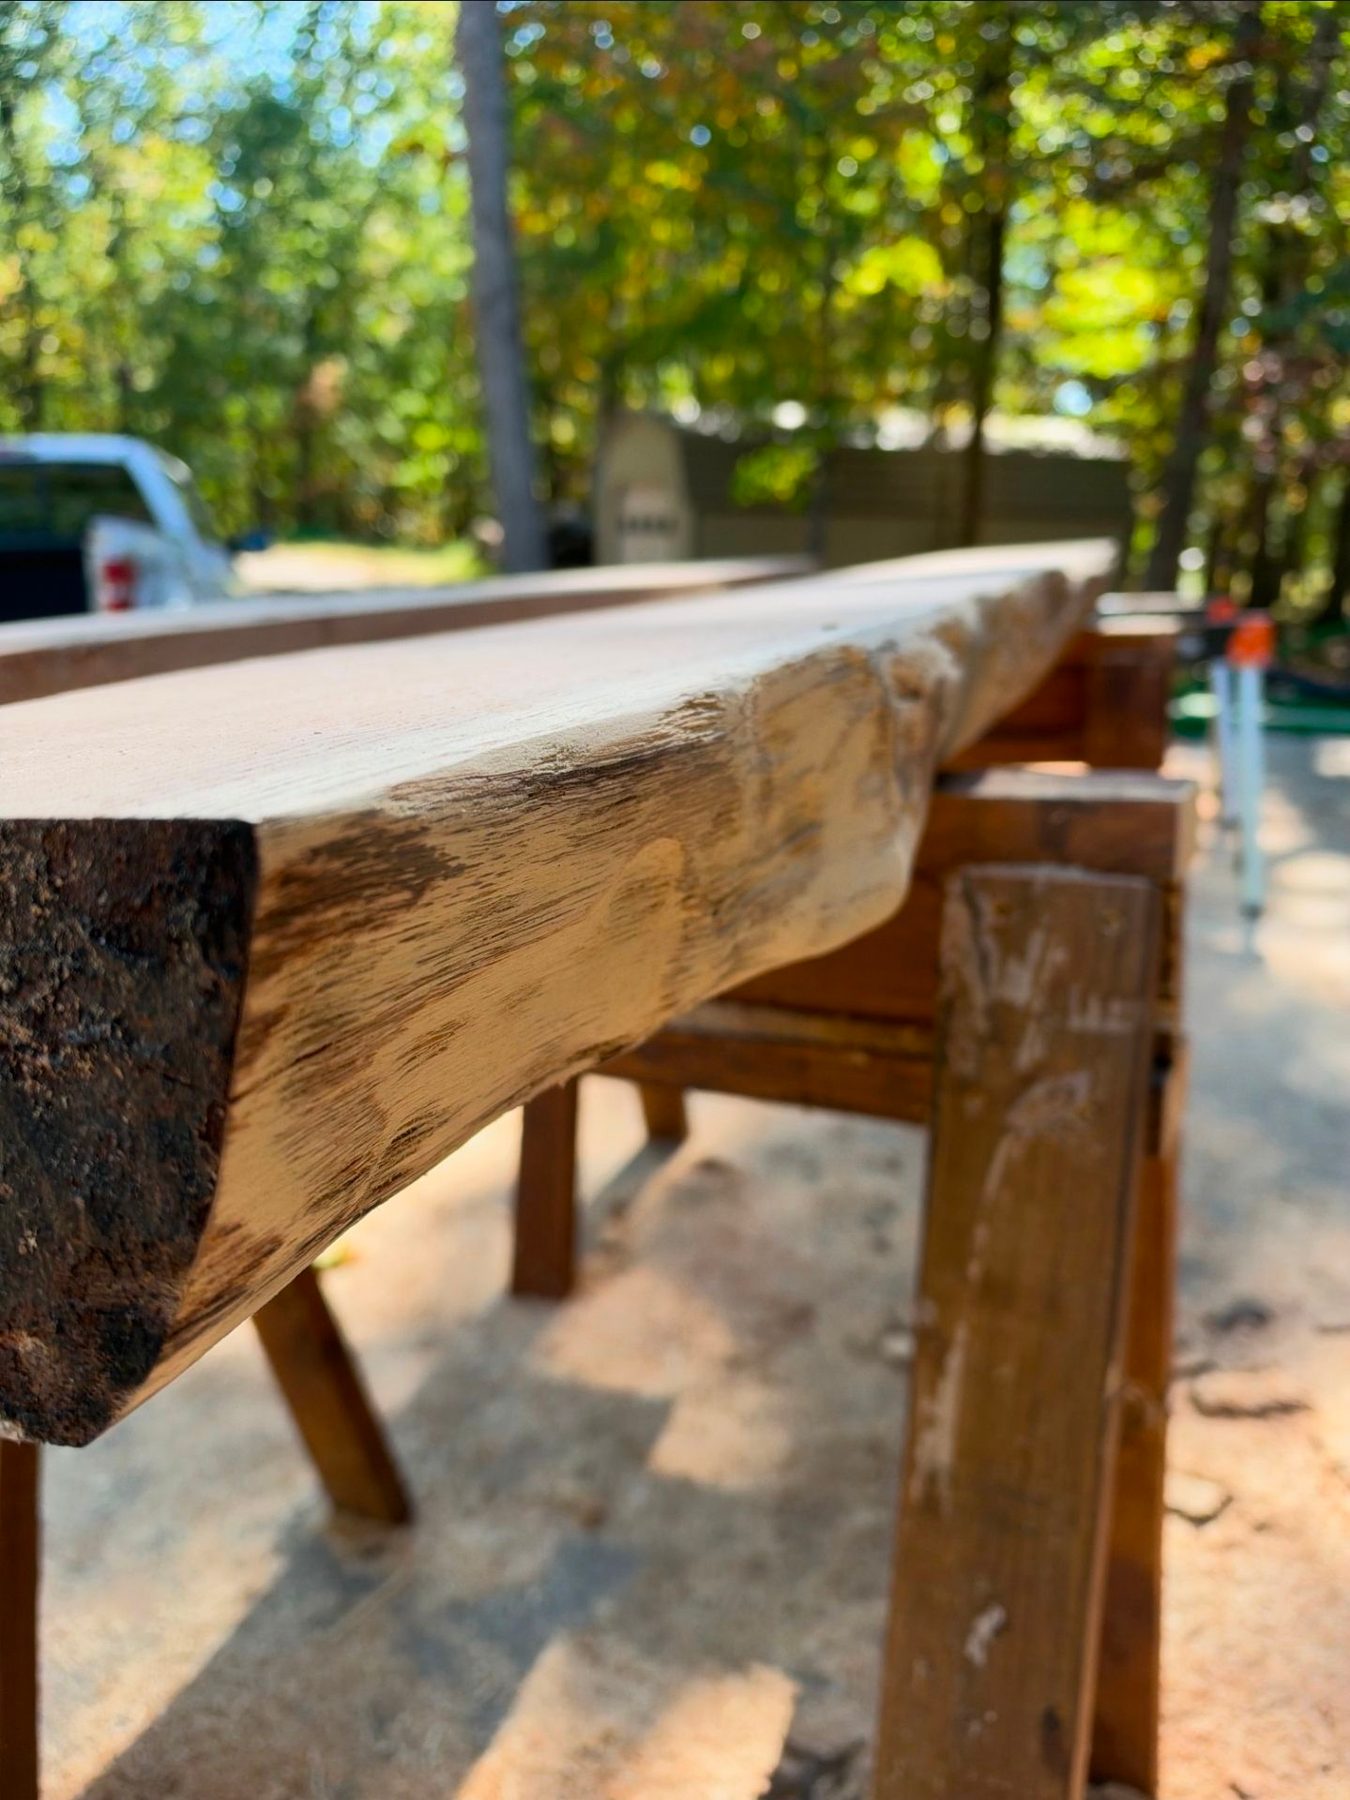
Red oak mantel — in progress
Sanded smooth along its length, with the natural edge and bark left intact.
In progress
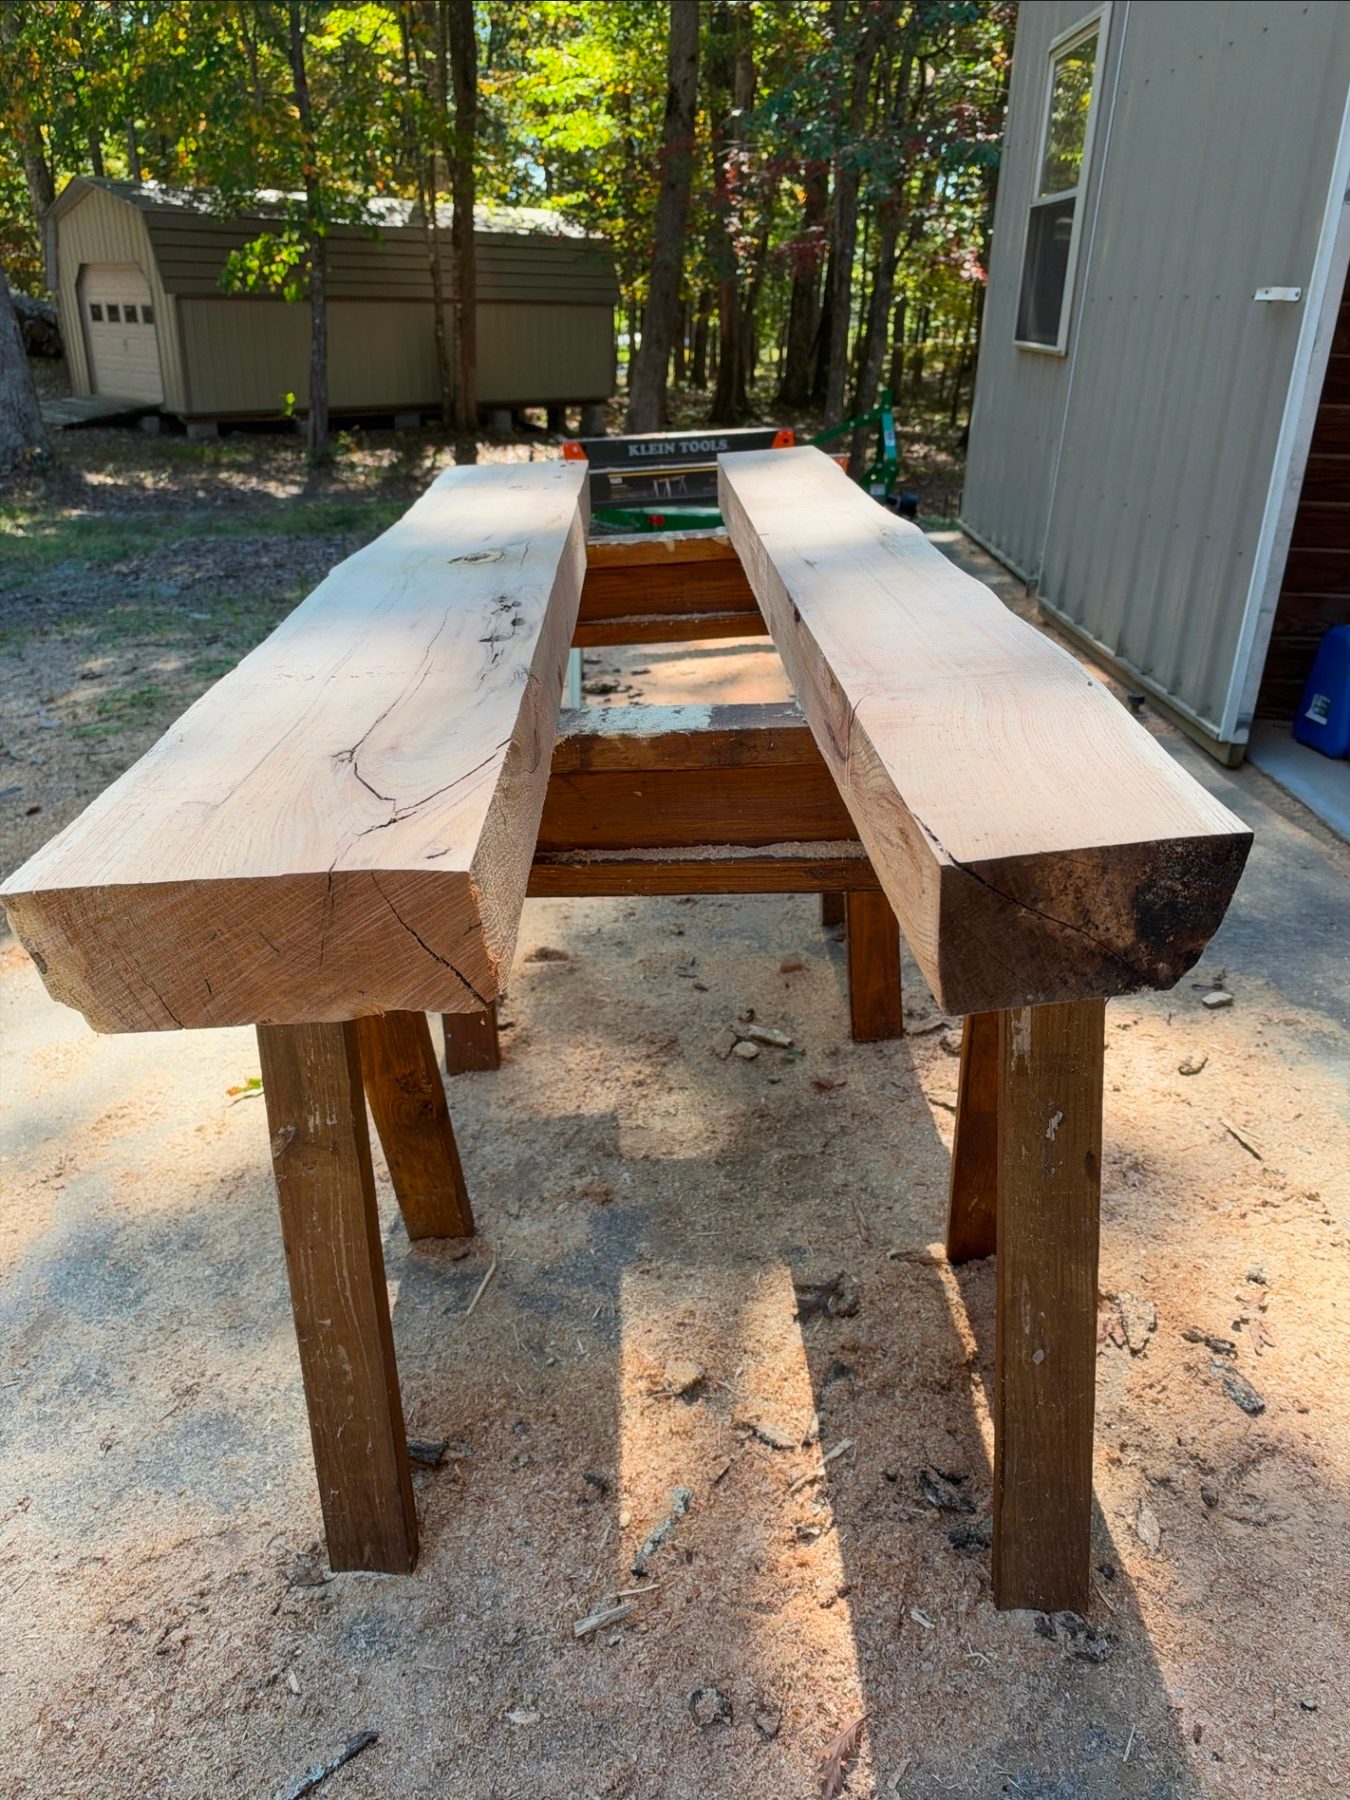
Red oak mantel beams — in progress
Two thick red oak beams, hand-sanded and ready for the next stage of finishing.
Step 08
The process
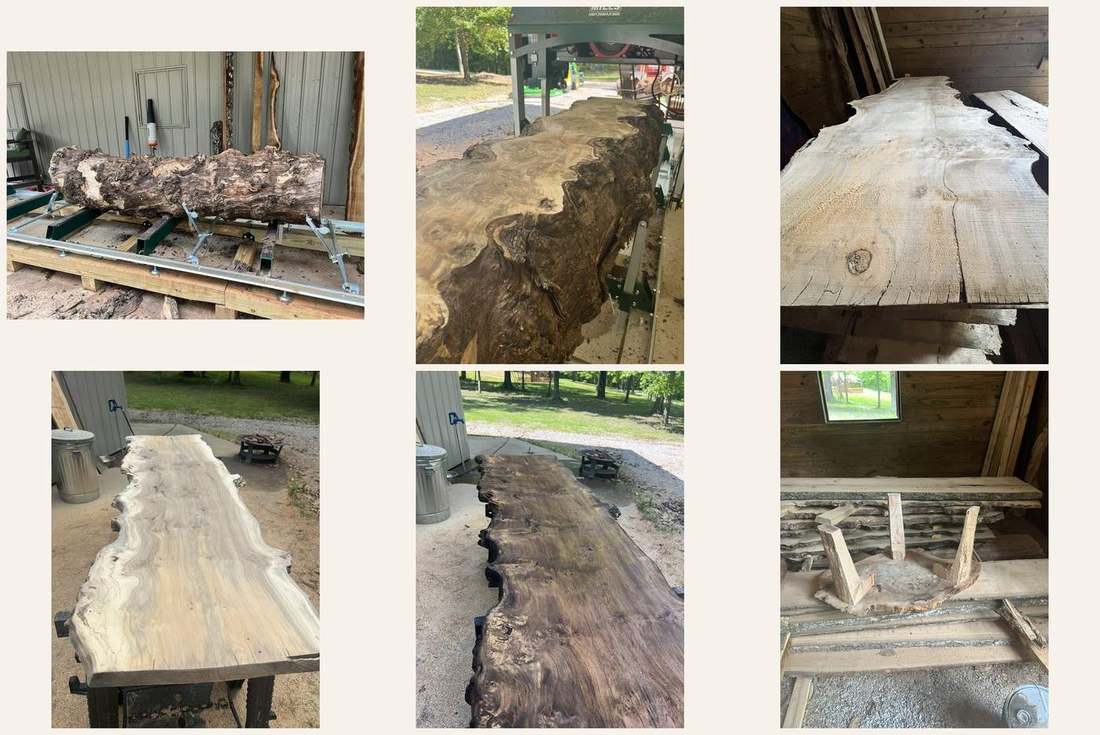
Forest to finish in one view — the craft behind every Live Edge Oak Co slab.
For sale
Finished pieces
Mantels, fireplace installs, and finished oak pieces — what we're selling.
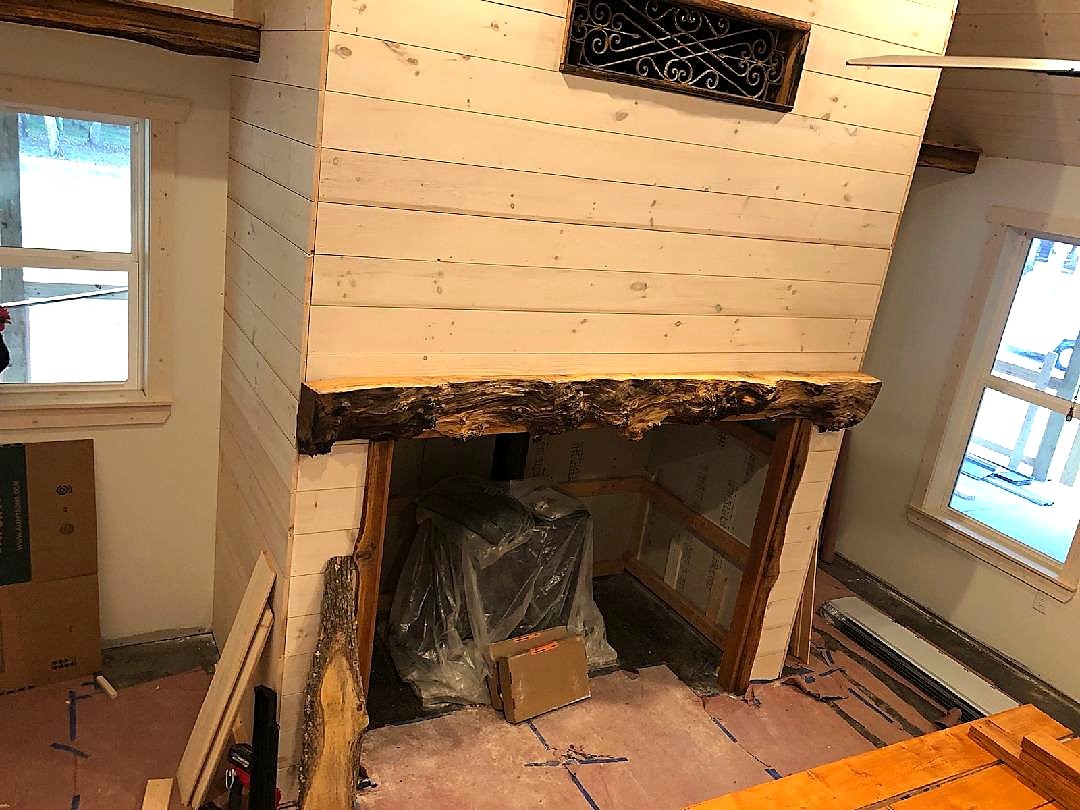
Fireplace mantel install
Live-edge mantel set above the fireplace — finished piece in a finished home.
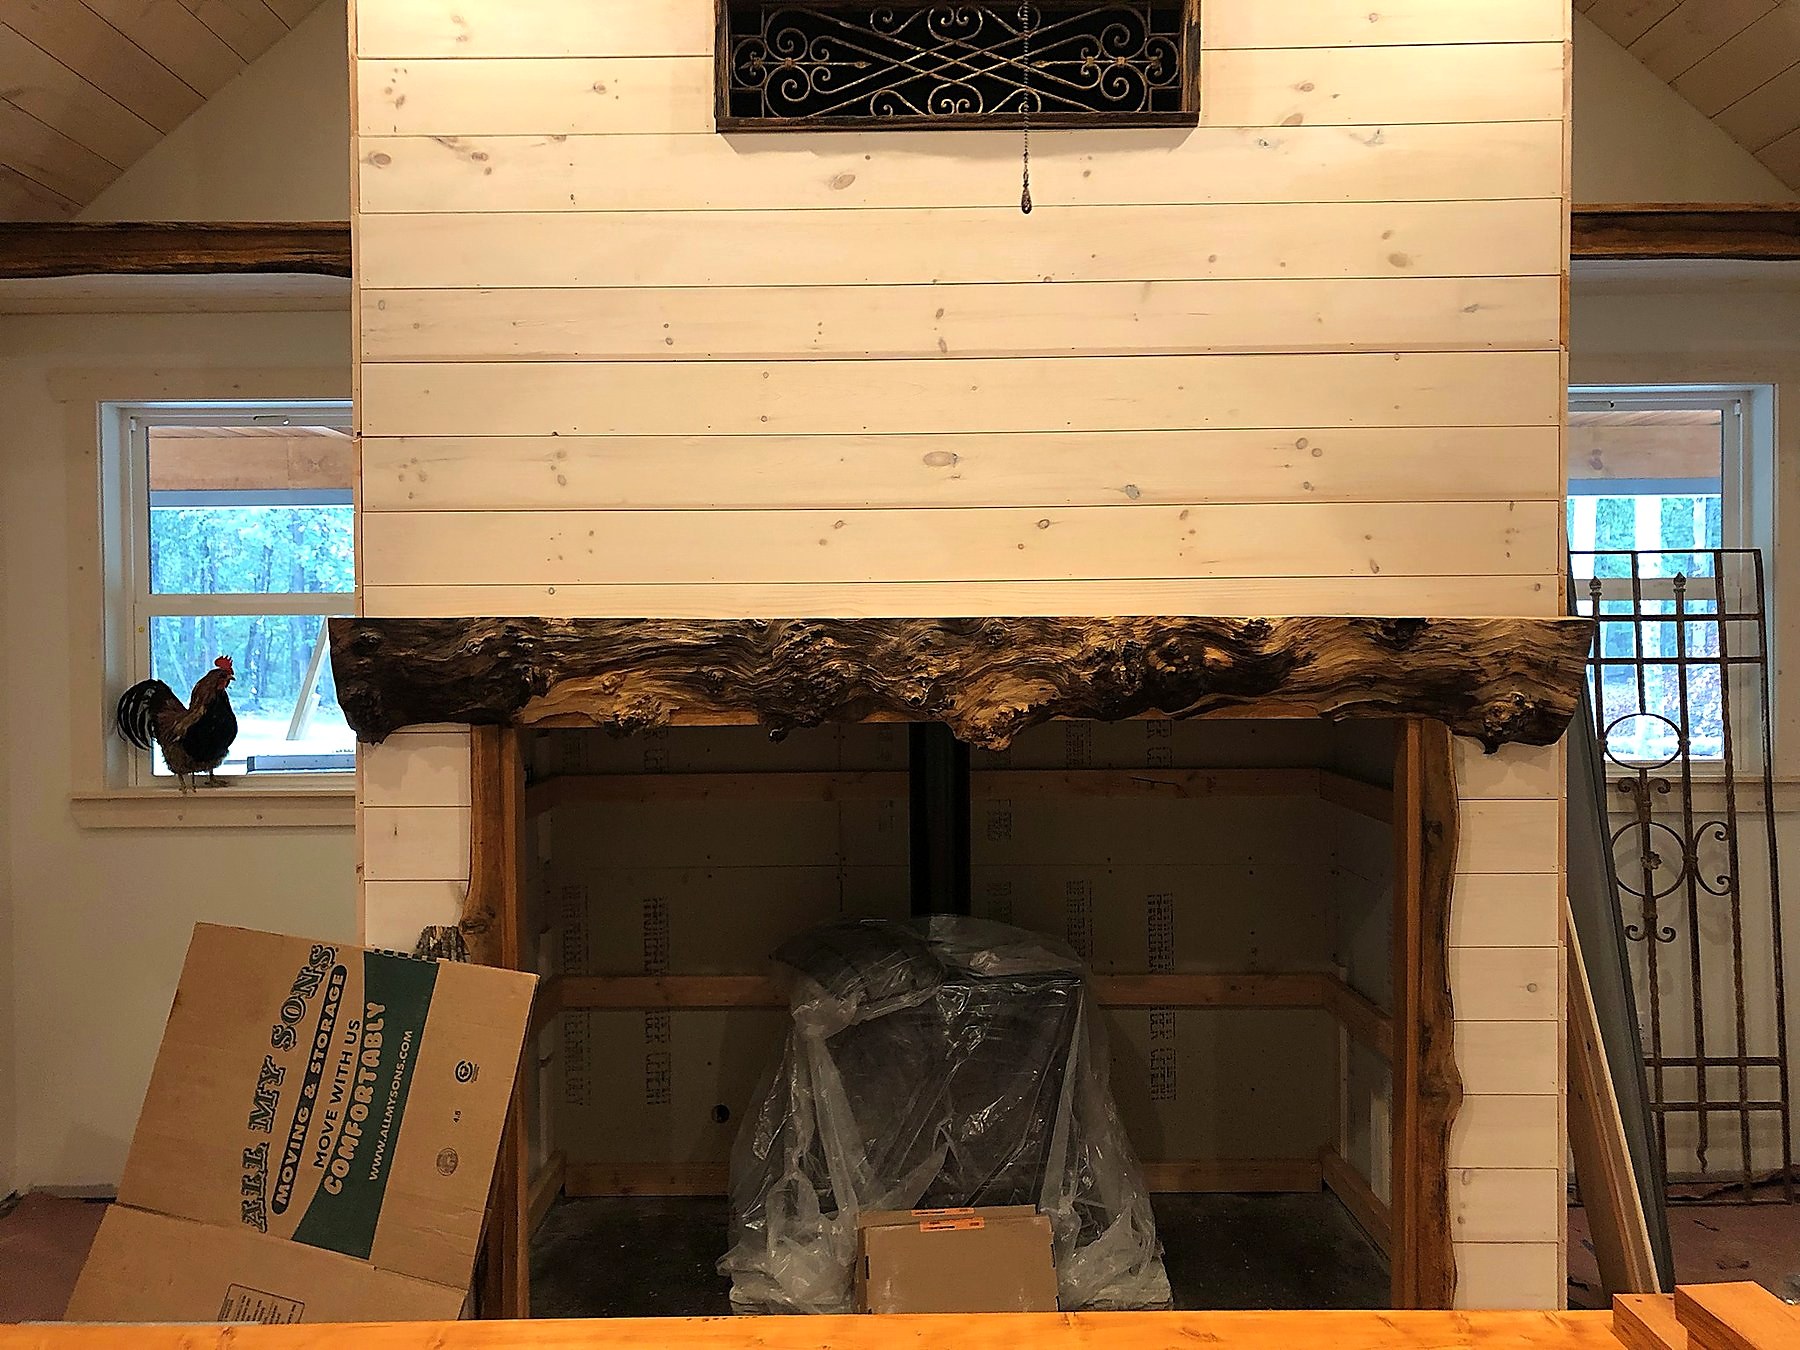
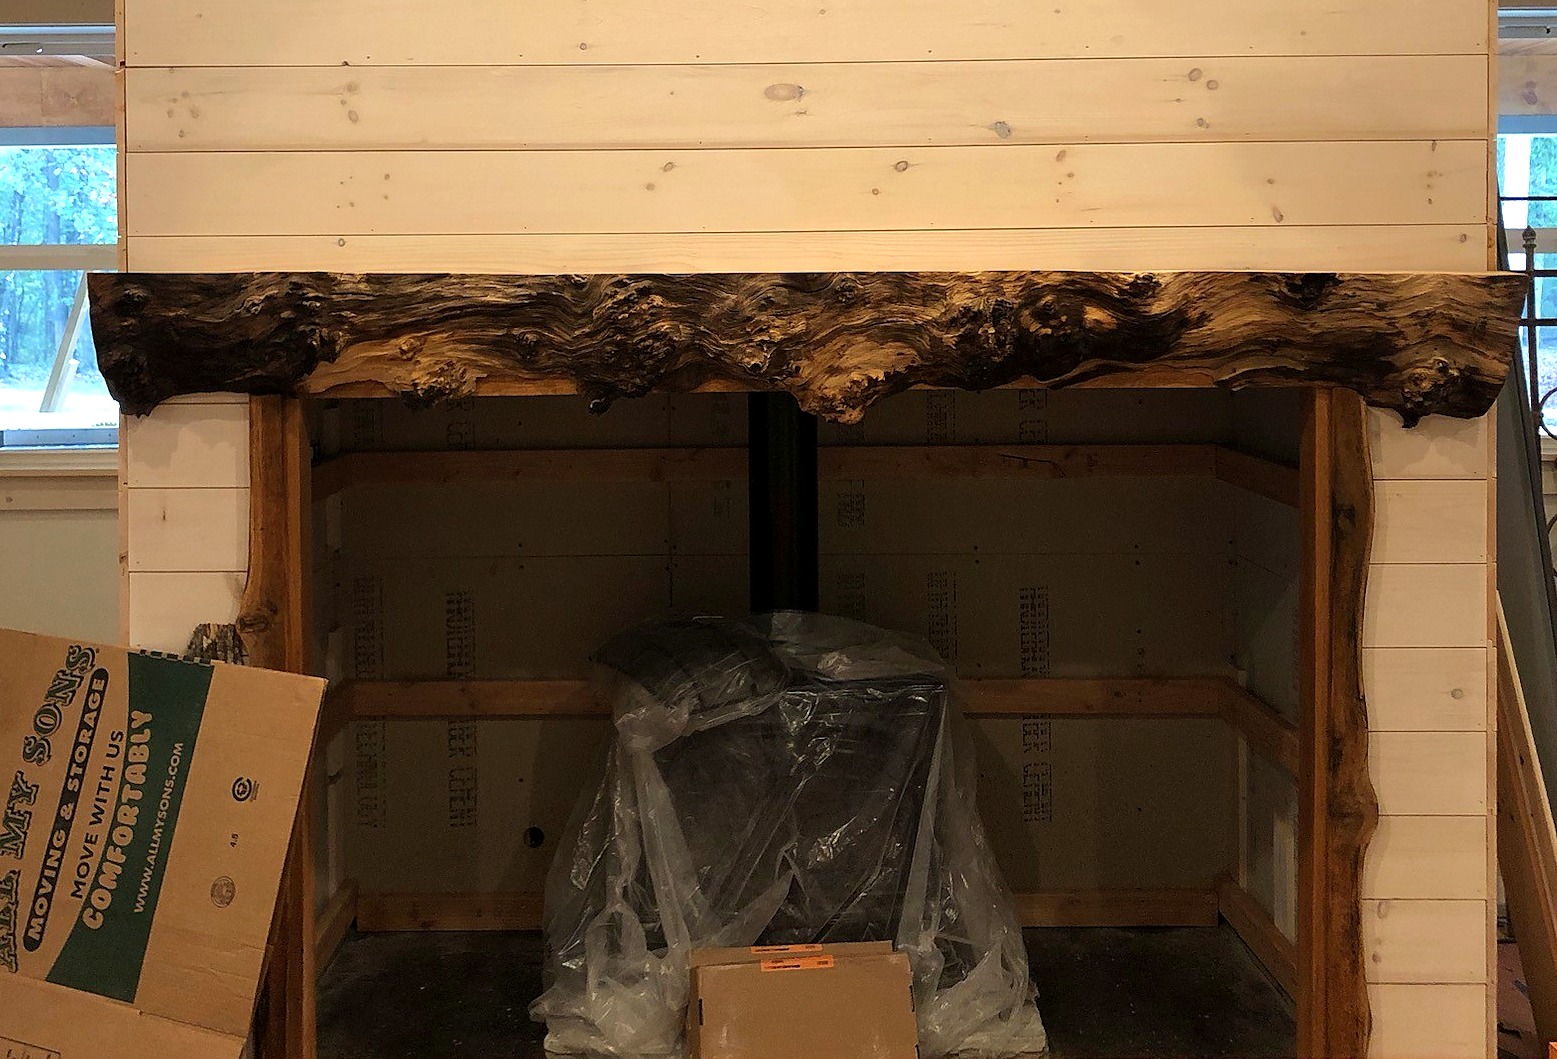
Fireplace with live-edge mantel
Fireplace framed by a live-edge mantel — slab to room, done.
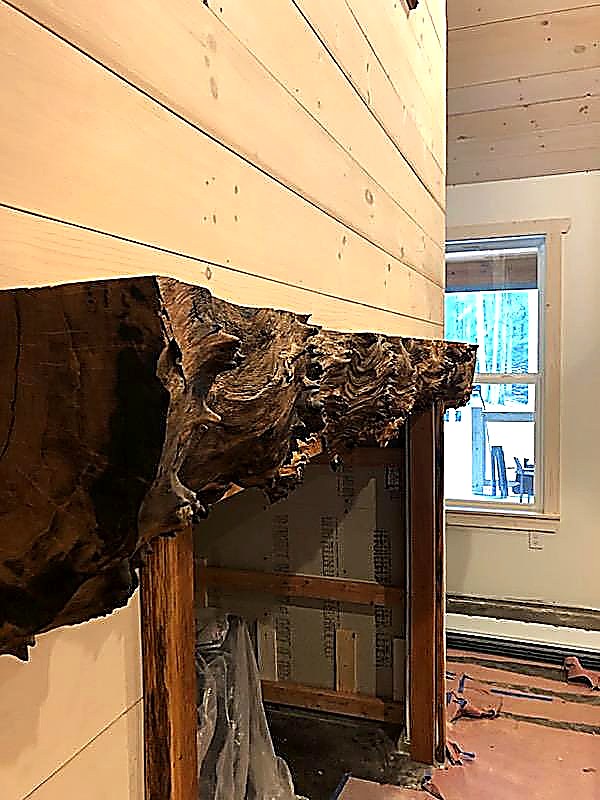
Mantel close-up
Close-up of the installed mantel — edge, thickness, and finish.
Mantel detail
Mantel edge and grain up close — how the wood reads once installed.
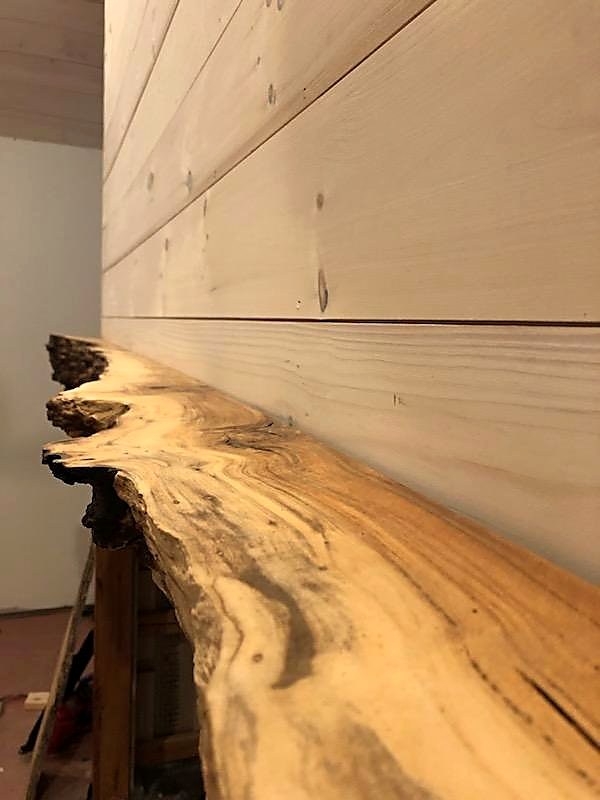
Live-edge shelf/piece
A finished live-edge piece shaped for the wall or shelf.
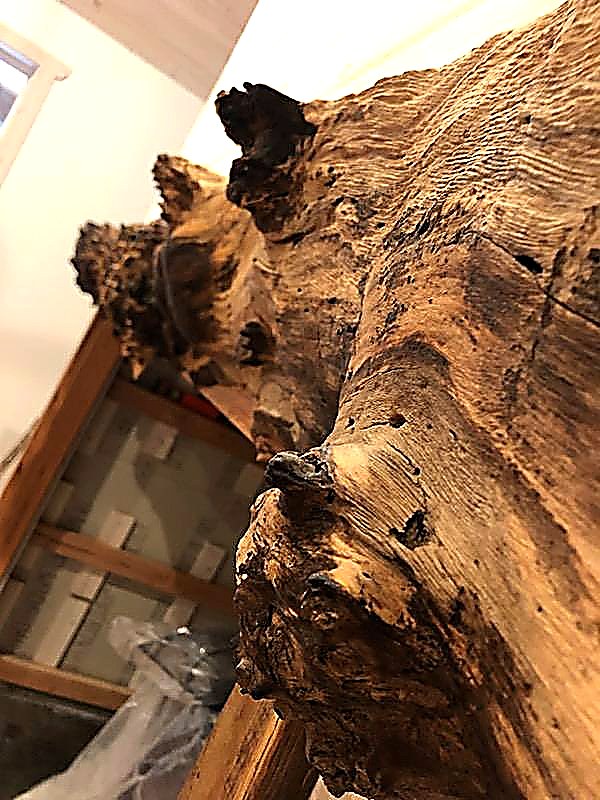
Warm grain close-up
Warm oil brings out color and figure in the oak.
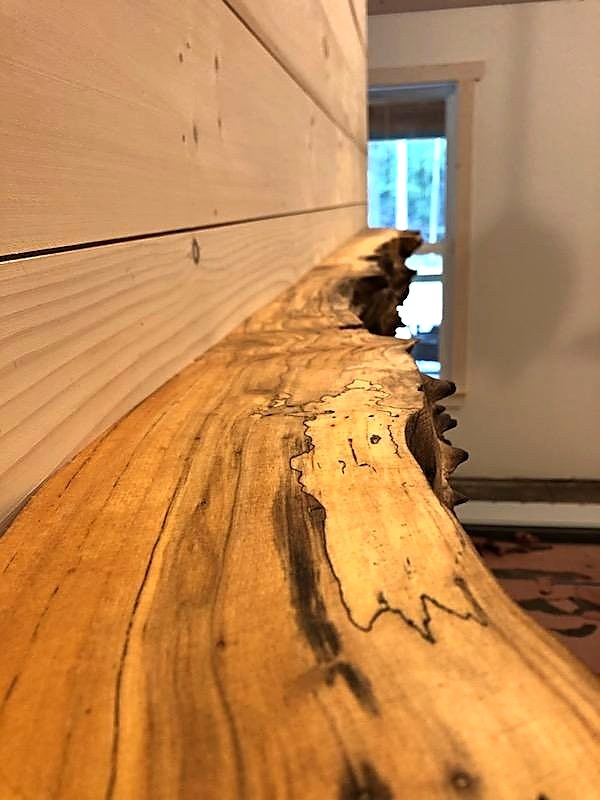
Finished edge
Finished live edge smoothed and ready for install.
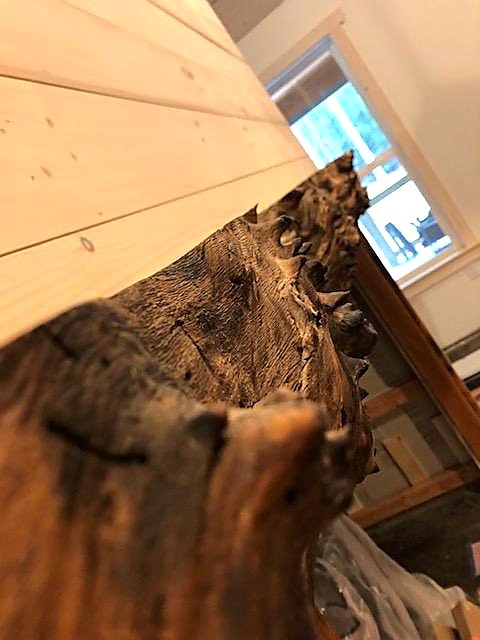
Character knot
A character knot kept in the face — natural marks, not defects.
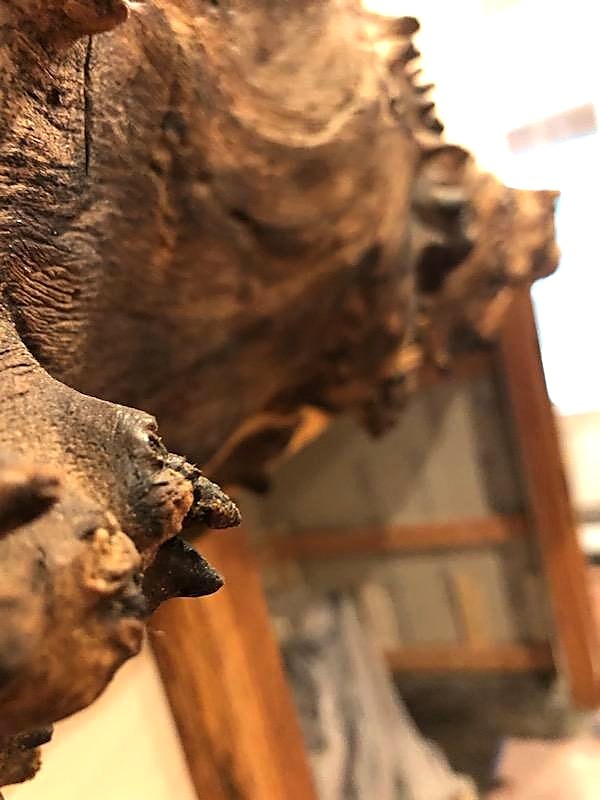
Open grain
Open grain texture after sanding — oak that shows how it grew.
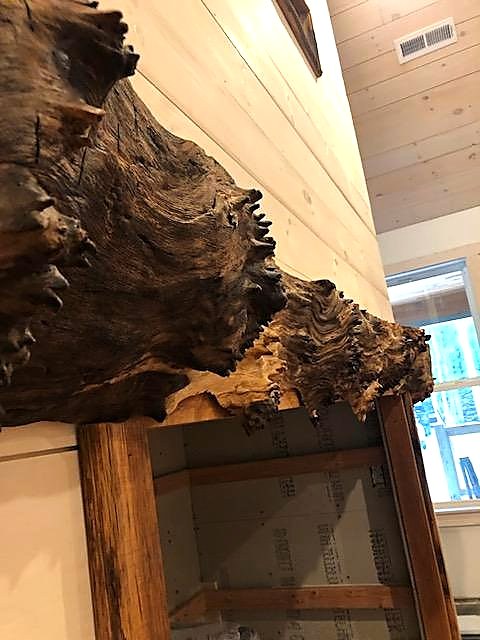
Figured face
Figured face with rich contrast across the slab.
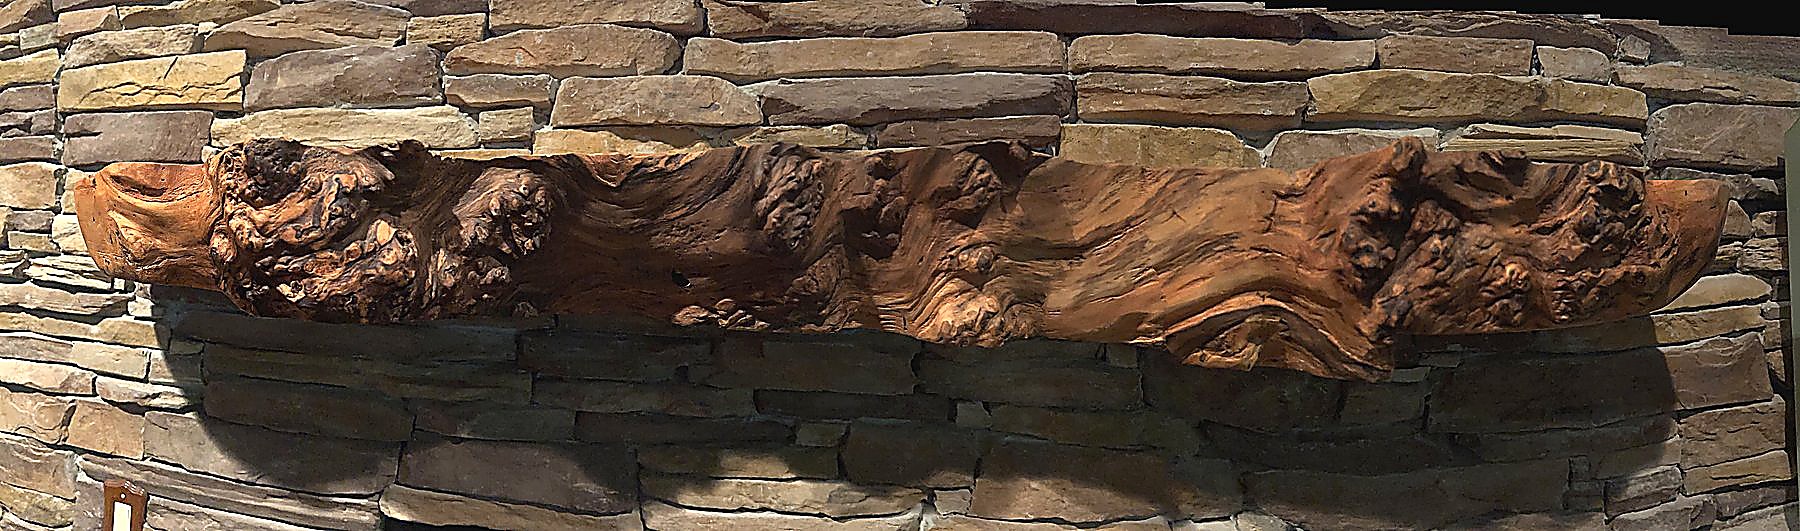
Mantel length
Long mantel stock staged for measure — length and edge in one view.
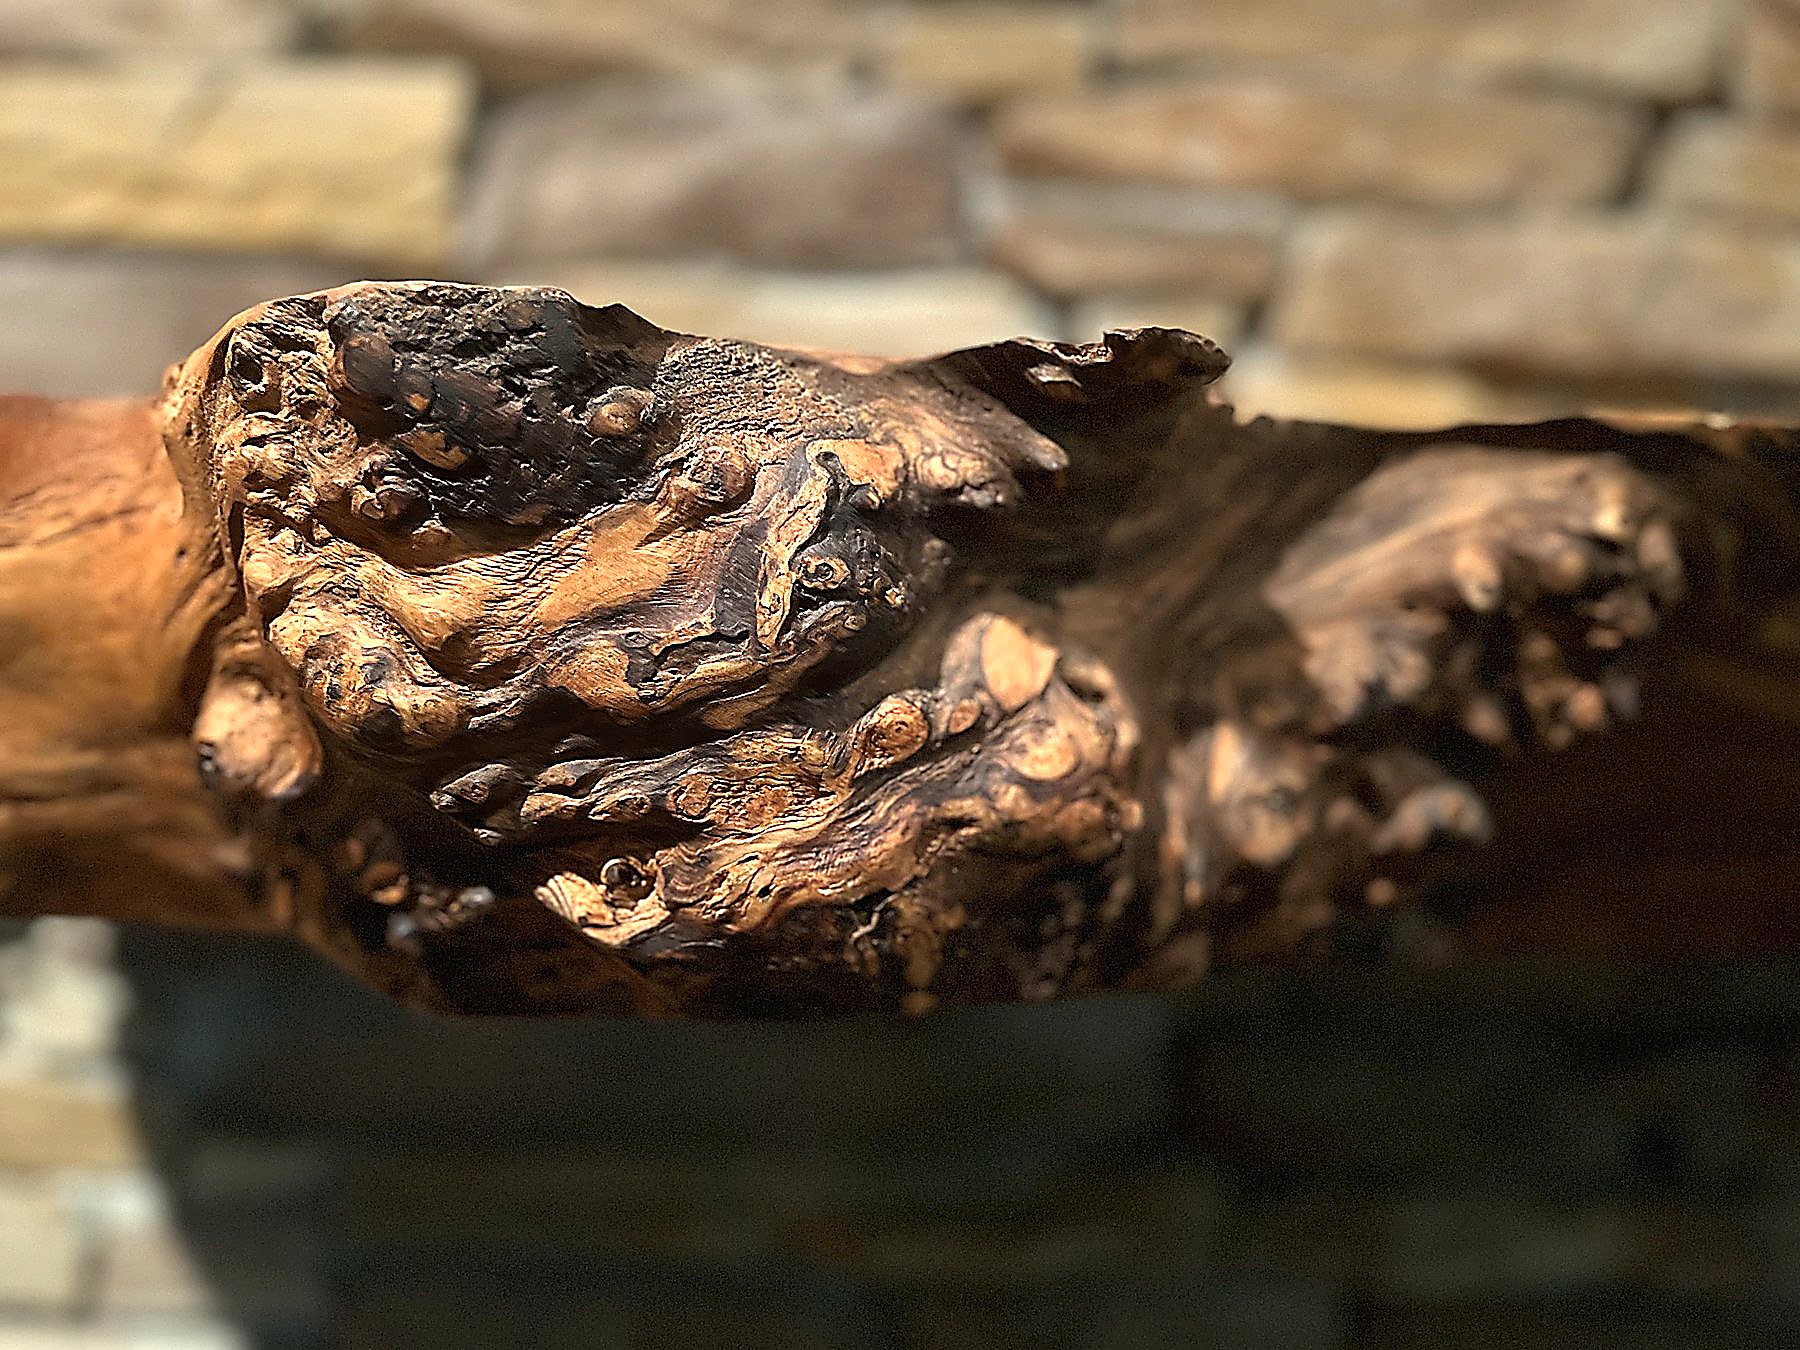
Live-edge detail
Close look at the natural edge — bark line and grain that define each slab.
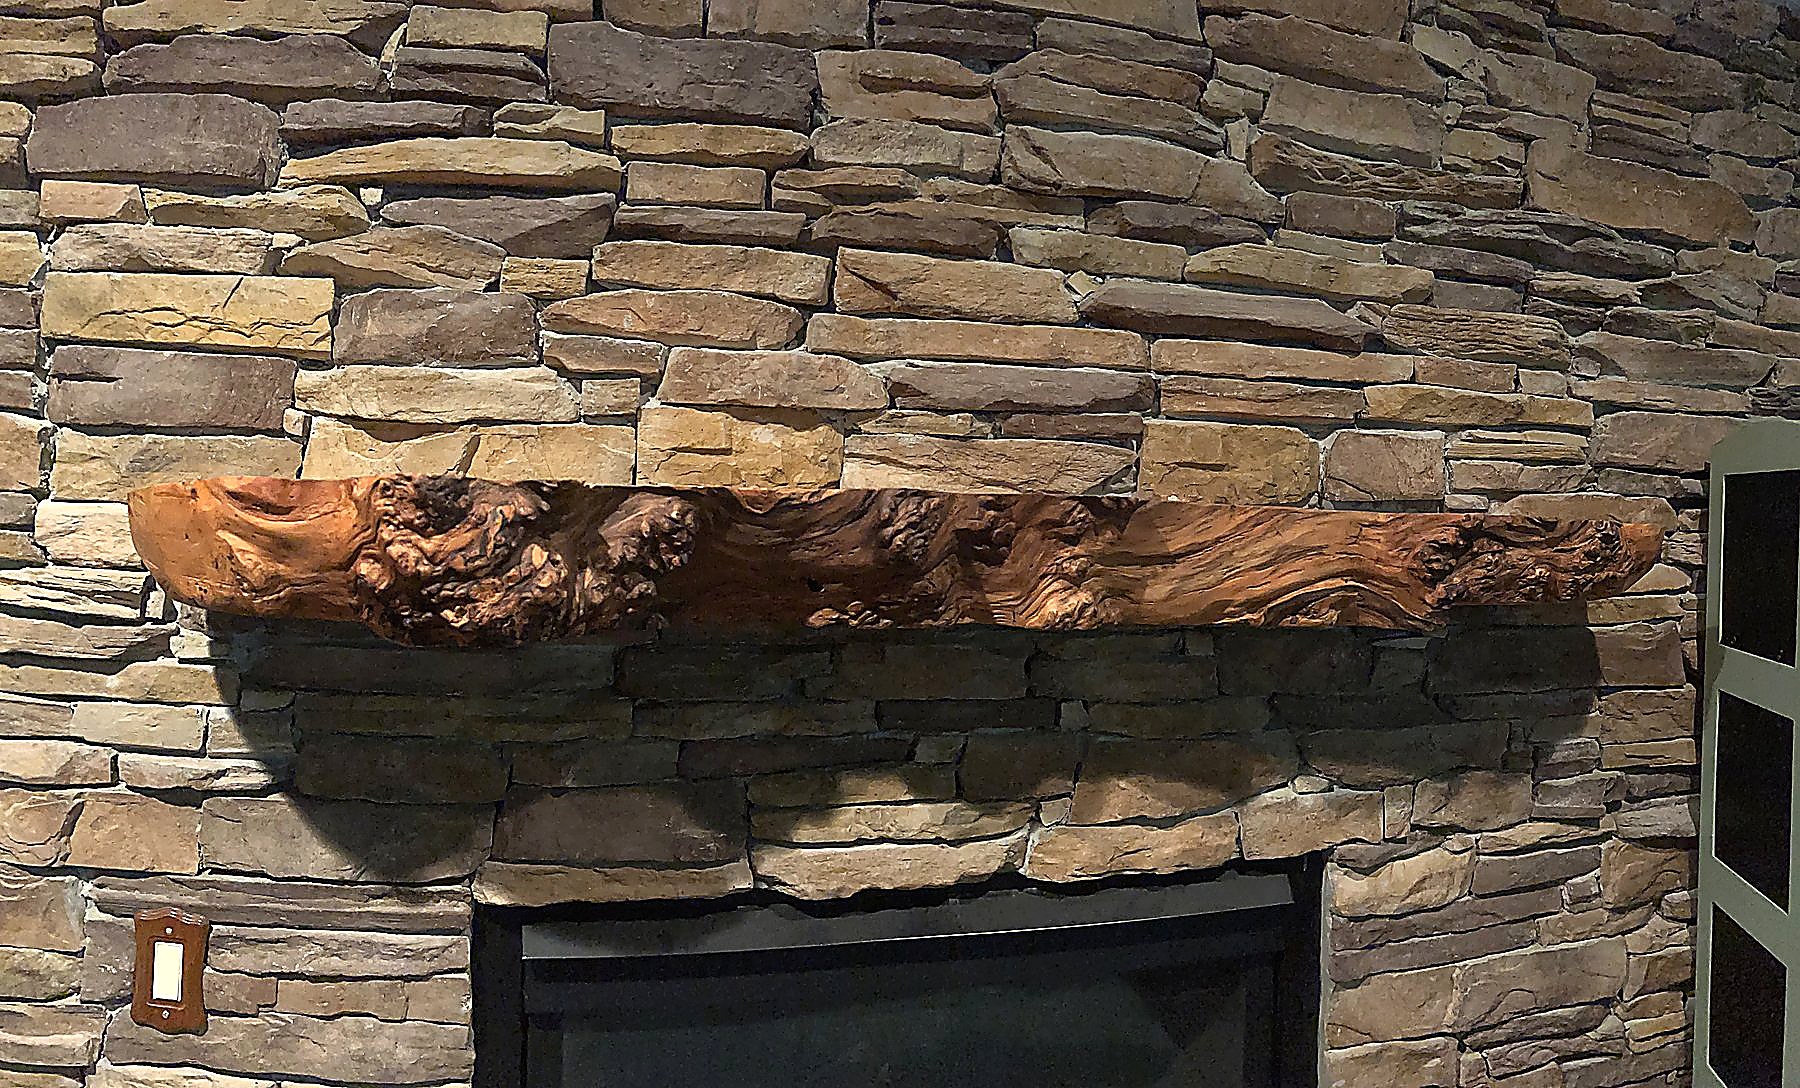
Figured grain
Figured oak grain catching the light — depth and movement across the face.
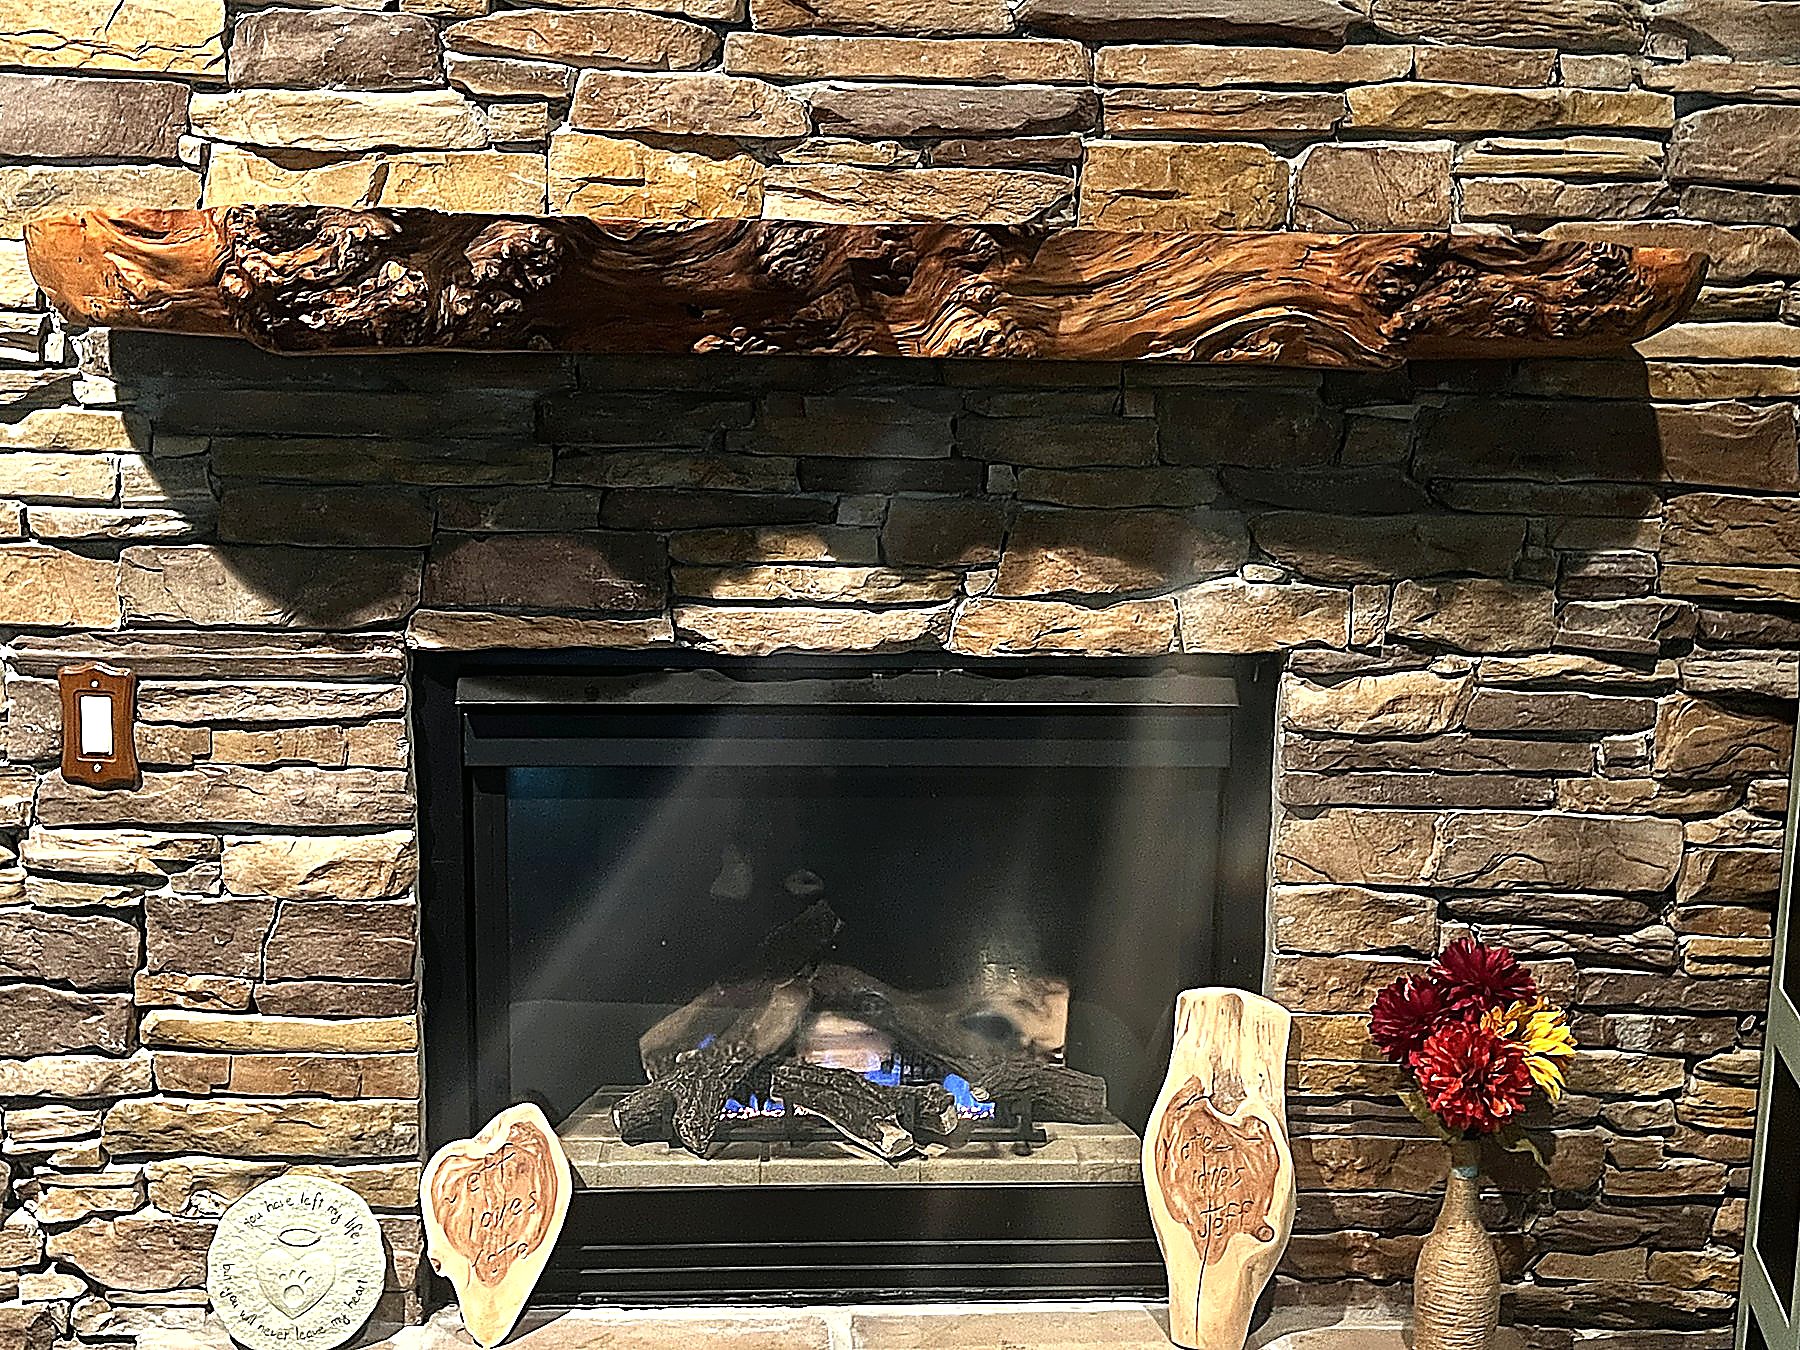
Slab face
Full slab face ready for selection — clean surface with live edge preserved.
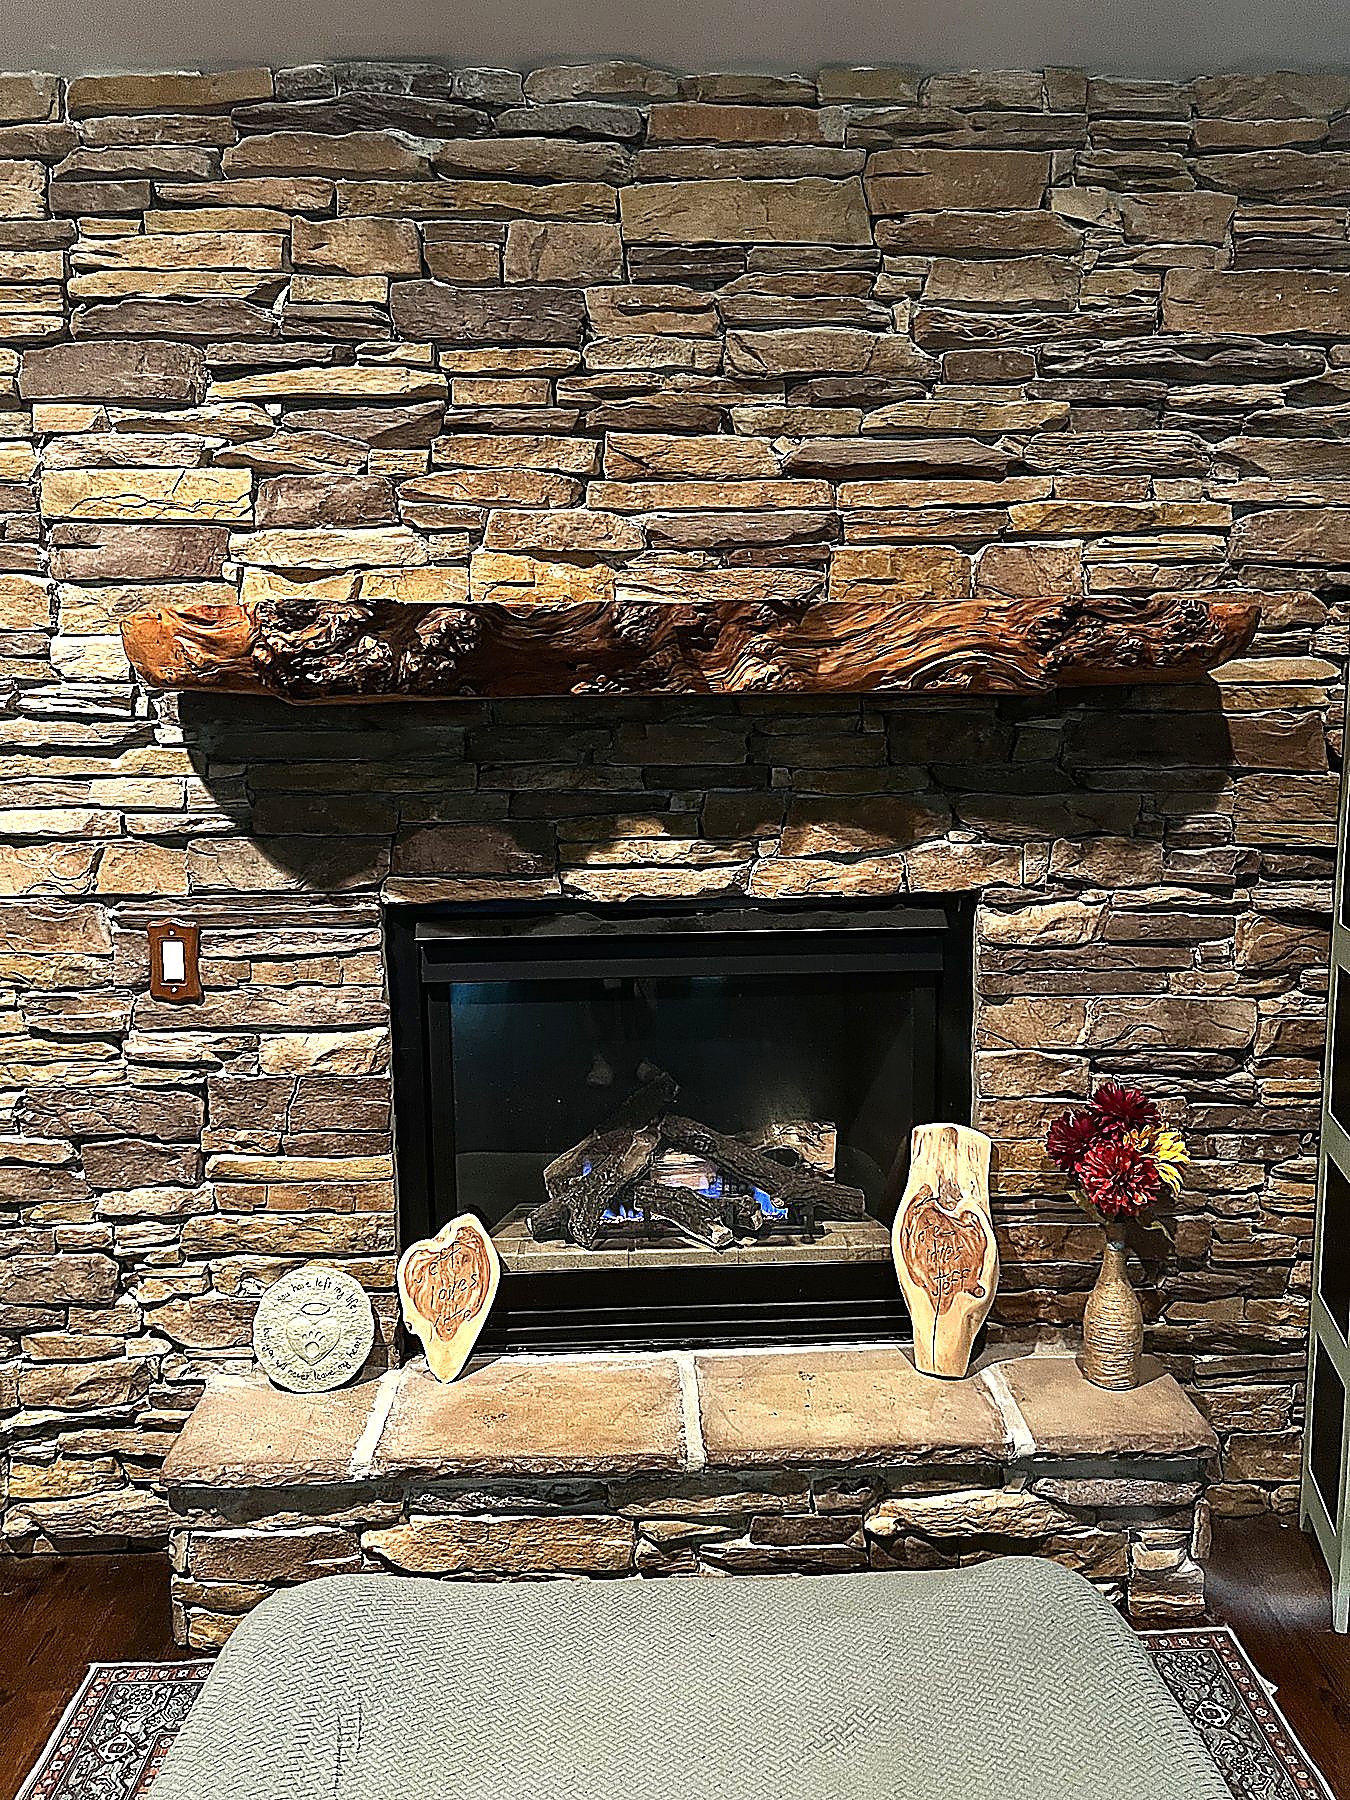
Bark & grain
Bark meeting open grain — the character clients choose by hand.
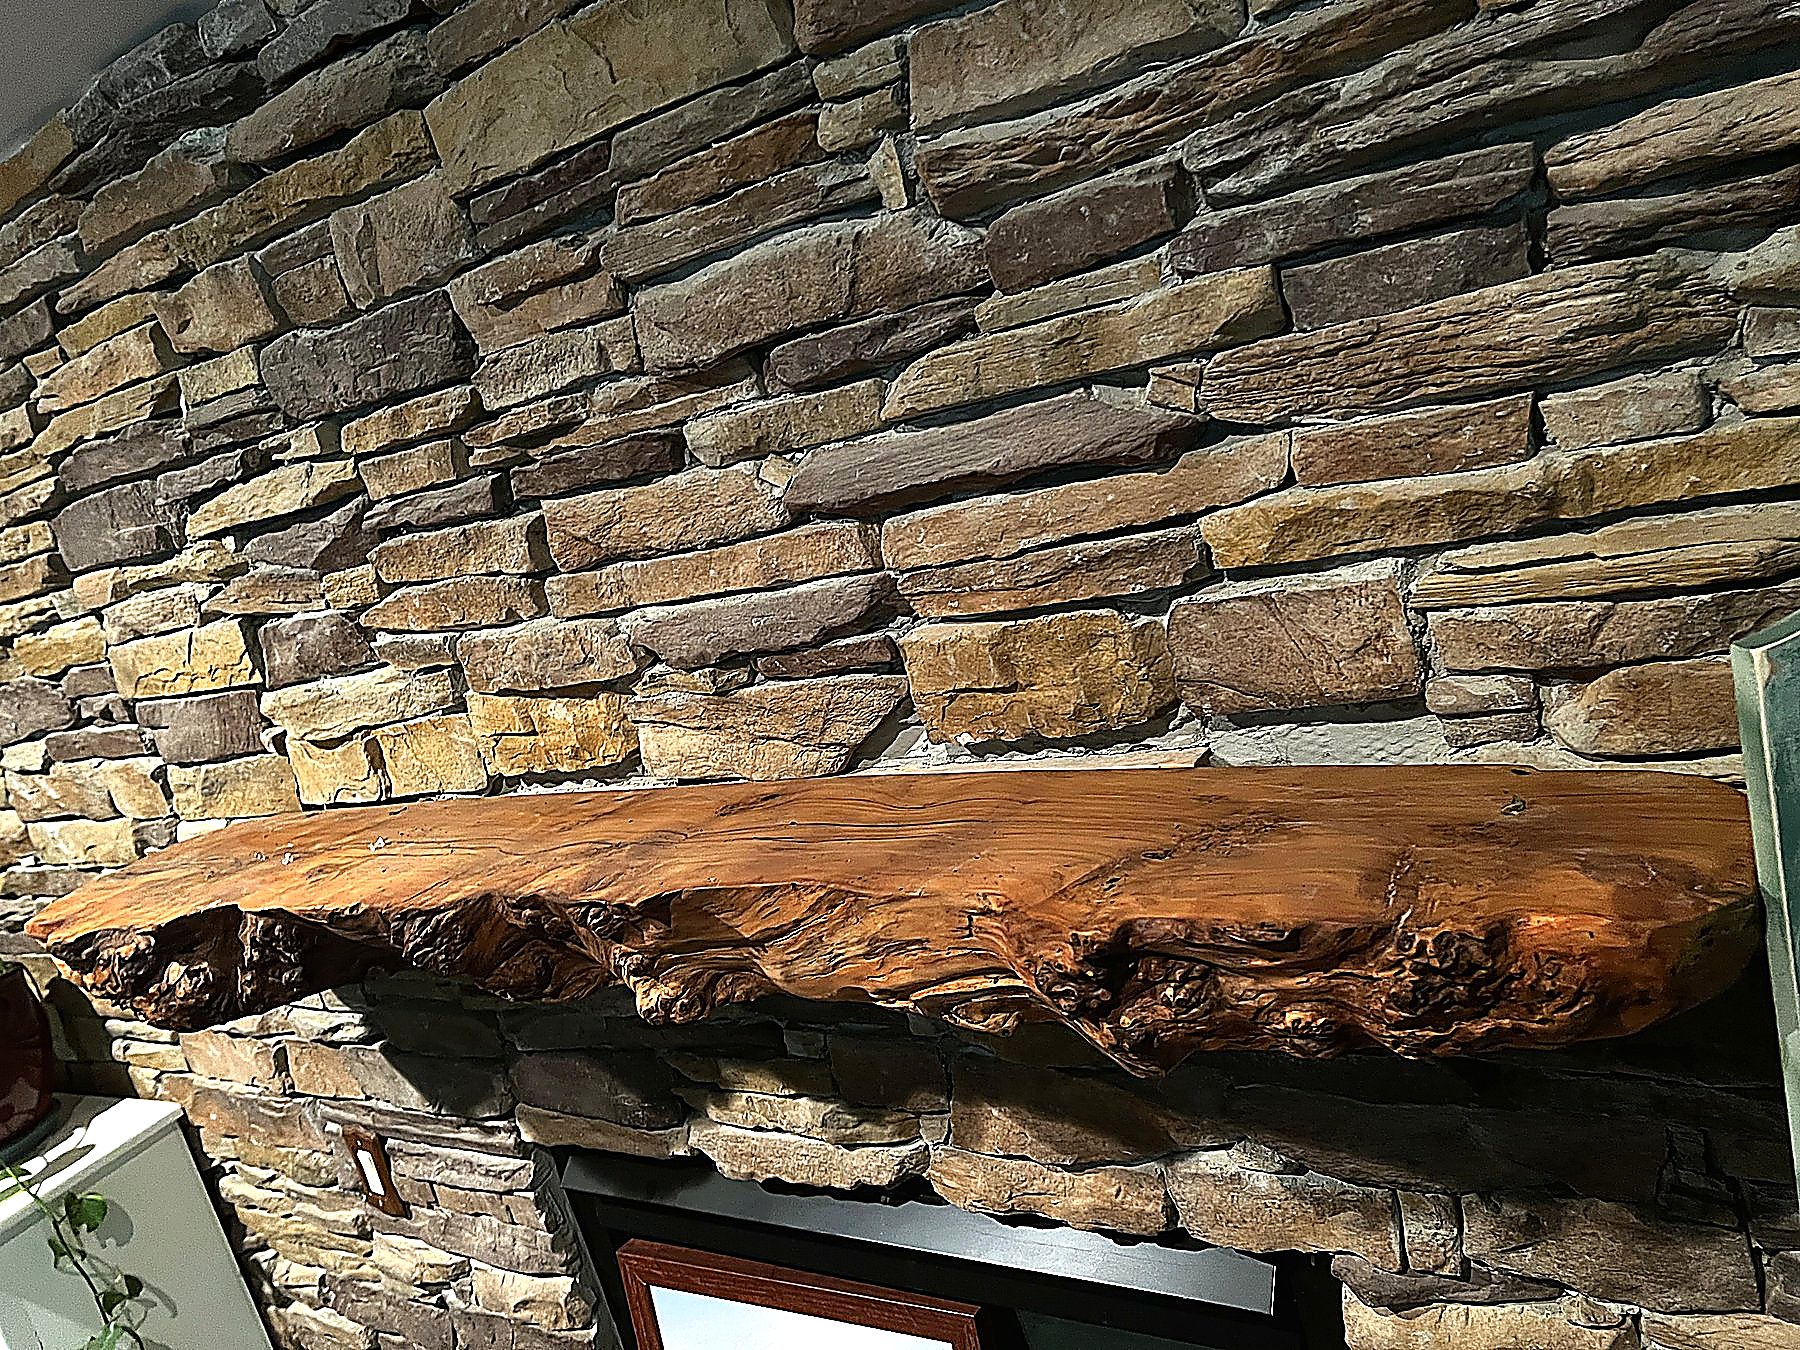
Natural edge
Natural live edge left intact for mantels, shelves, and custom pieces.
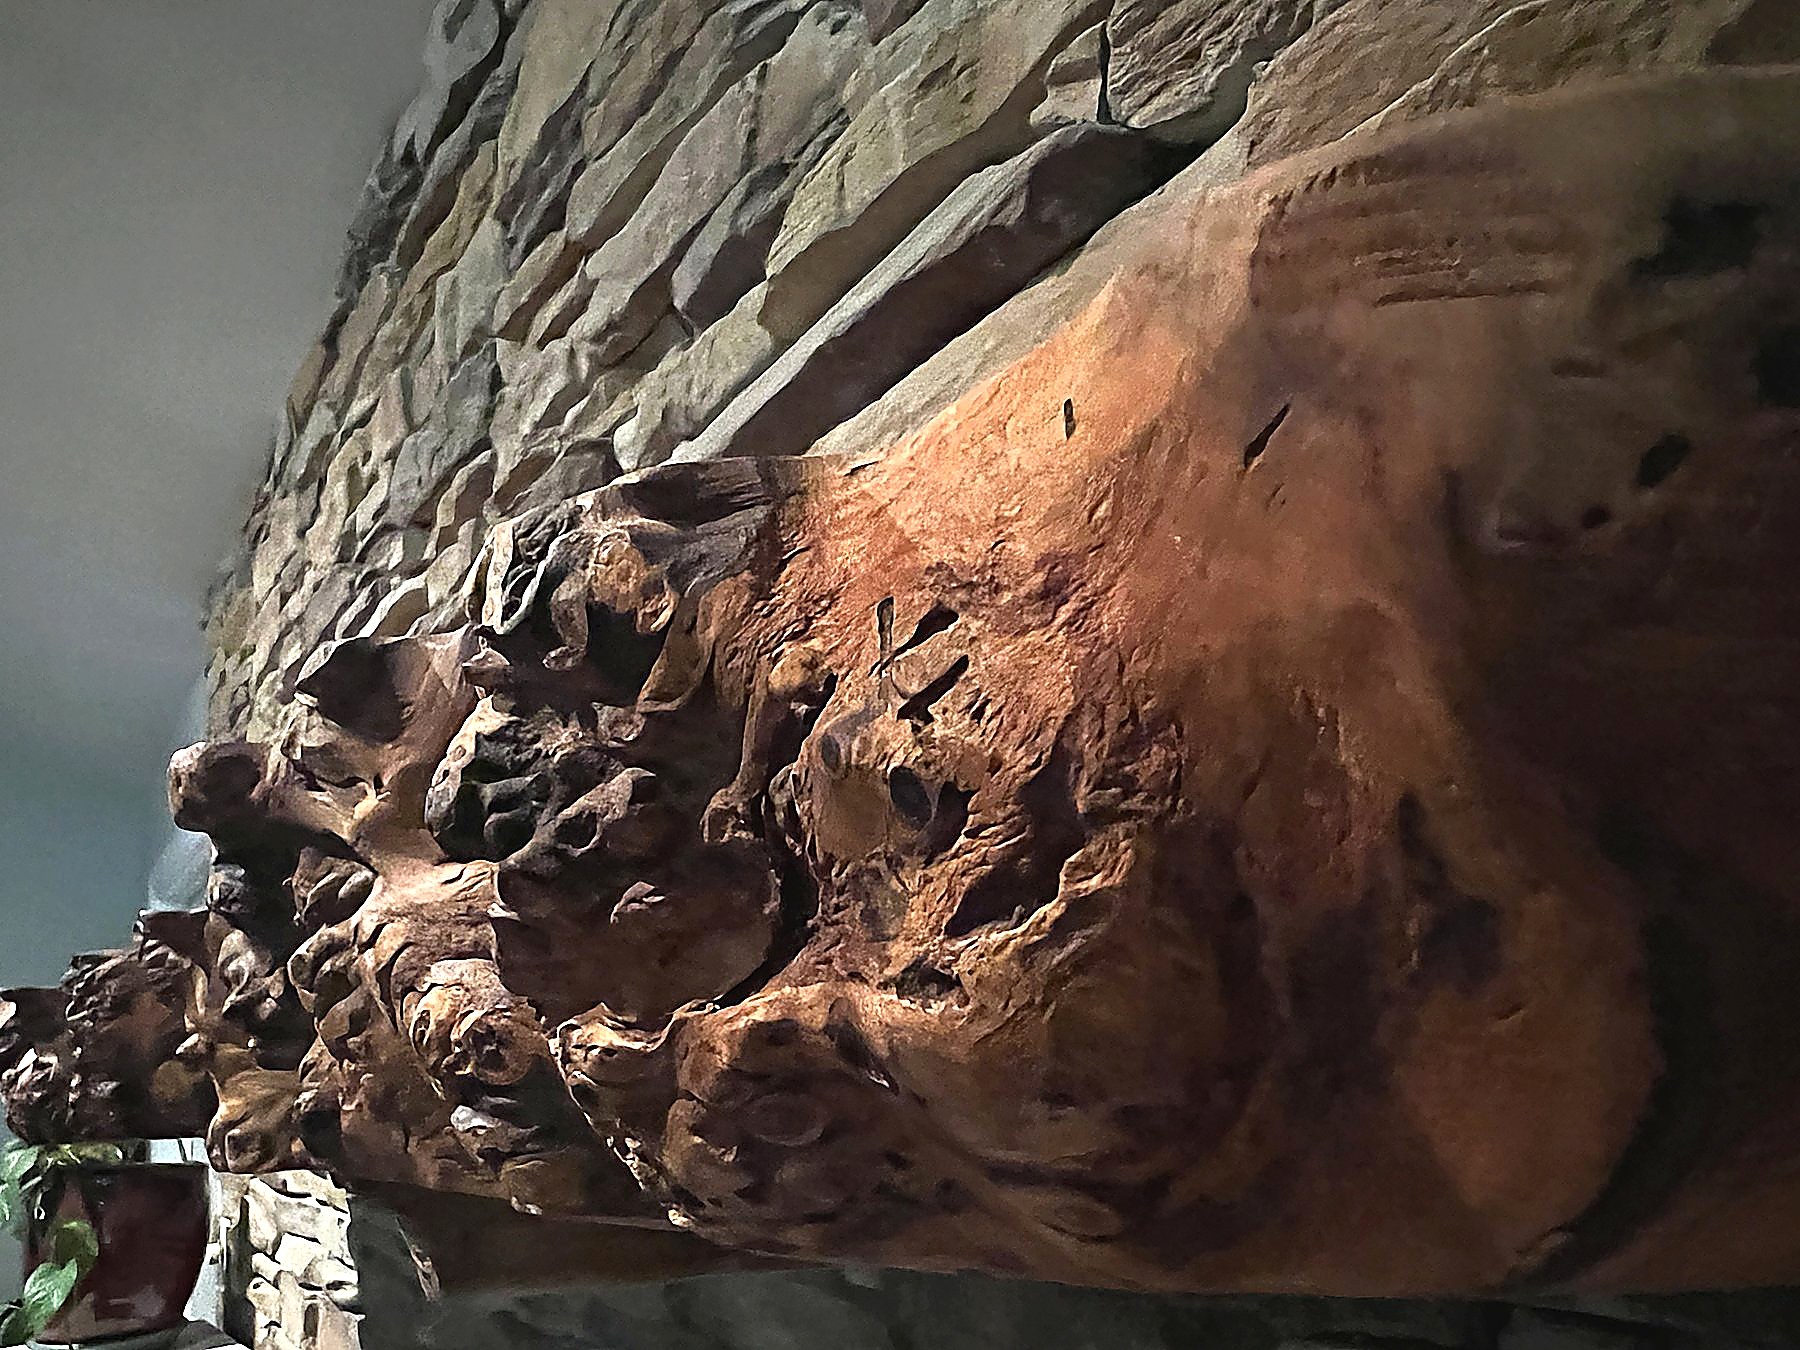
Underside grain
Underside grain after milling — true thickness and honest oak character.
Finished mantel — glossy live edge
Highly figured live-edge mantel with burls and a light-catching finish — finished piece ready for a home.
Beyond the eight steps
More from the yard
Extra shots from the mill yard and shop — sanding, inventory slabs, and a finished piece in place.
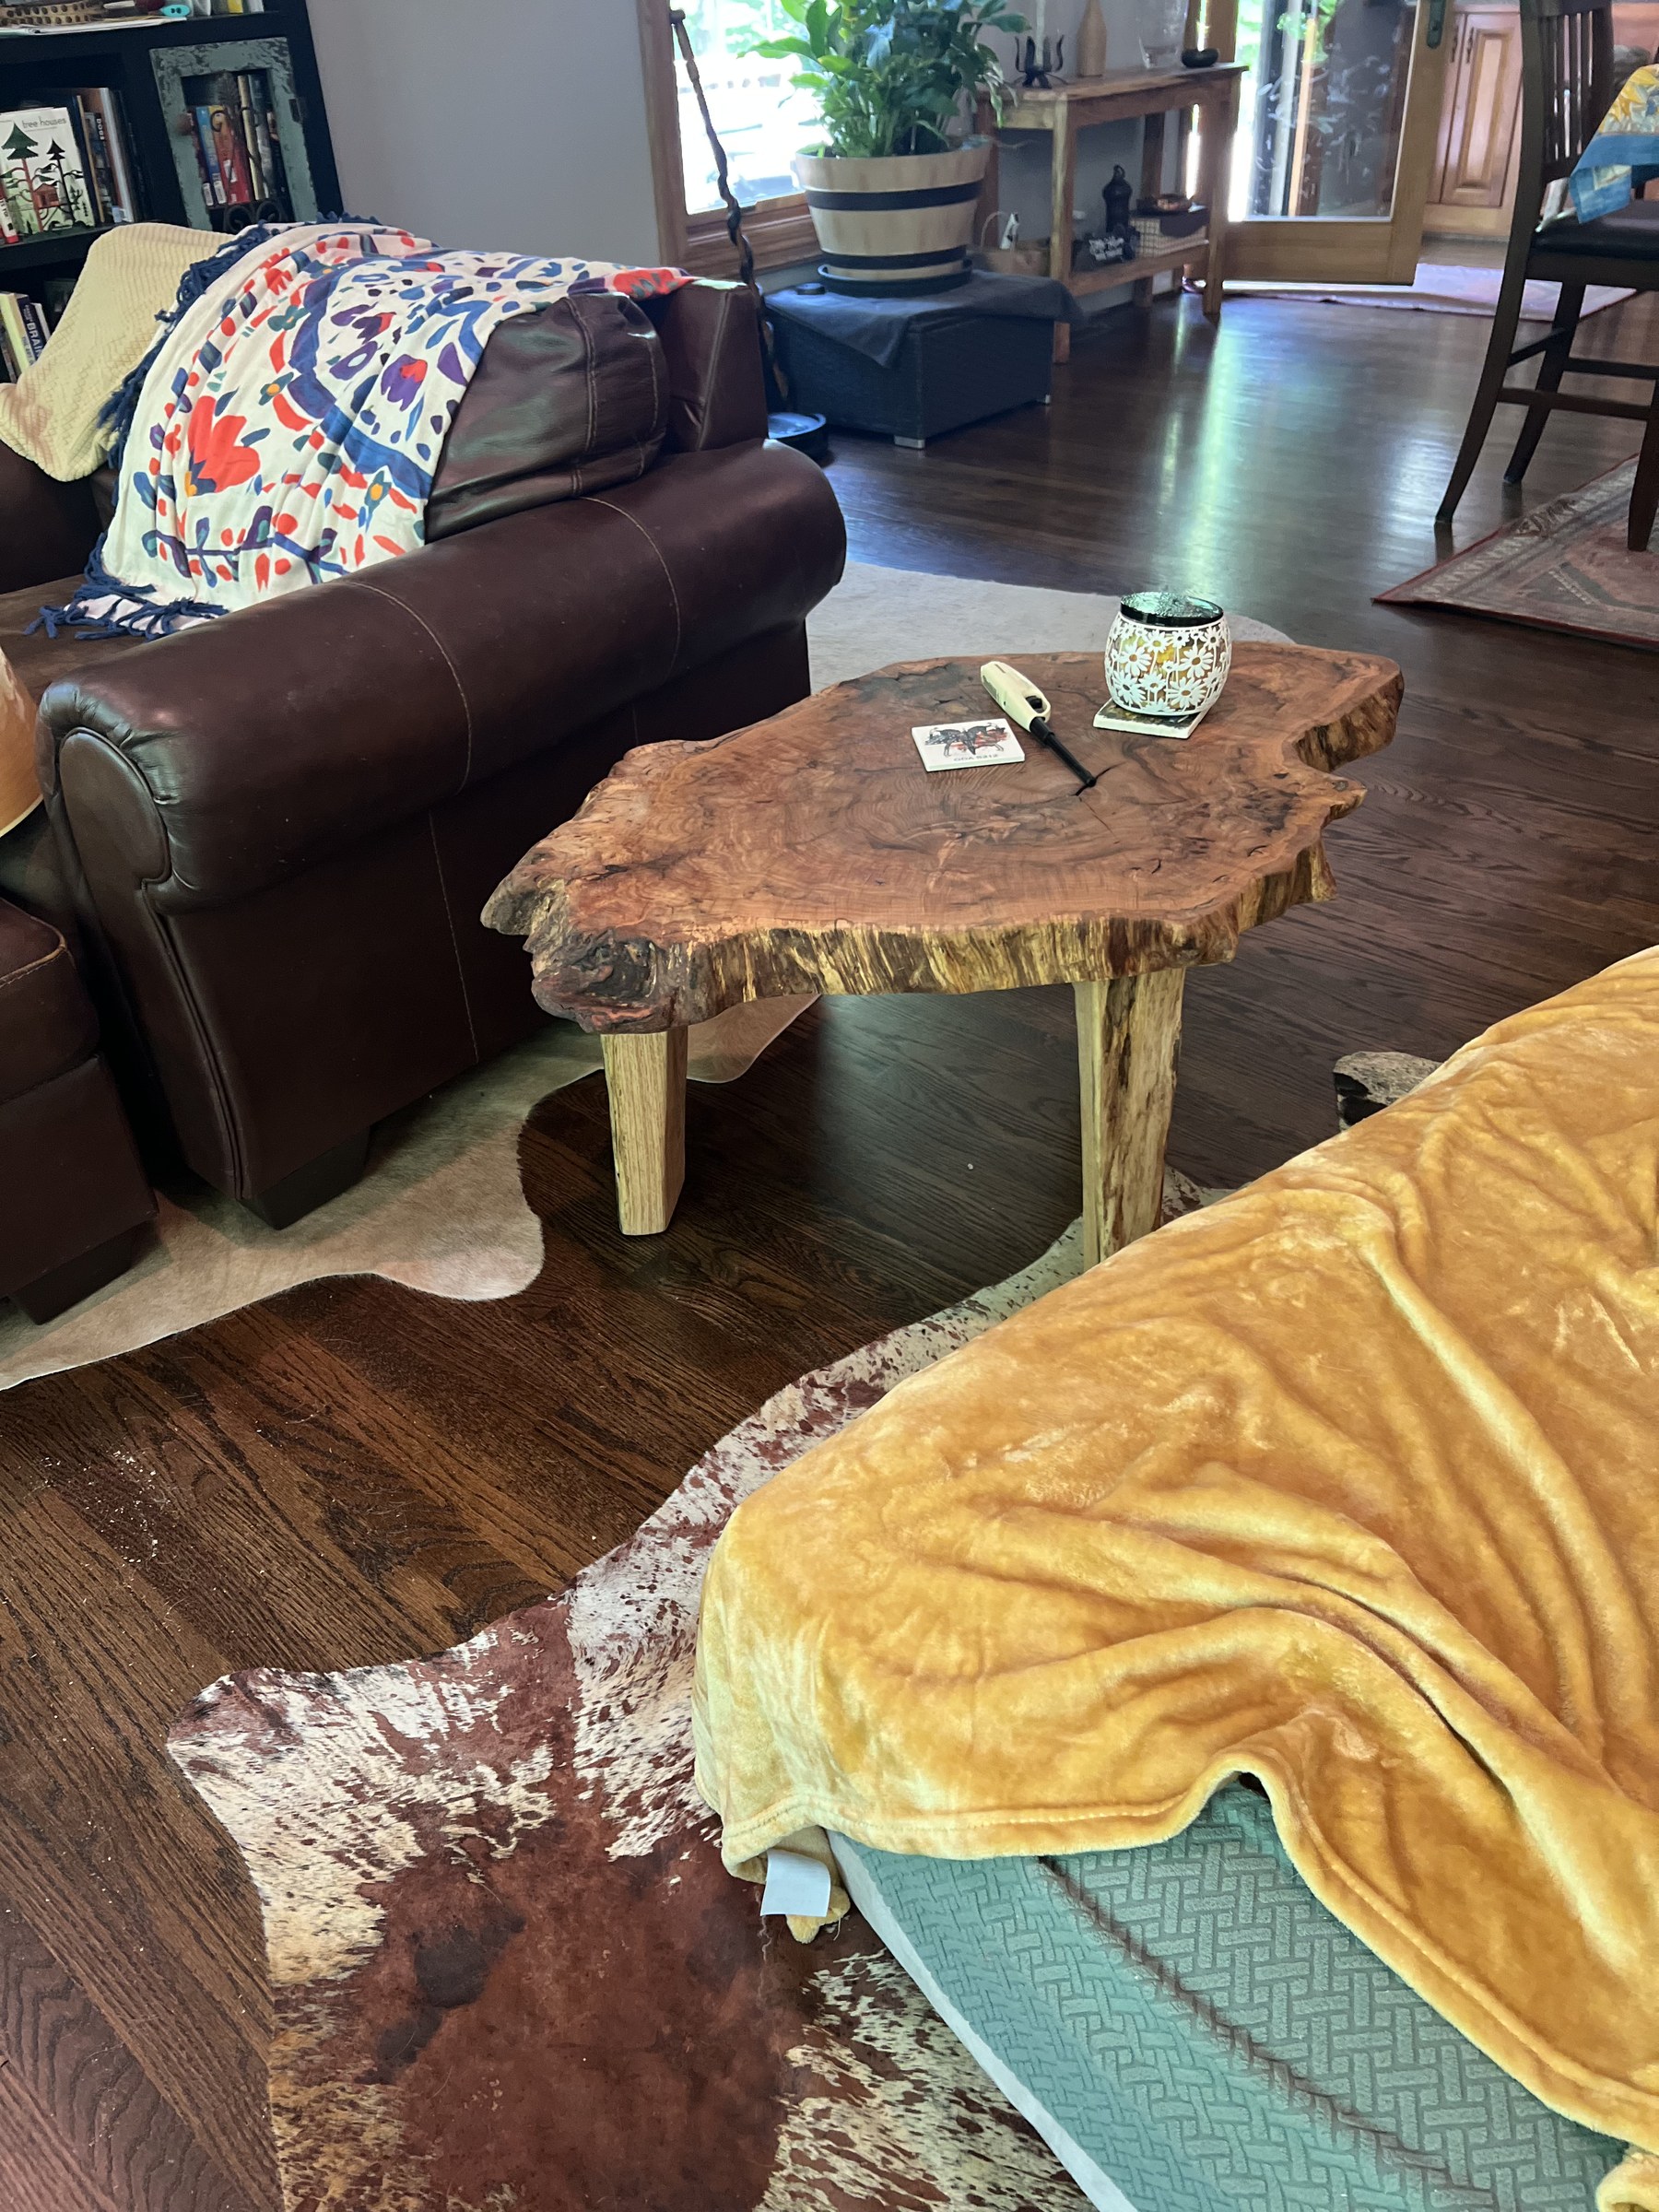
Finished piece
Table in the room
A finished live-edge slab table at home — how the grain and edge read in a living space.
Mill · yard · shop
From the mill & yard
Stills from our mill, yard, and shop — inventory stacks, slabs on the saw, finishing work, and finished pieces.
In the yard
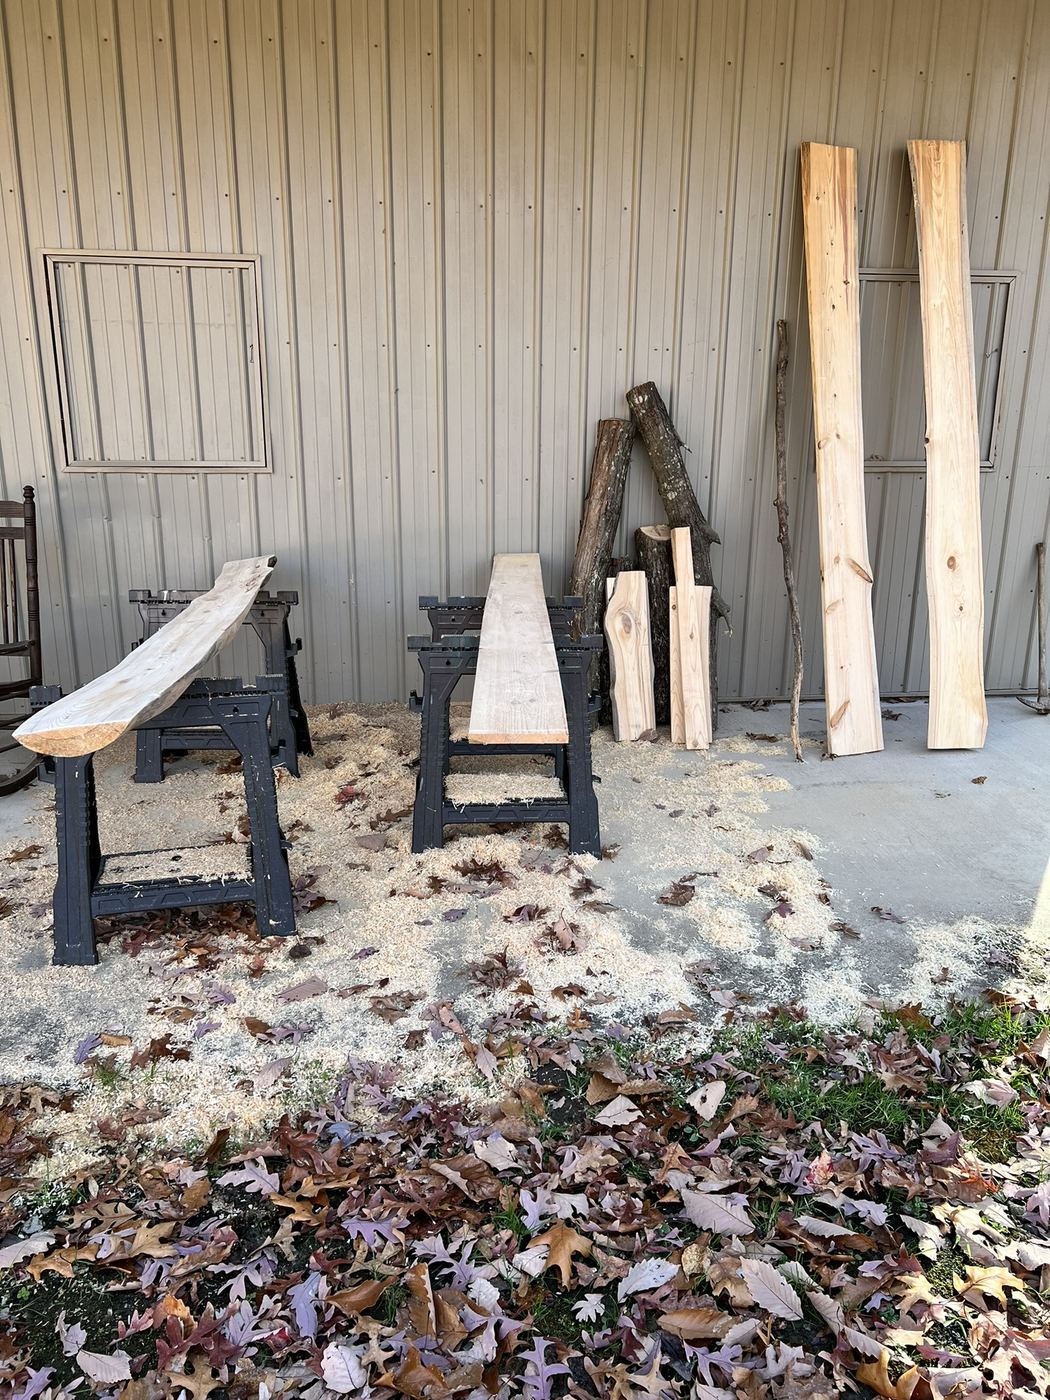
Boards staged
Live-edge stock laid out for inspection and the next pass.
In the yard
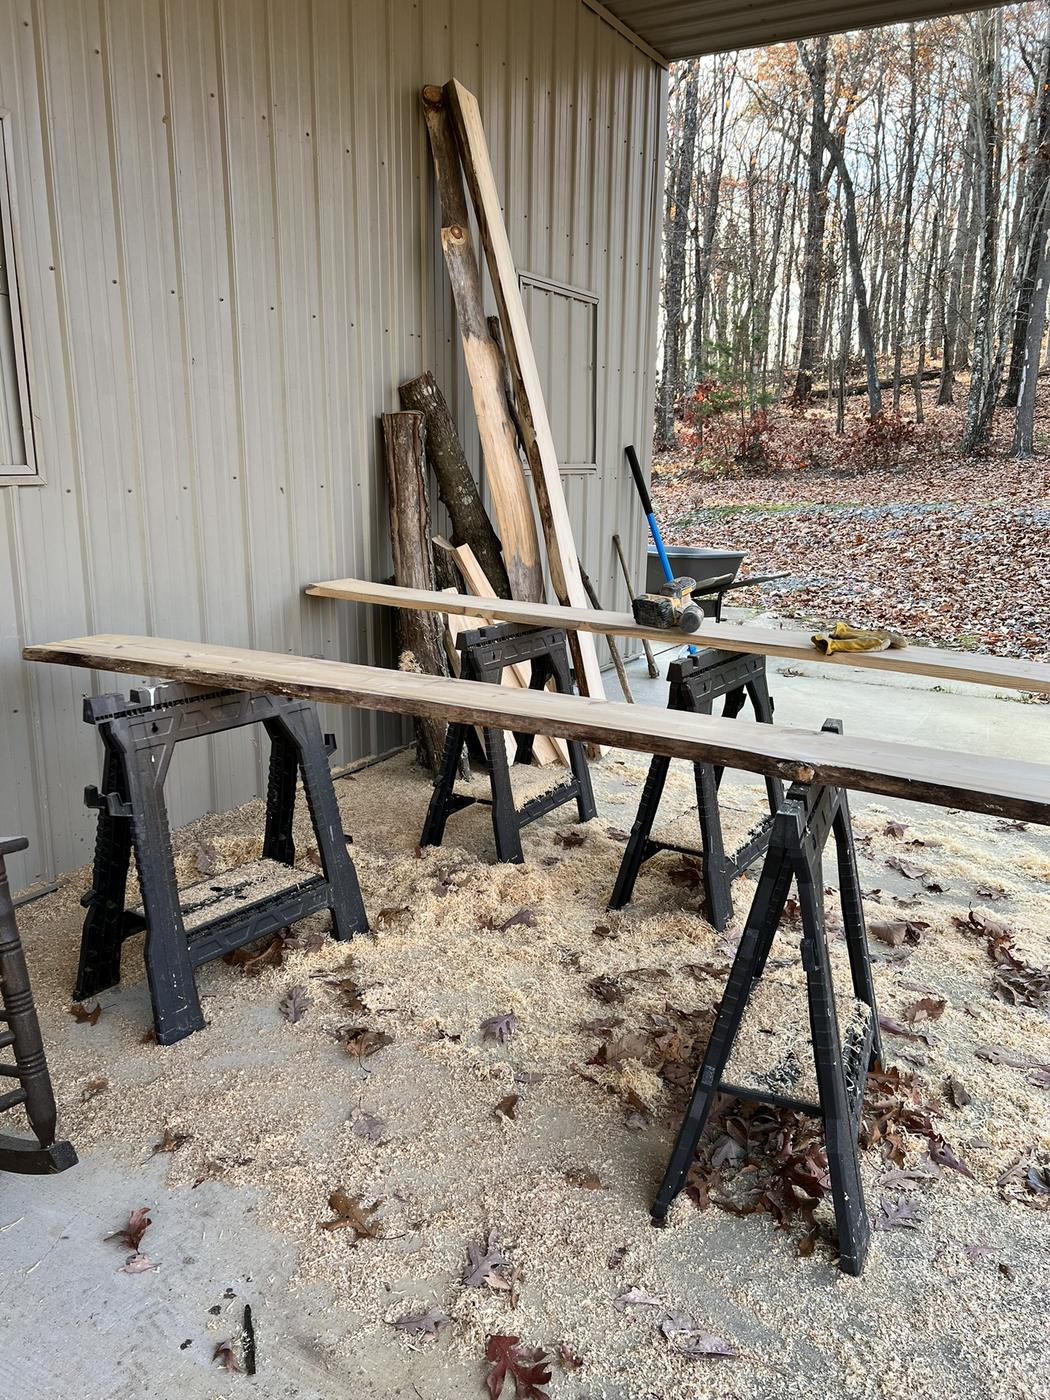
Yard prep
Sawdust and sawhorses — the daily rhythm of mill-to-slab work.
In the yard
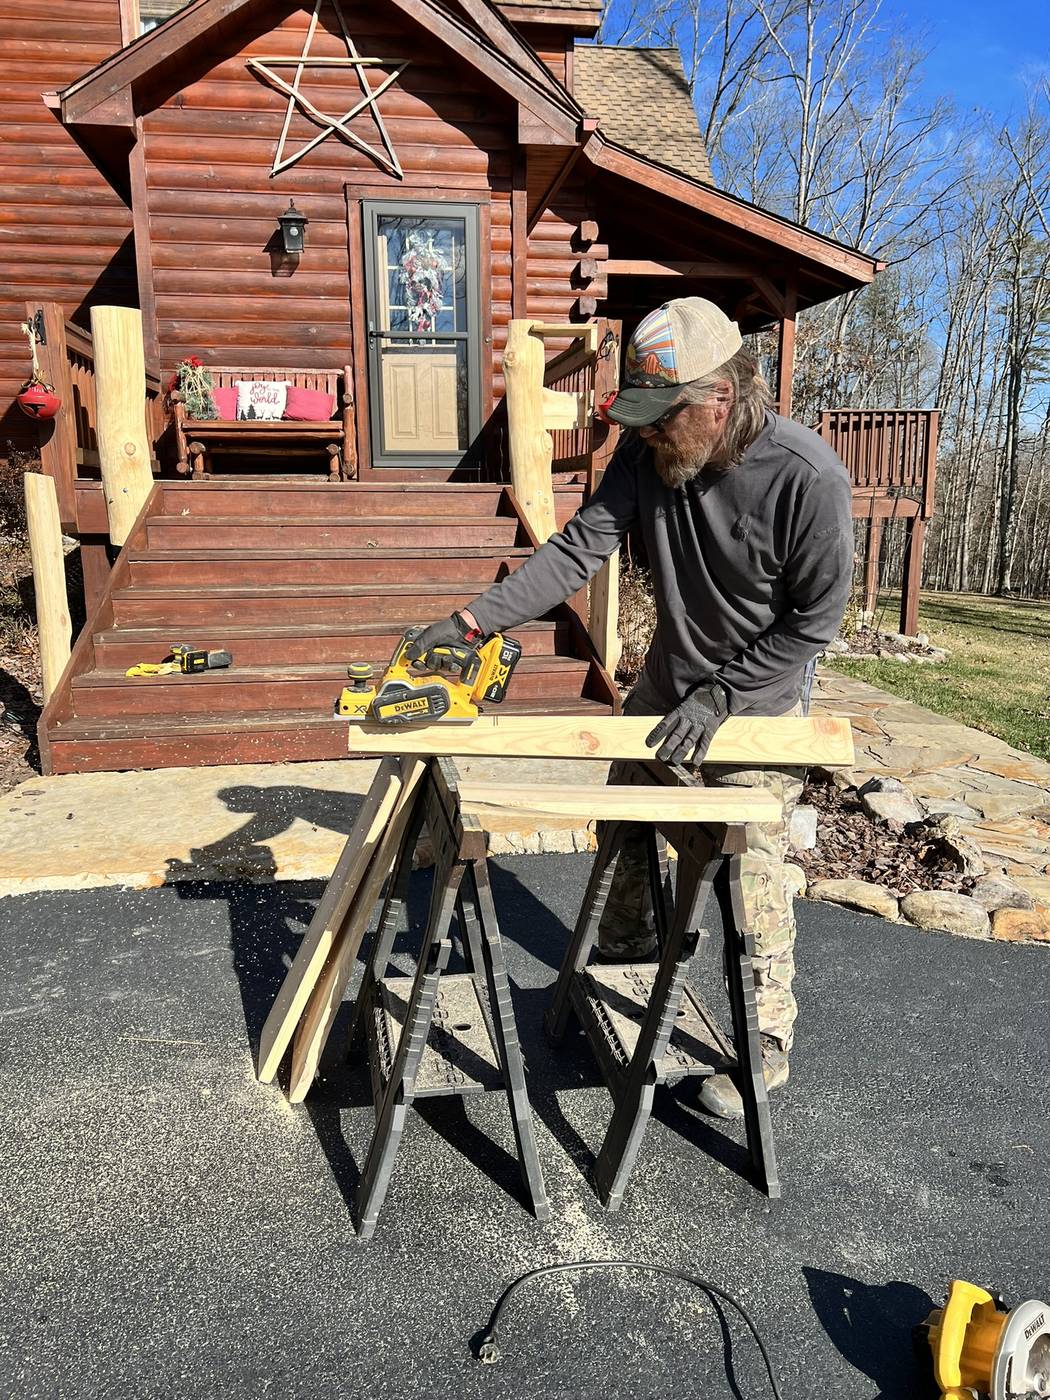
Sanding pass
Hand tooling a slab outdoors before it moves toward finish.

Mill
Planing long stock
Trueing a long oak timber — flat faces for furniture-grade work.
In the yard
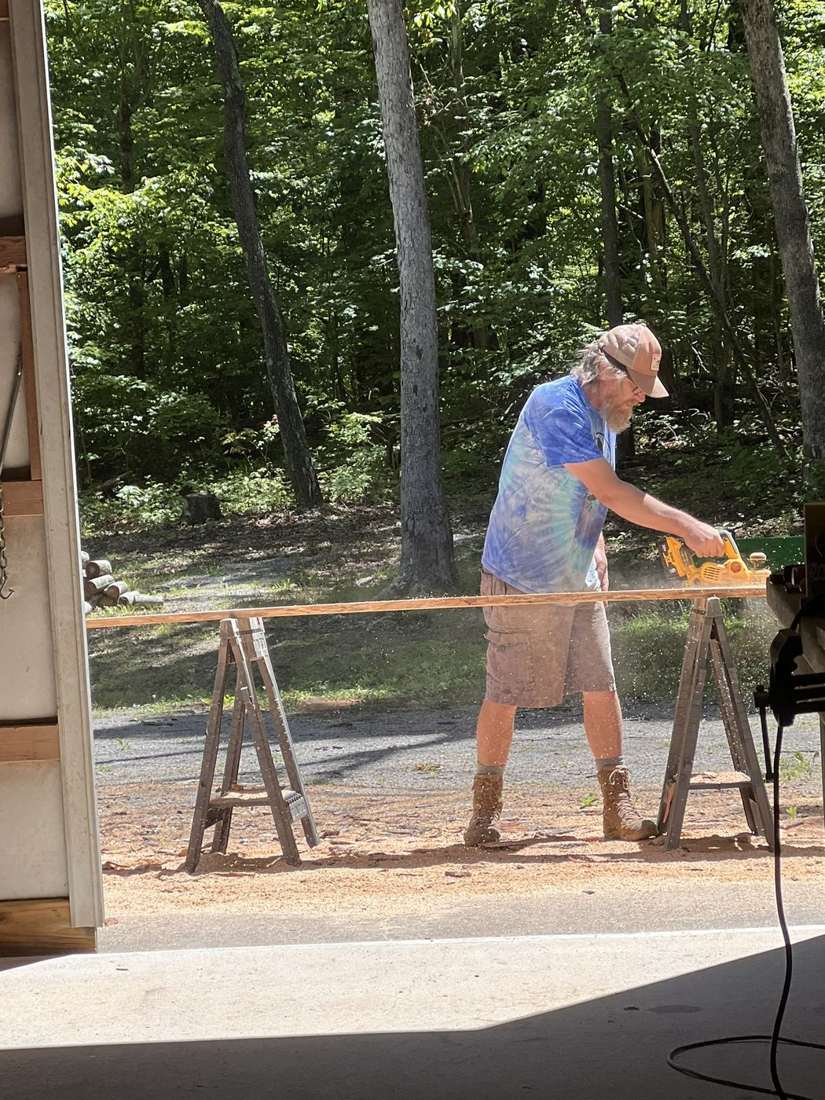
Yard finishing
We finish slabs in the open air when the weather cooperates.
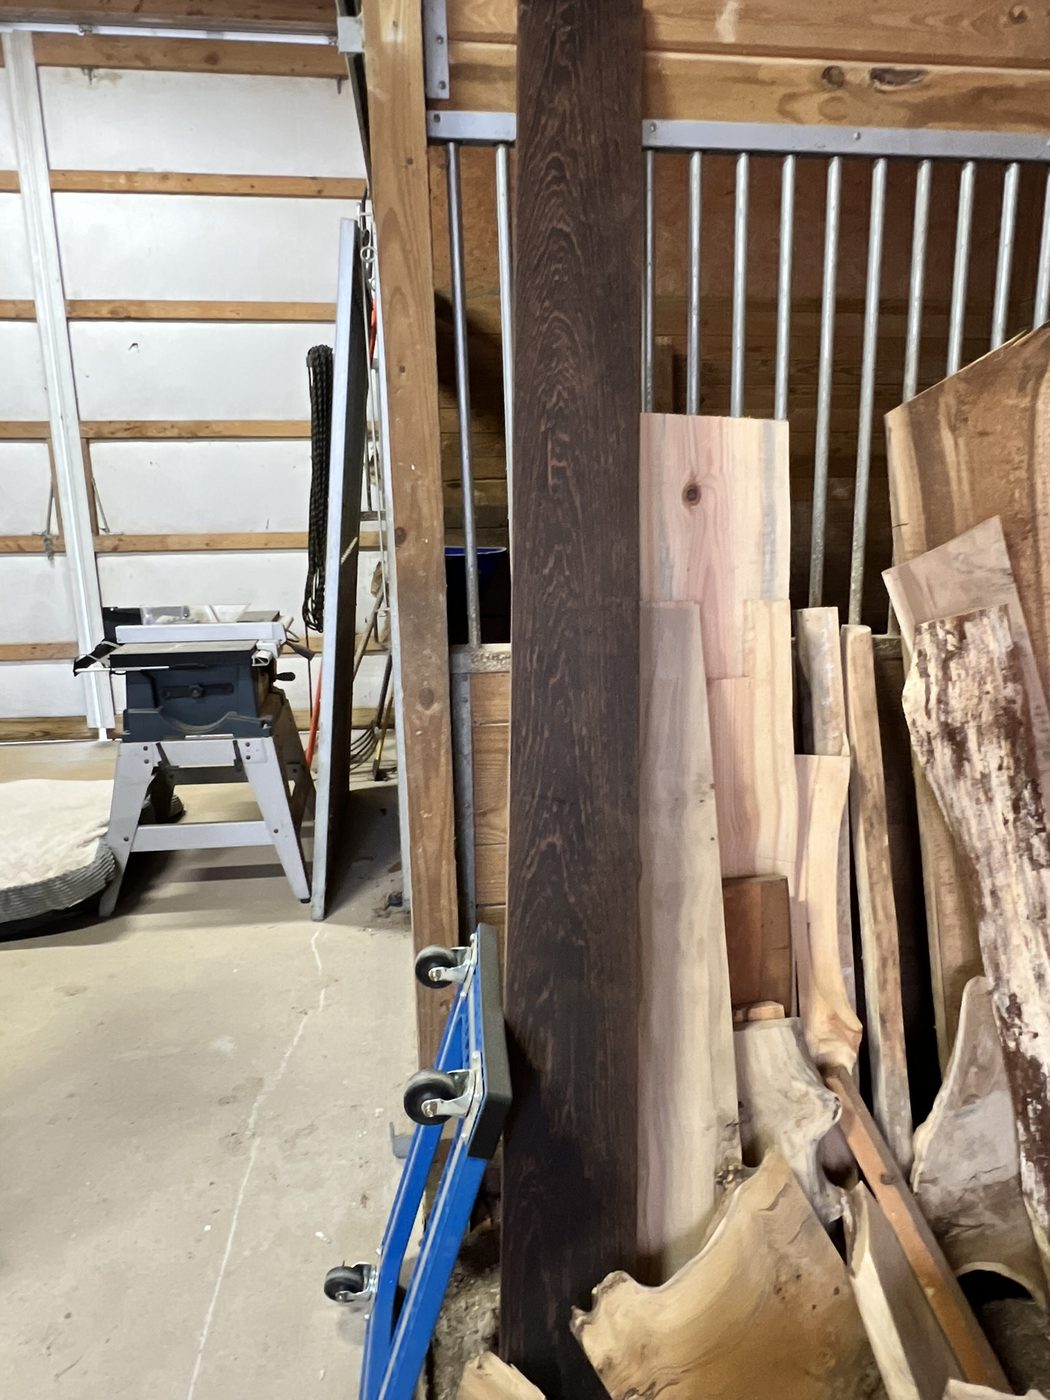
Inventory
Vertical slab rack
Tall slabs staged in the shop, ready for selection.
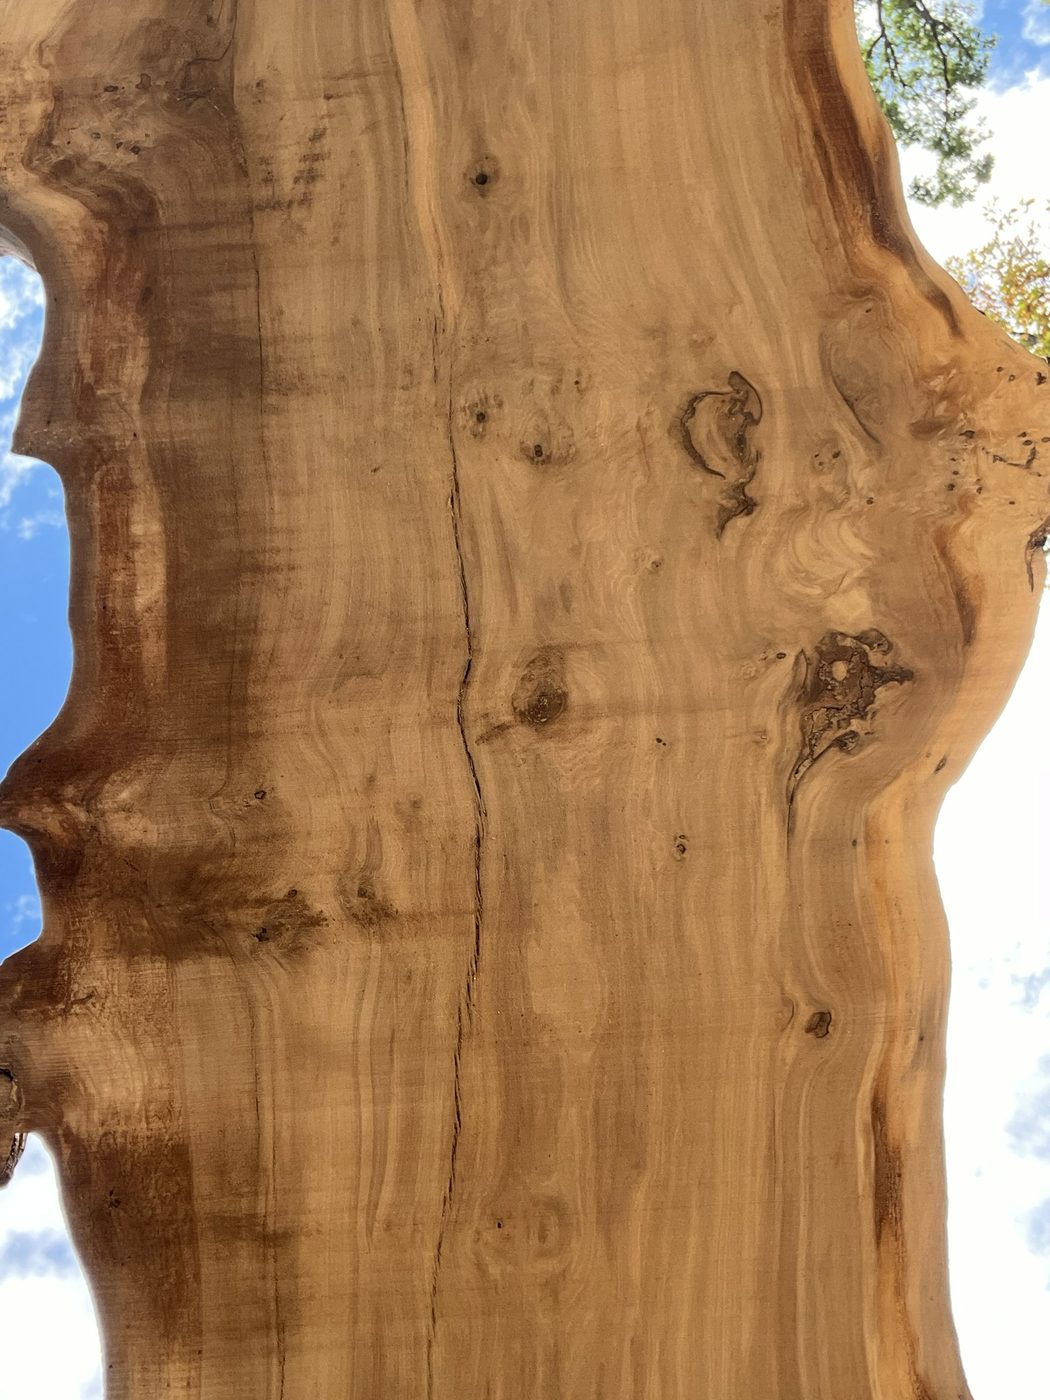
Inventory
Live-edge profile
Wavy natural edge and open grain — character that reads from across the room.
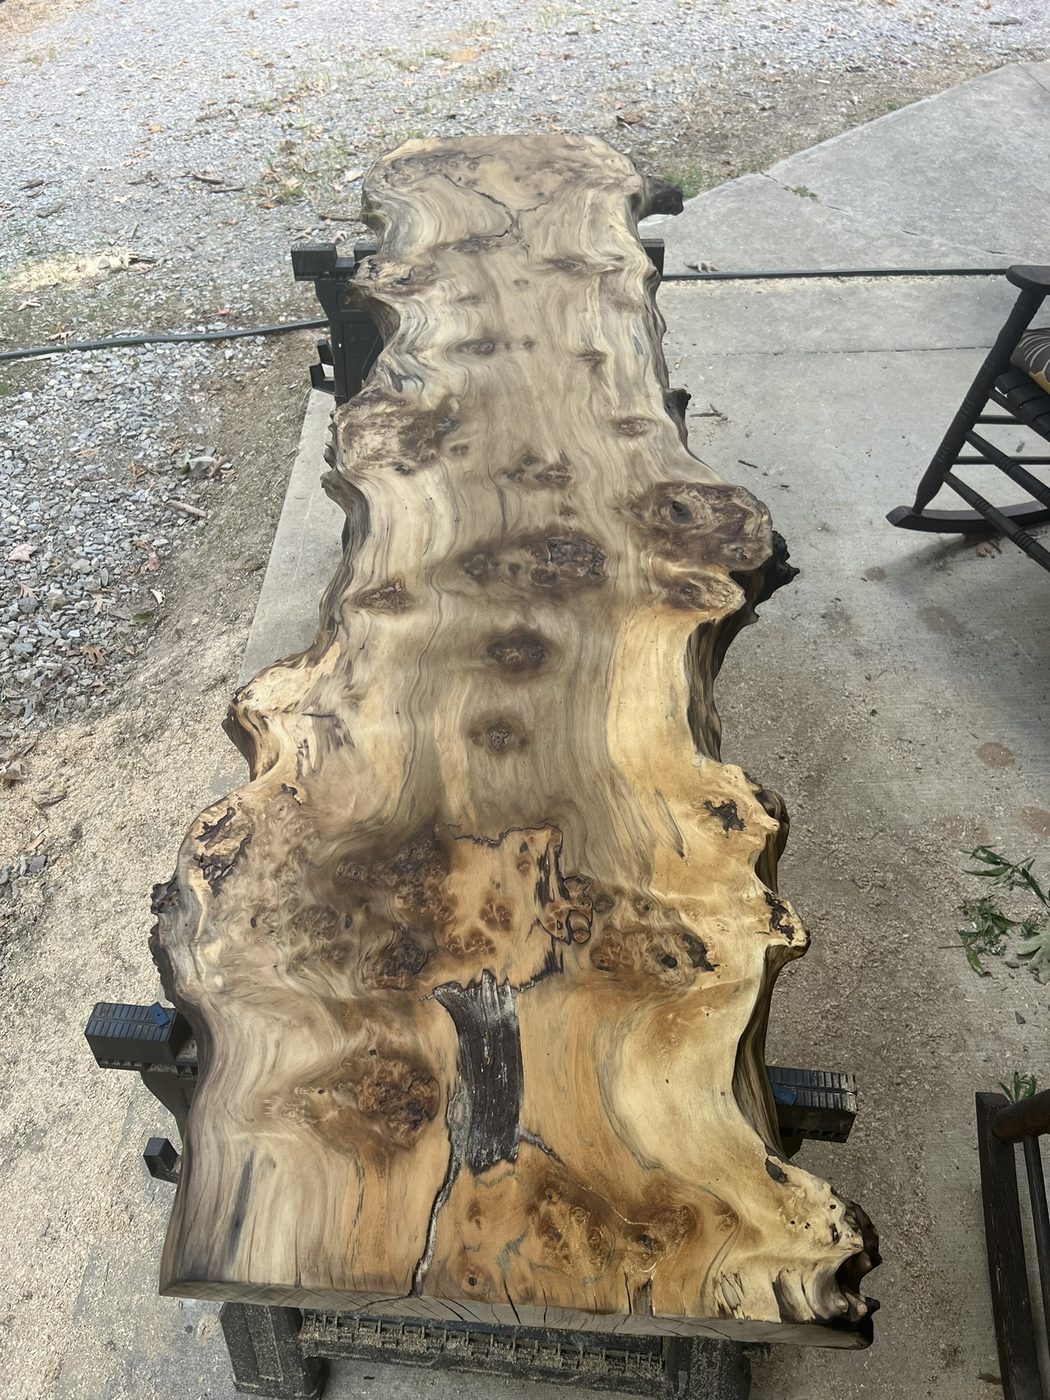
Inventory
Figured face
Movement and figure across a long live-edge face.
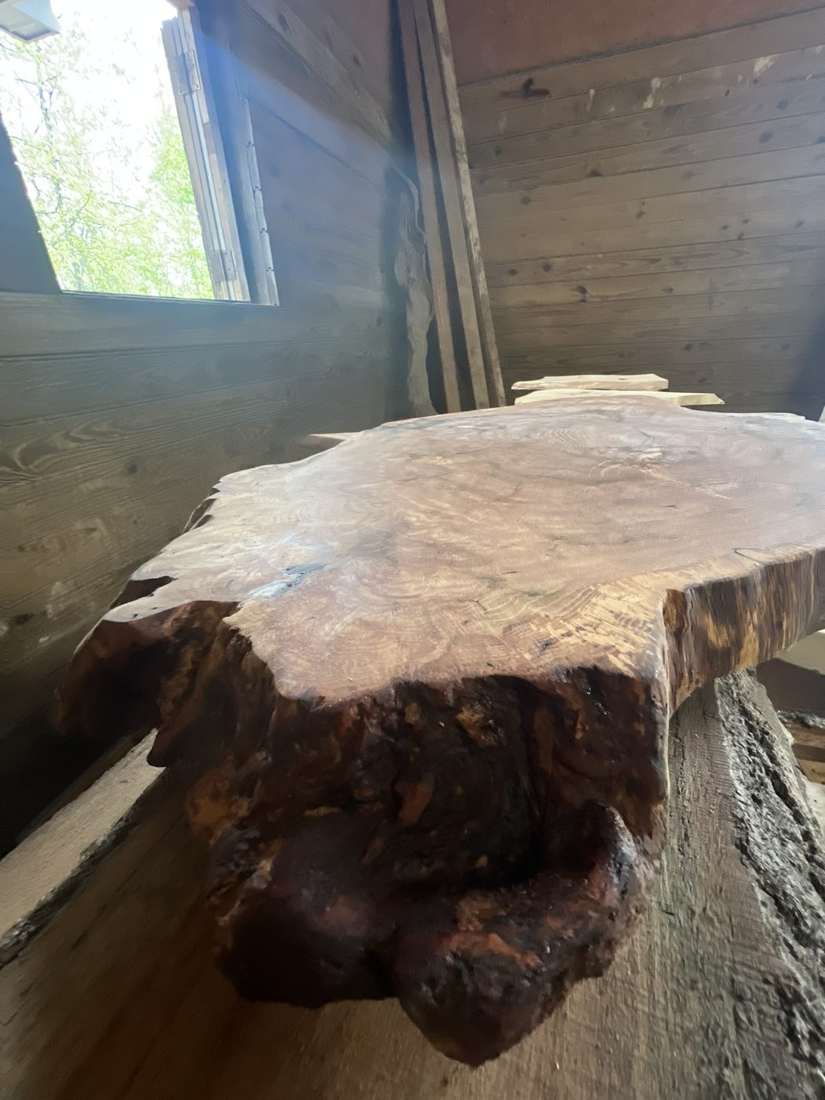
Inventory
Statement blank
Thick, irregular blank — the kind of piece that becomes a table.
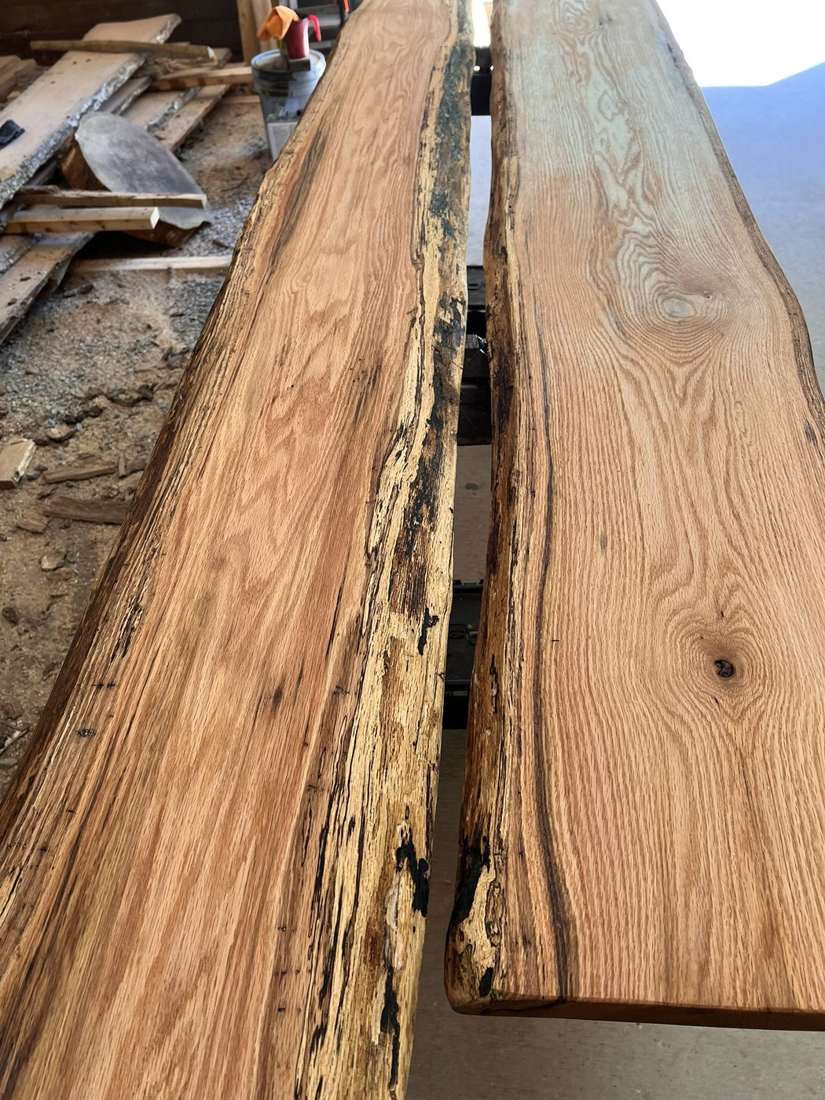
Inventory
Paired oak slabs
Matching light oak slabs staged together for book-matched or paired builds.
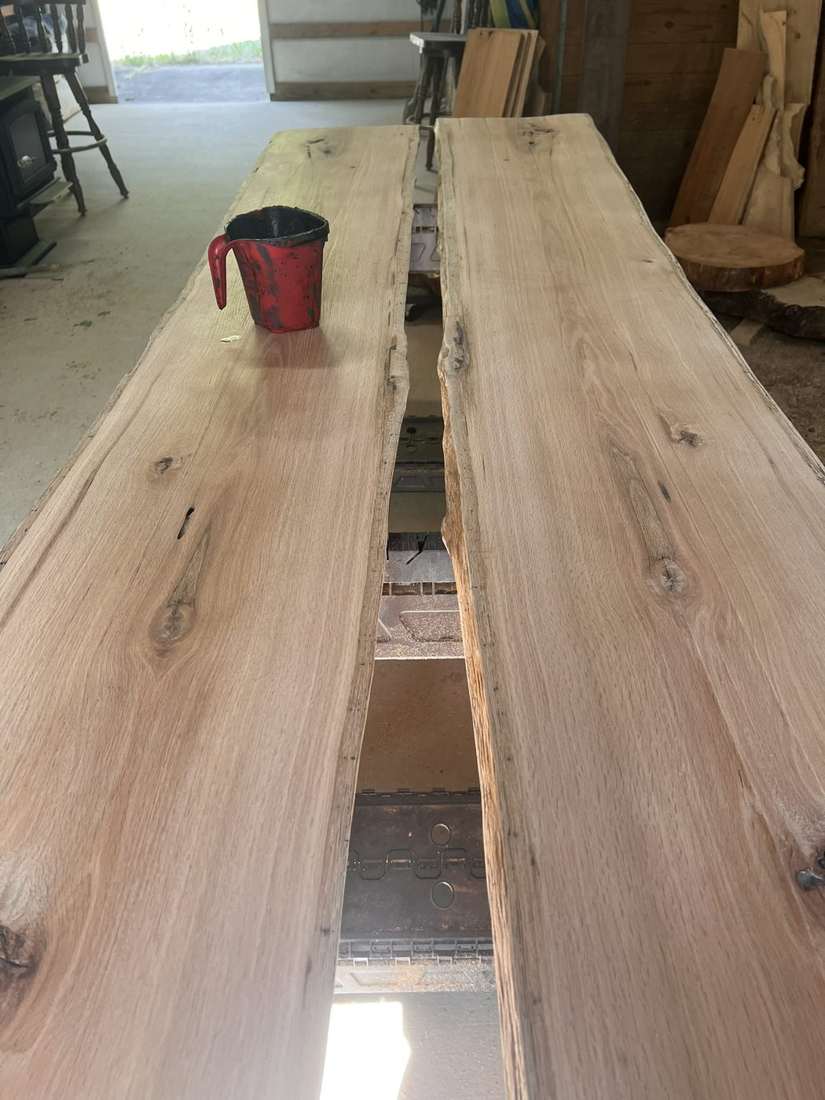
Inventory
Length check
Looking down the run — width, cup, and color before we commit to finish.
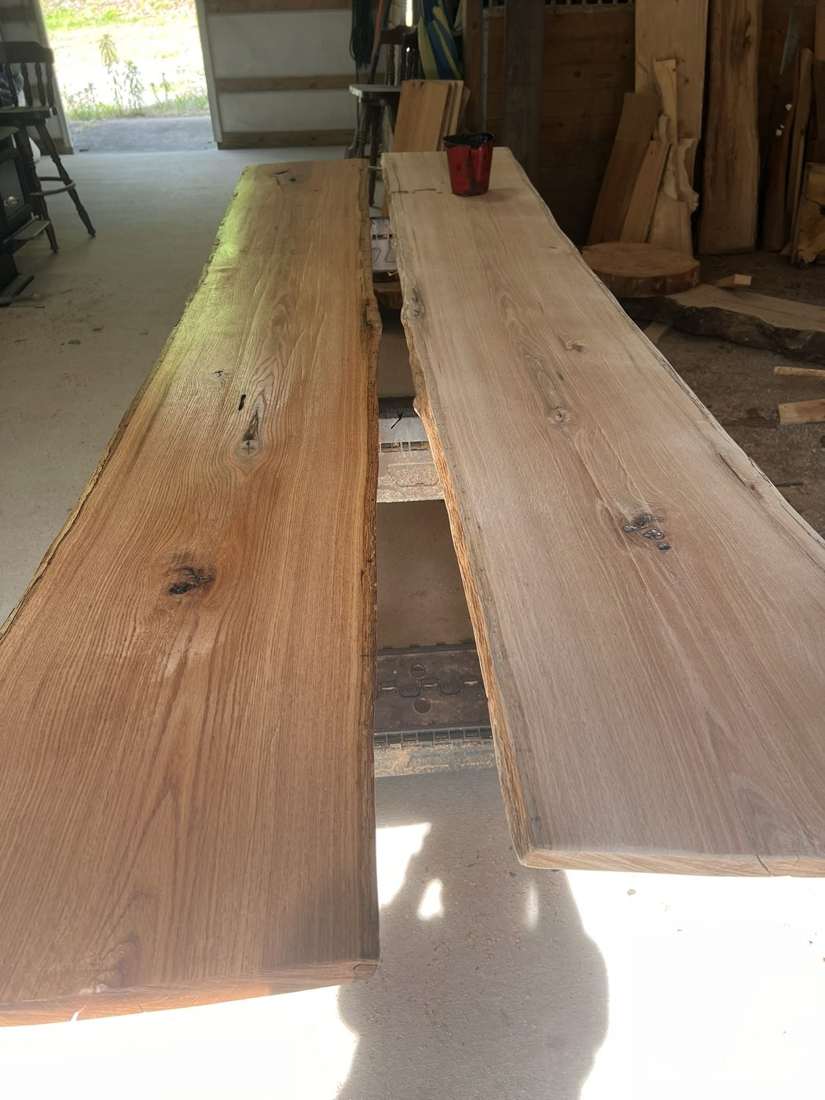
Inventory
Clean oak faces
Smooth, light oak ready for oil, stain, or clear coat.
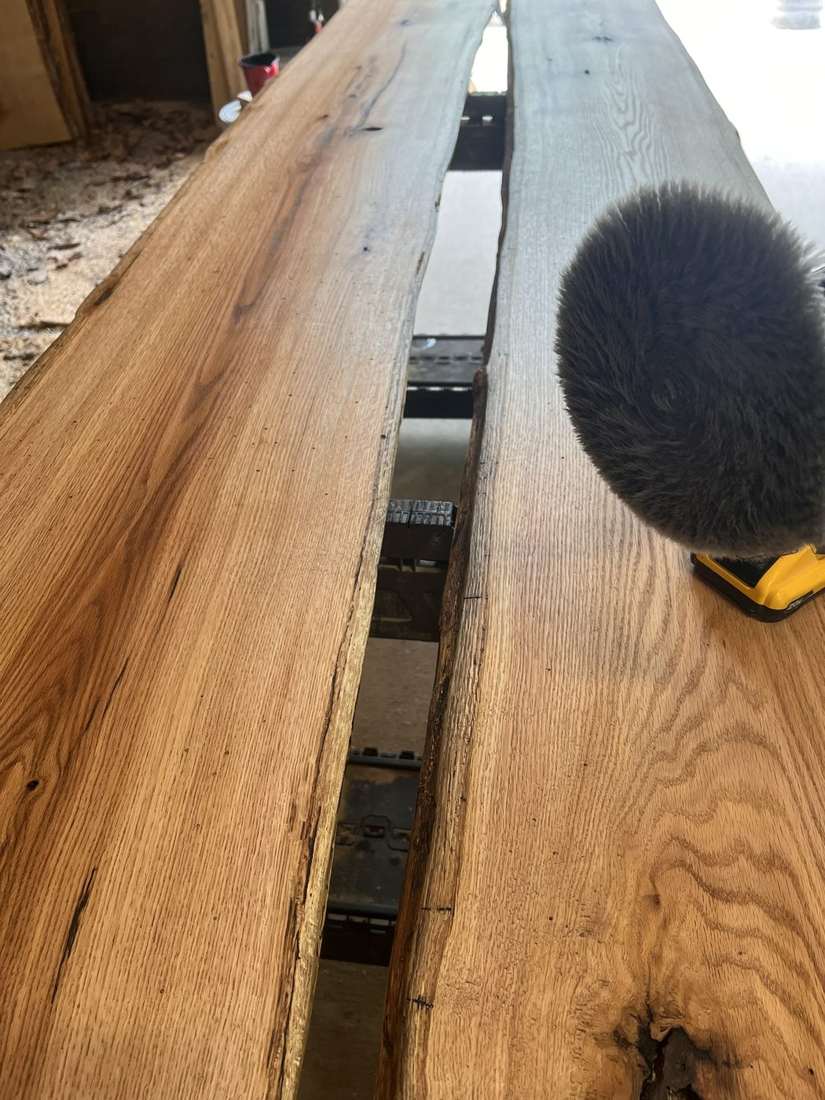
Detail
Grain between slabs
Close look at color and seam where paired slabs meet.
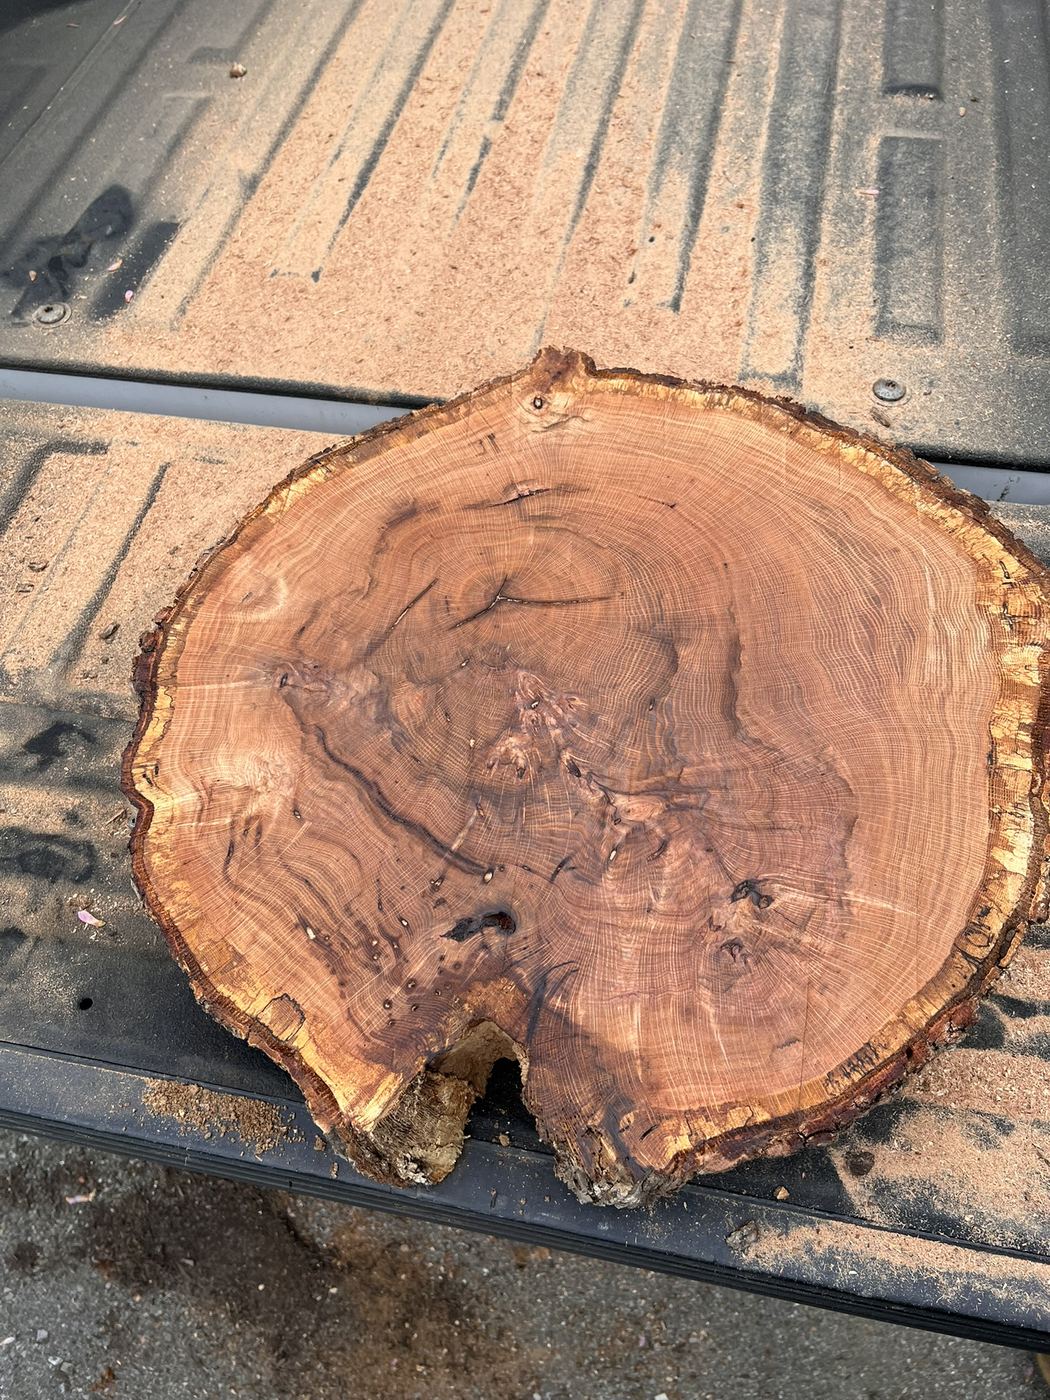
Inventory
Cookie slab
Cross-section “cookie” — growth rings and sapwood in one view.
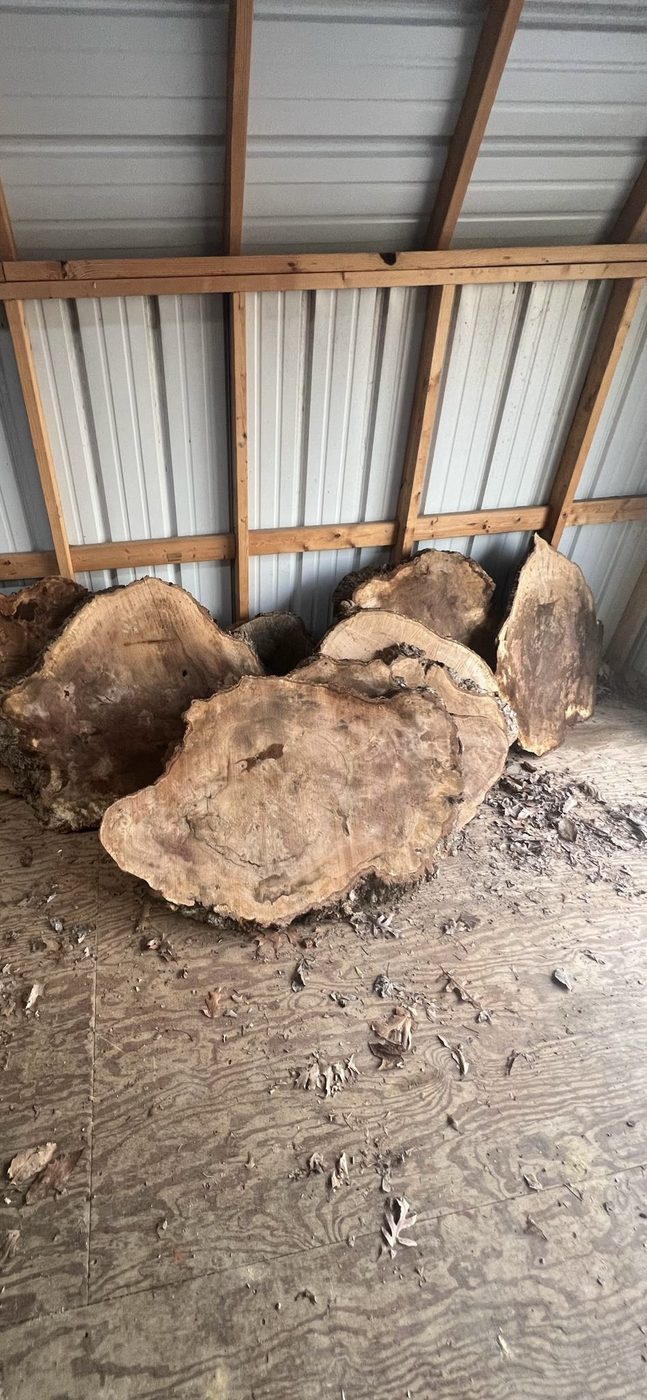
Inventory
Burls & blanks
Raw burls and irregular stock waiting for custom work.
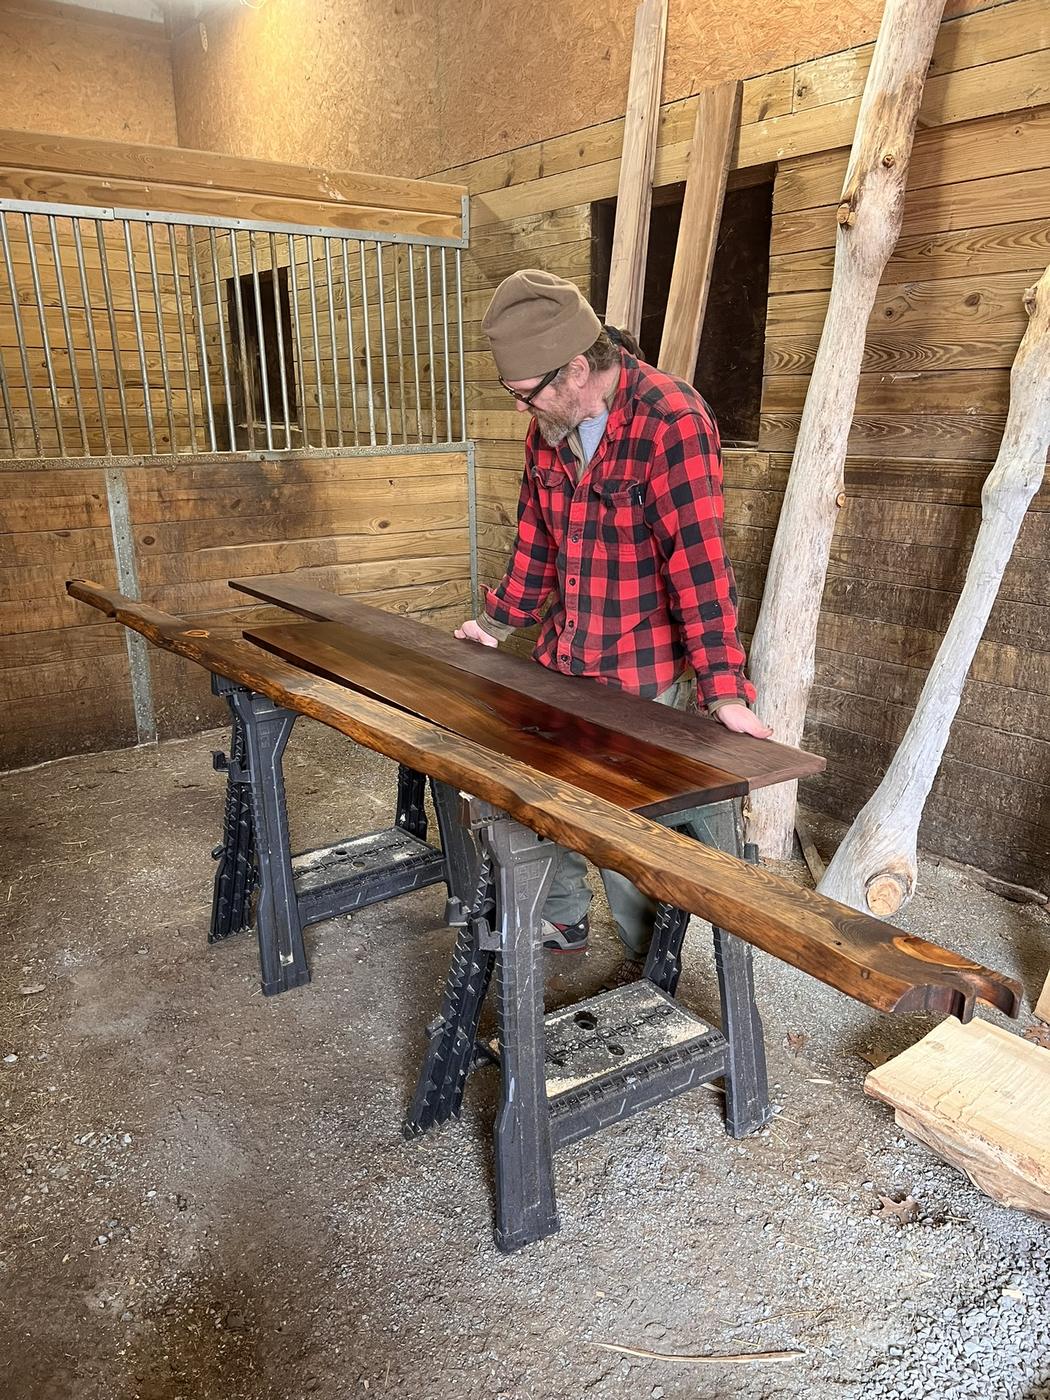
Finishing
Finishing a long slab
Dark finish going down on a long live-edge blank in the shop.
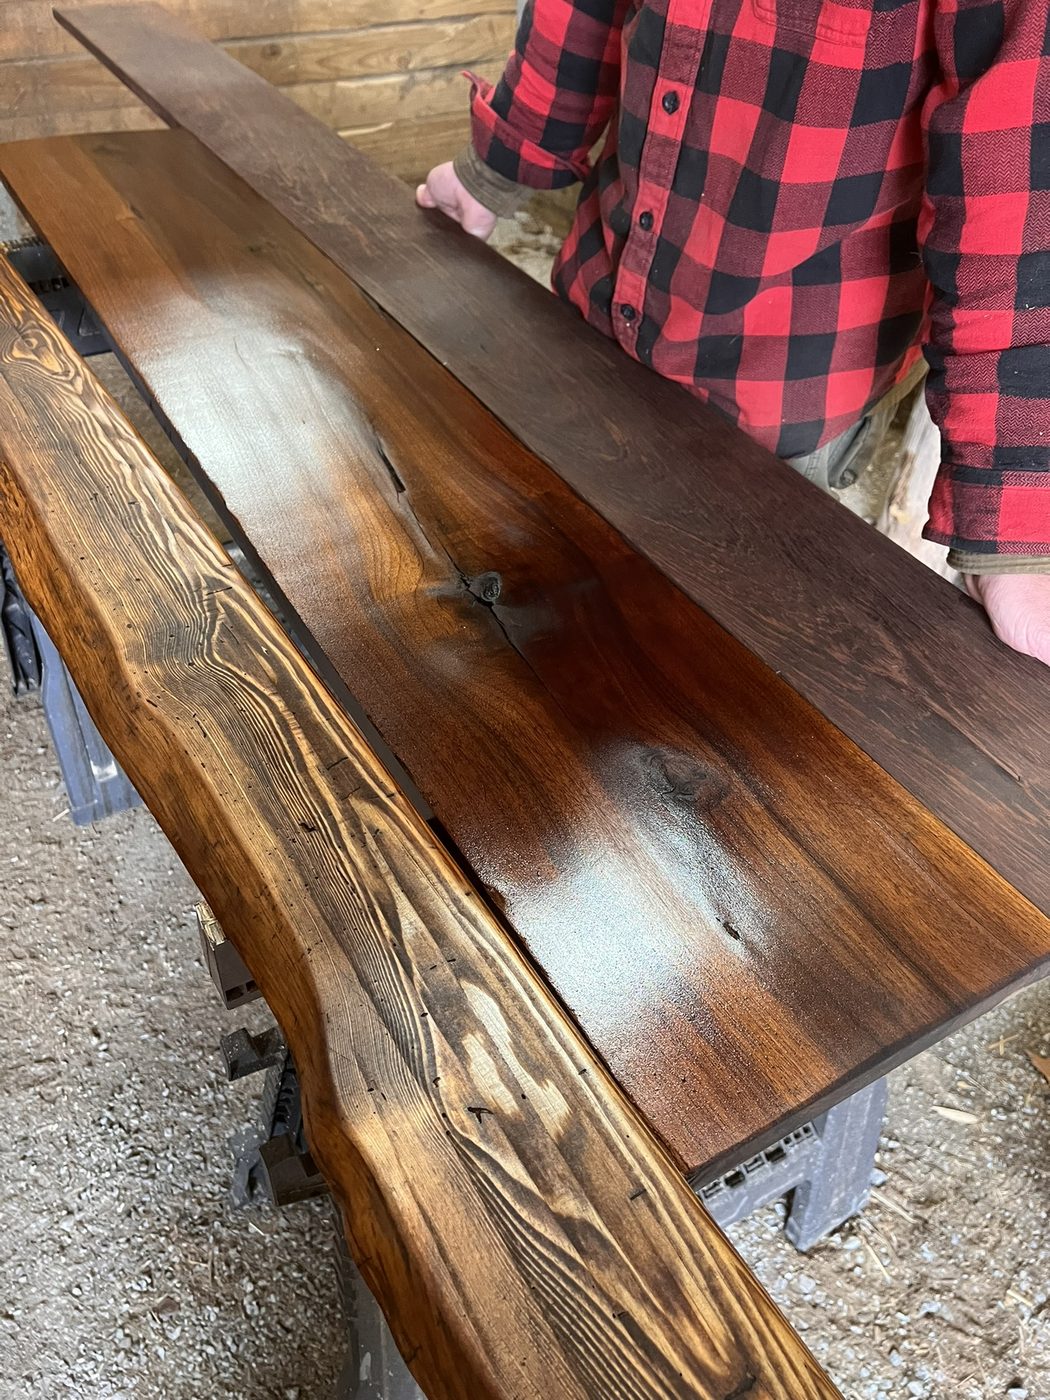
Finishing
Rich stained face
Deep tone over live edge — grain still reading through the finish.
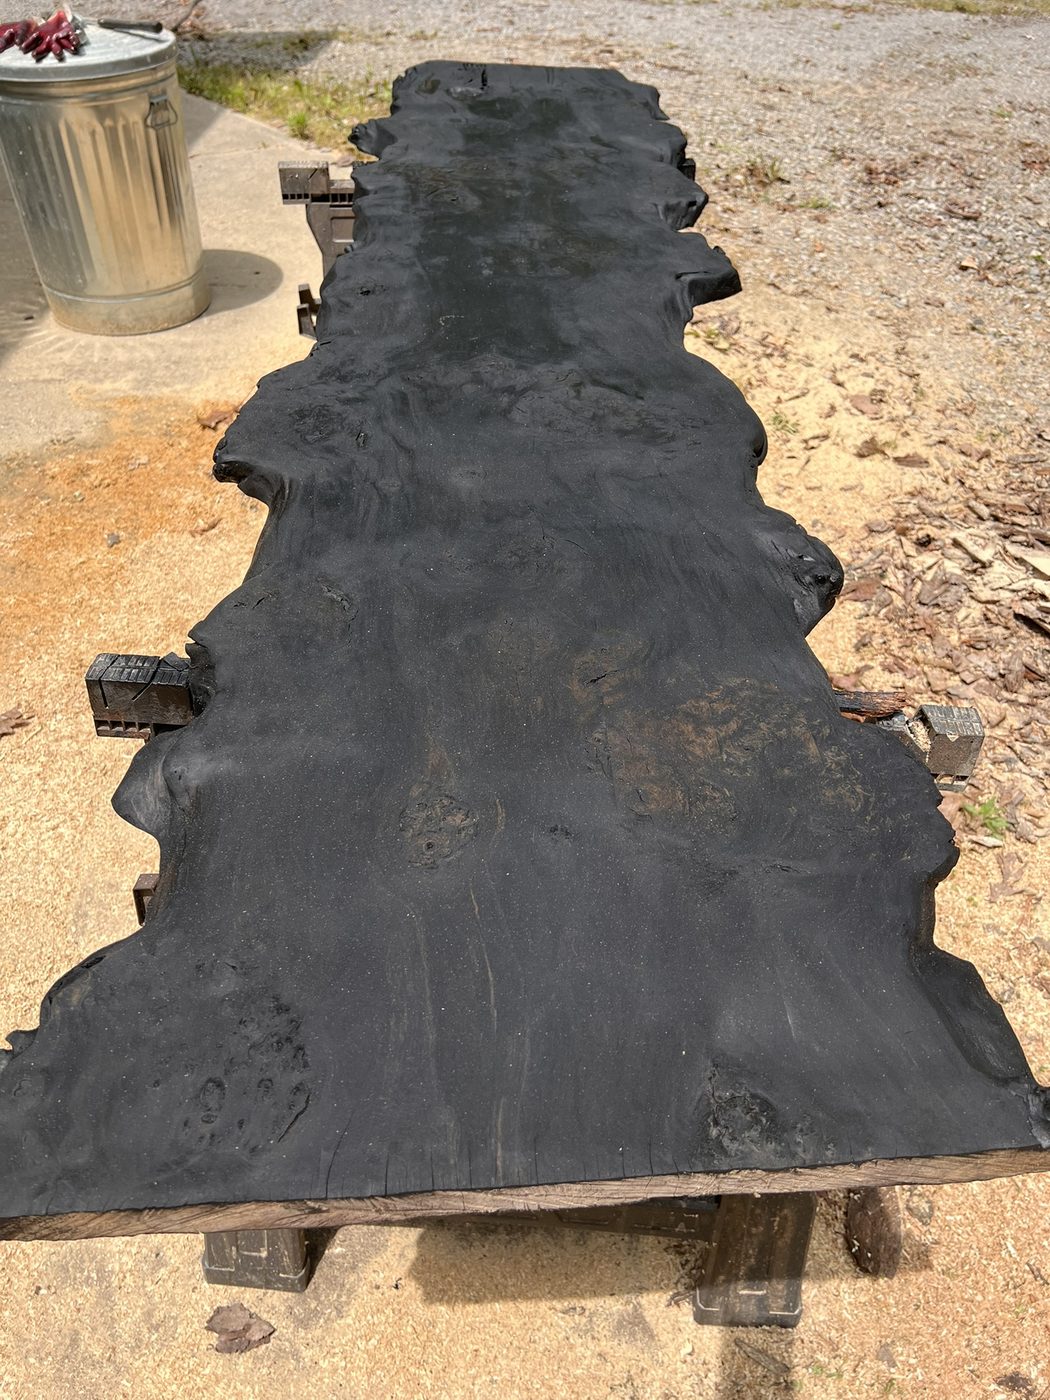
Finishing
Dark tabletop length
Long ebony-toned slab on horses — conference or dining scale.
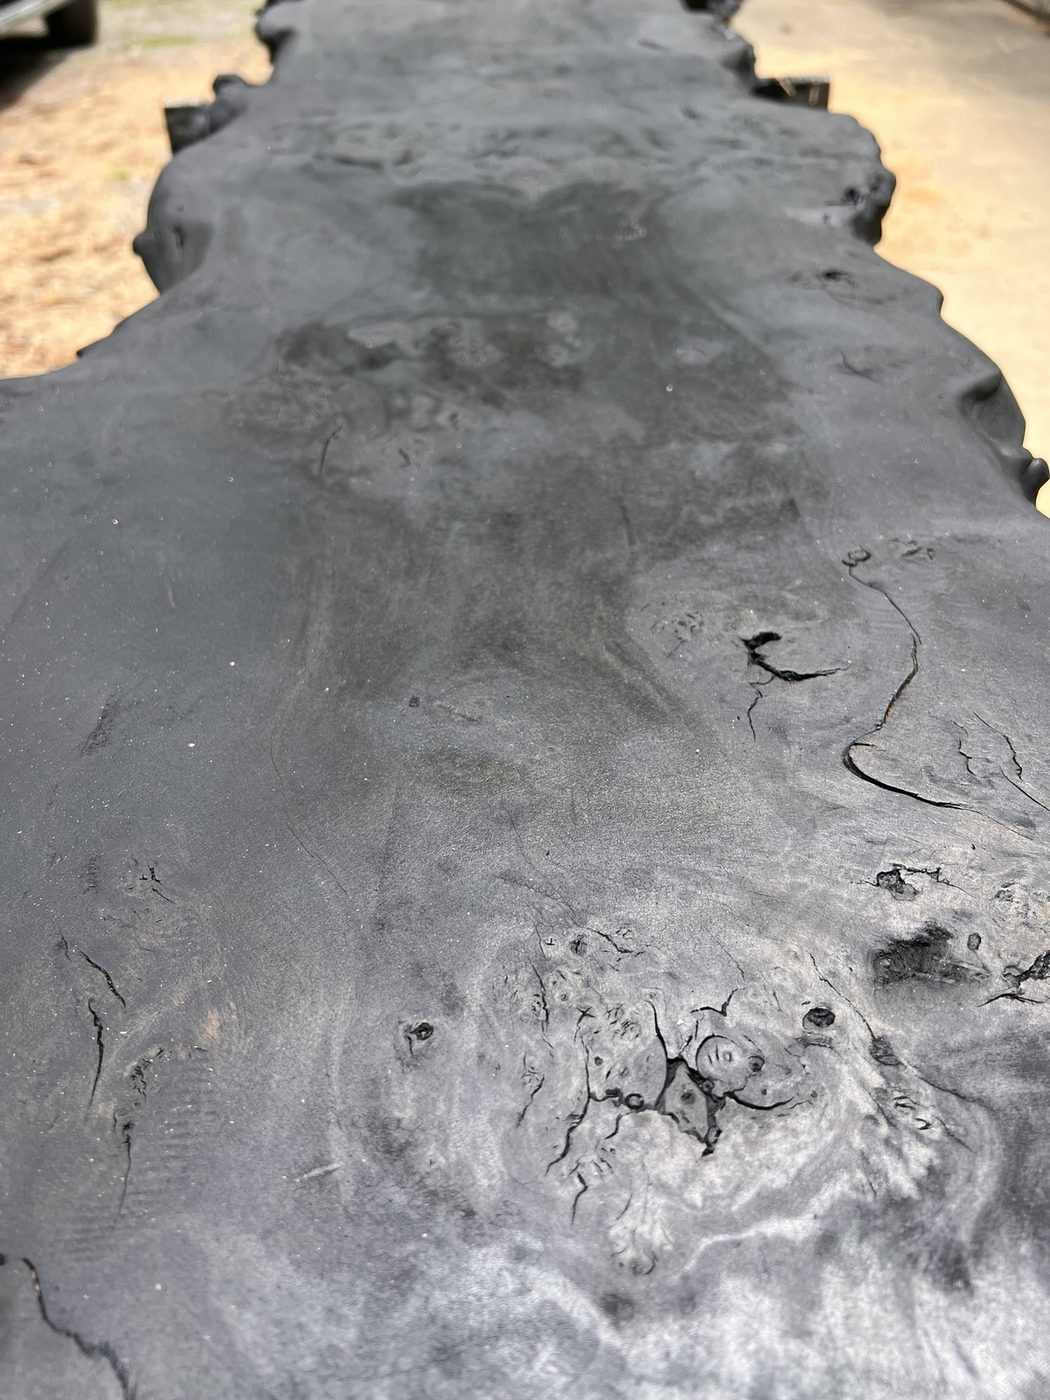
Detail
Dark grain texture
Close-up of a dark-finished face — pores and figure still present.
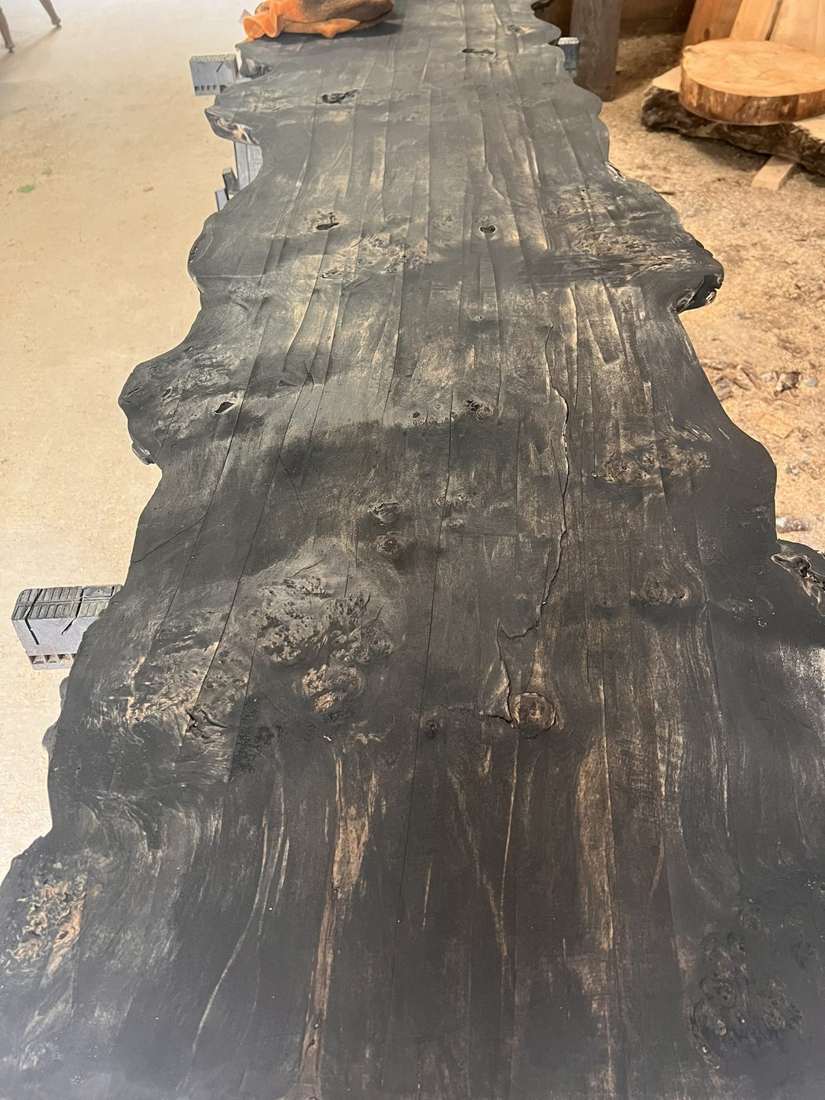
Finishing
Ebony live edge
Wide black-stained slab with dramatic organic edges.
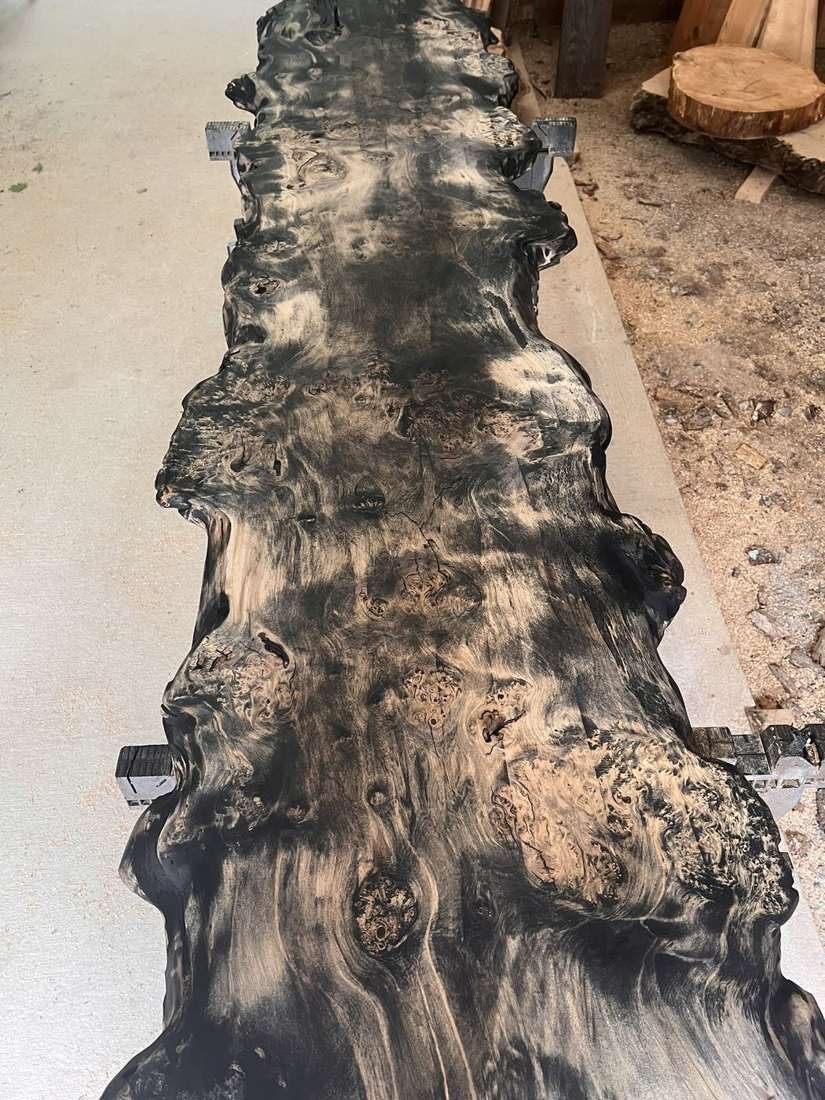
Finishing
Silhouette of the slab
The outline of a statement piece — curves that become the design.
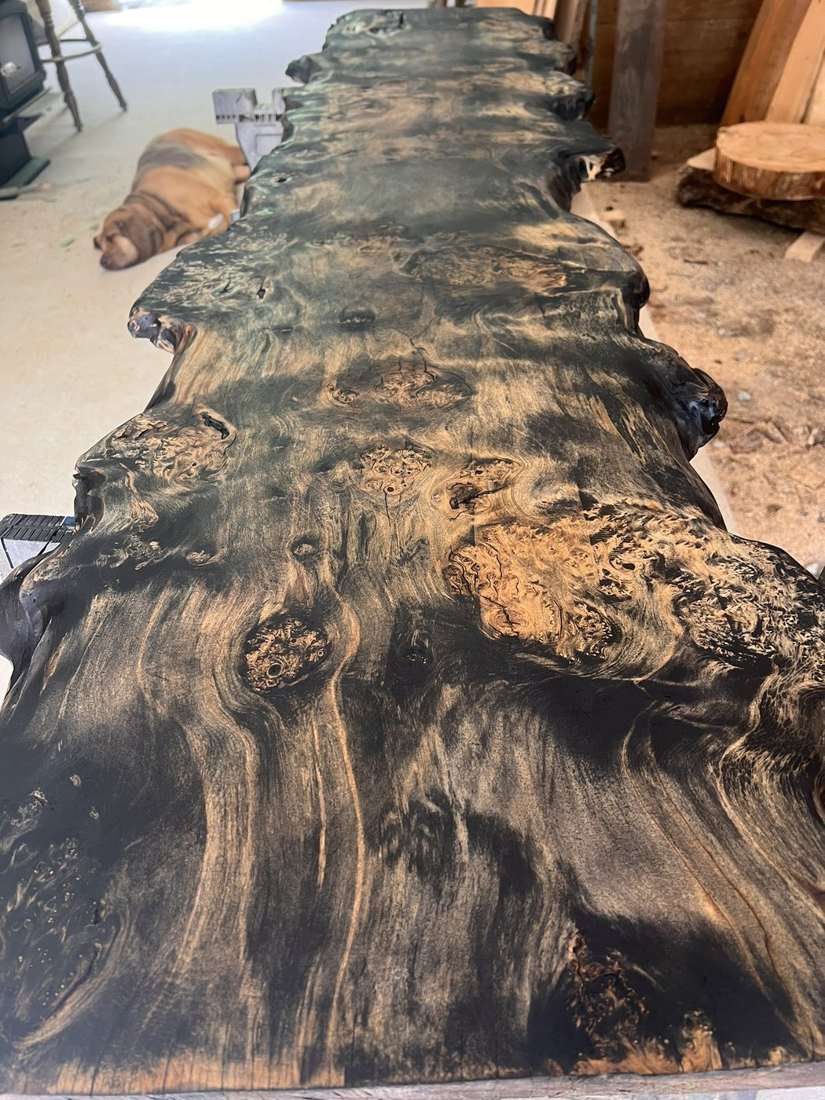
Finishing
Stain and figure
Dark finish that still lets the oak’s figure show through.
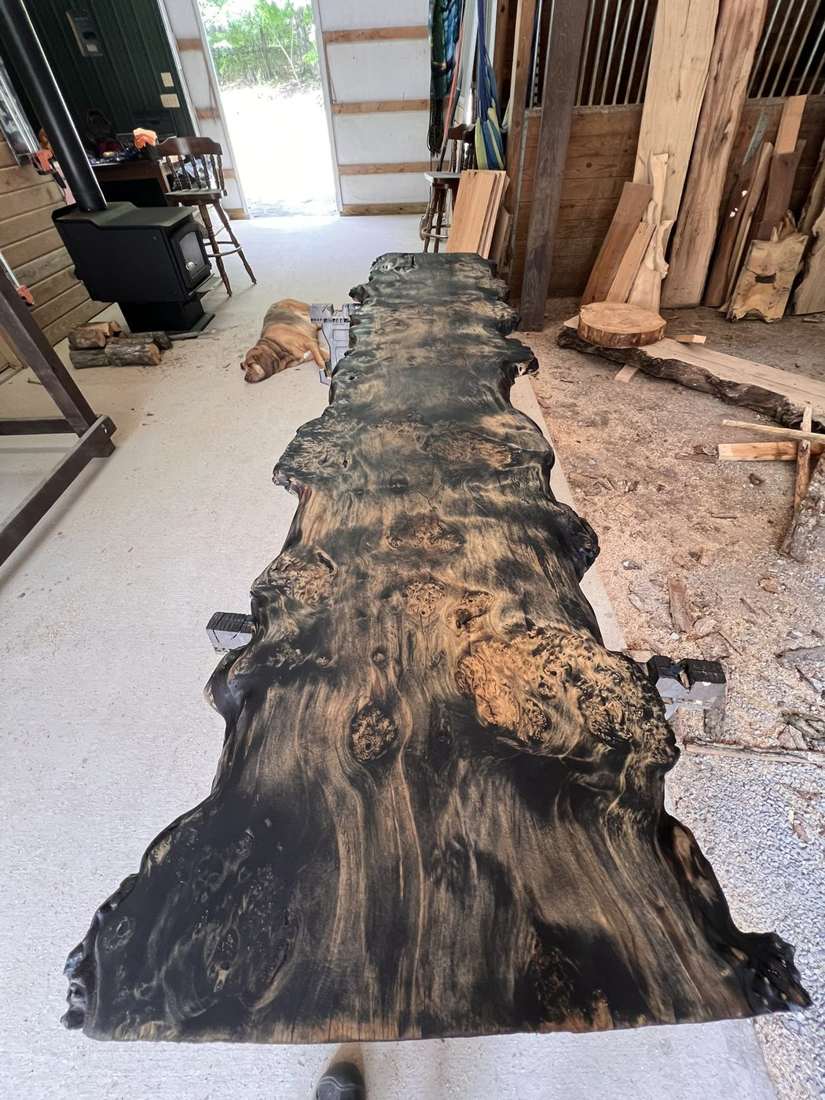
Finishing
End-to-end view
Looking down the length — scale and edge character together.
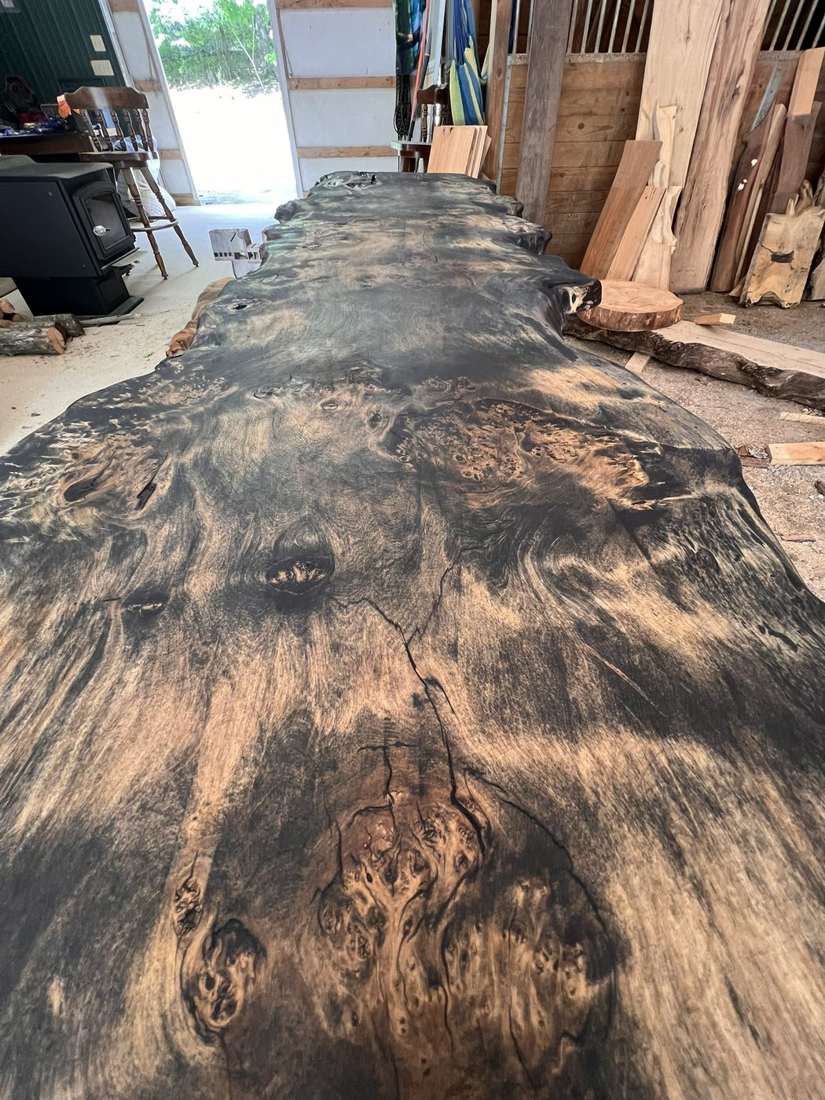
Finishing
In the shop
Statement slab in context — where we build and finish large pieces.
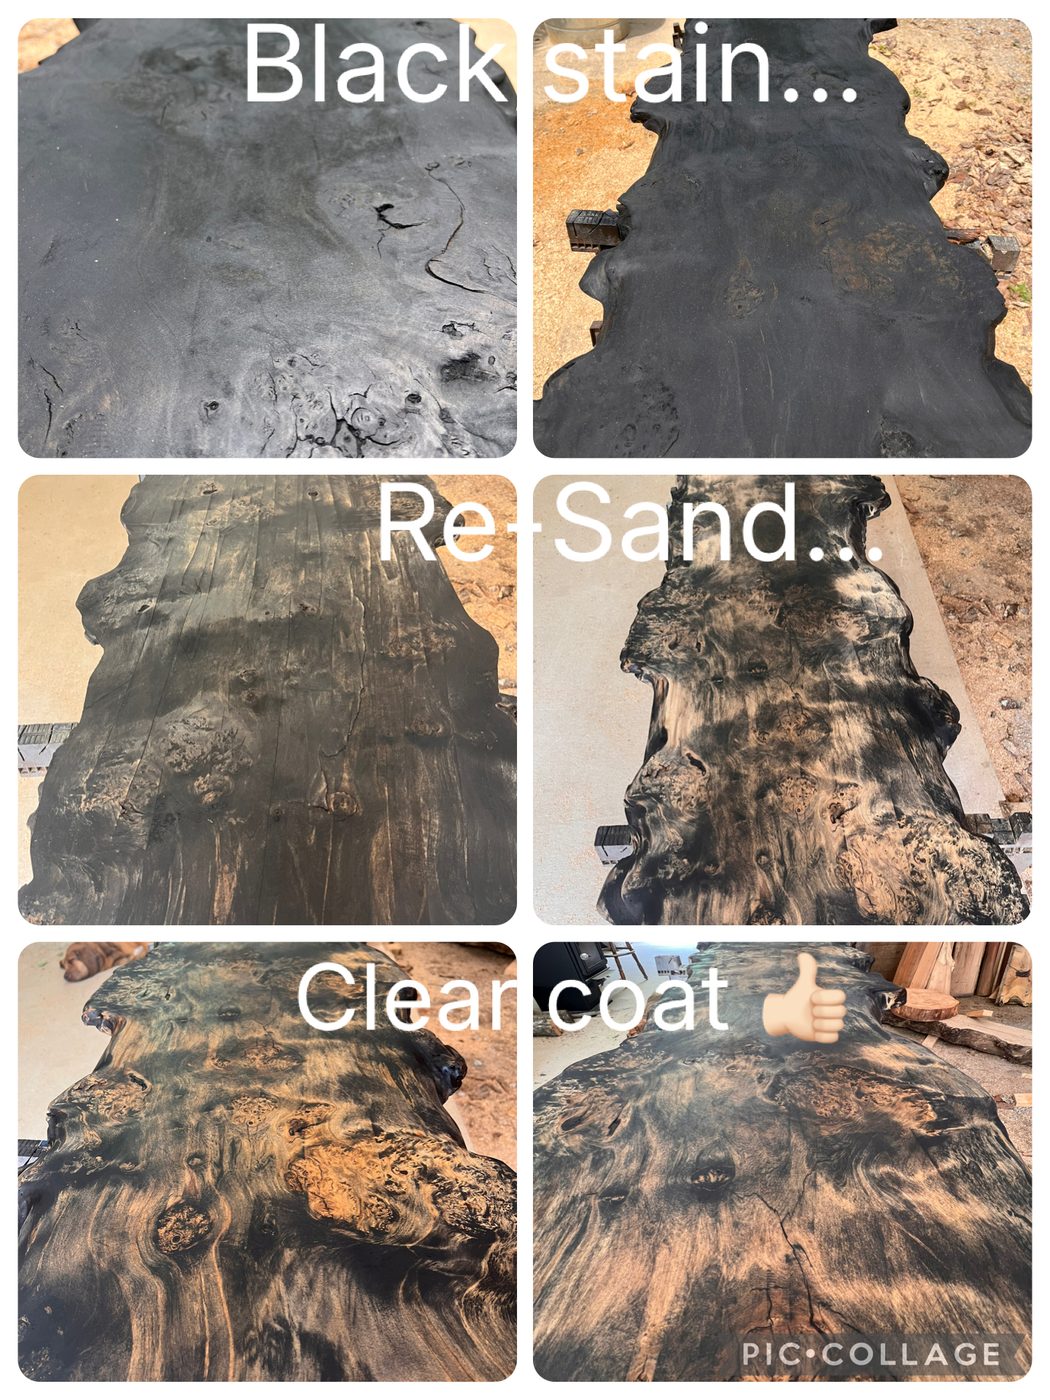
Process
Stain · sand · clear
Our finishing sequence: color, refine, then clear coat for durability.
Process
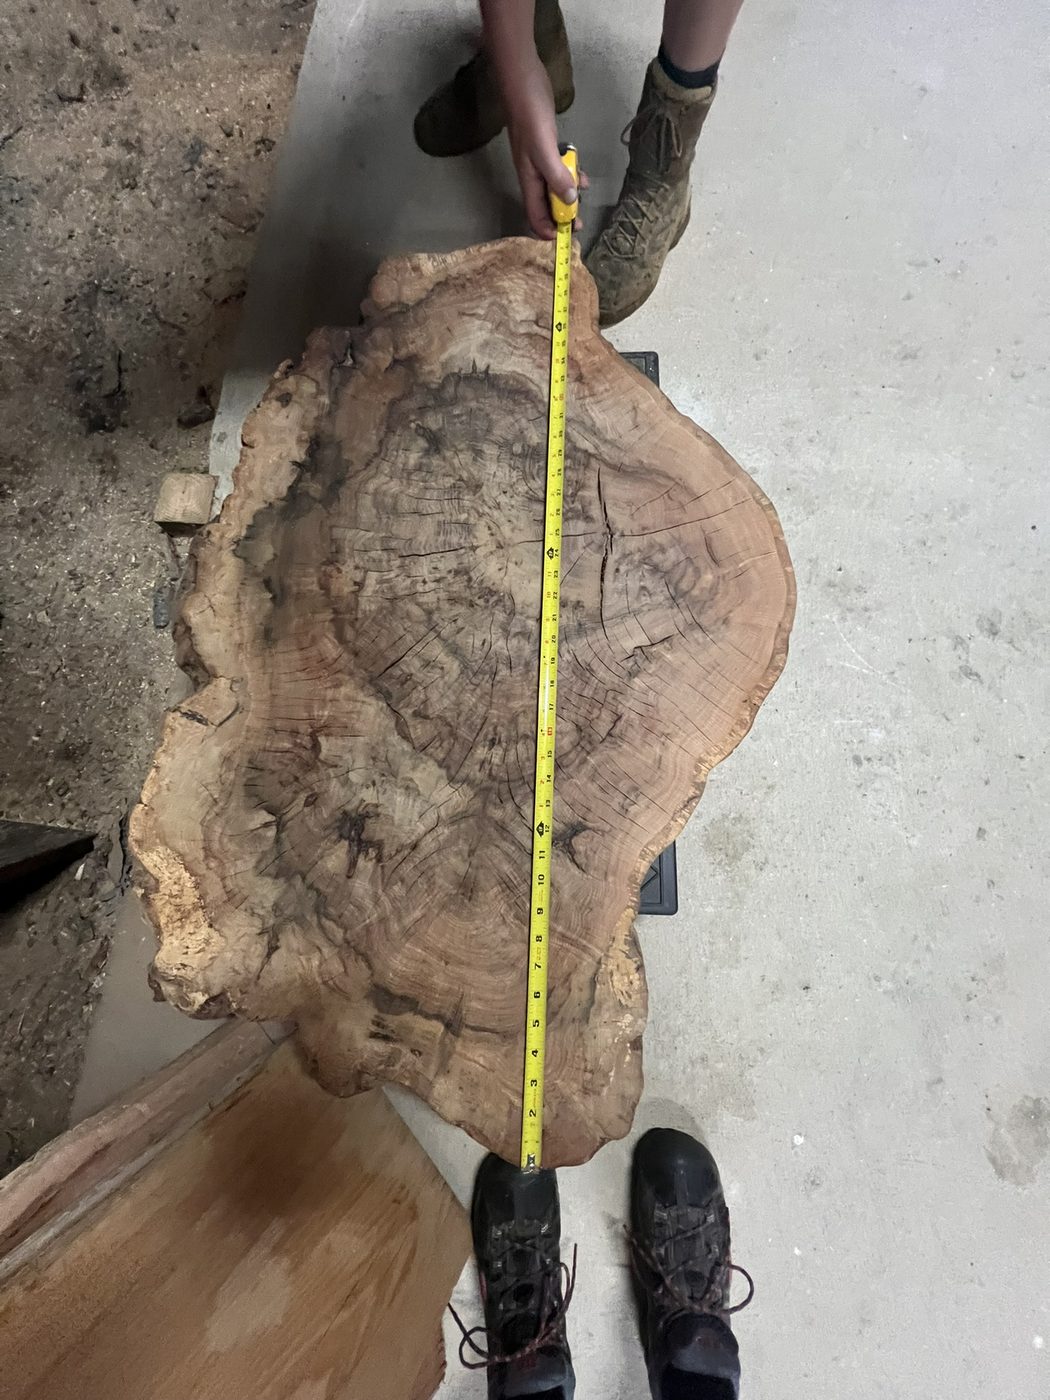
Measuring the blank
We measure every unique slab before cutting for a client fit.

Finished piece
Top grain close-up
Hand-finished face — warm tone and open grain under clear finish.
Finished piece
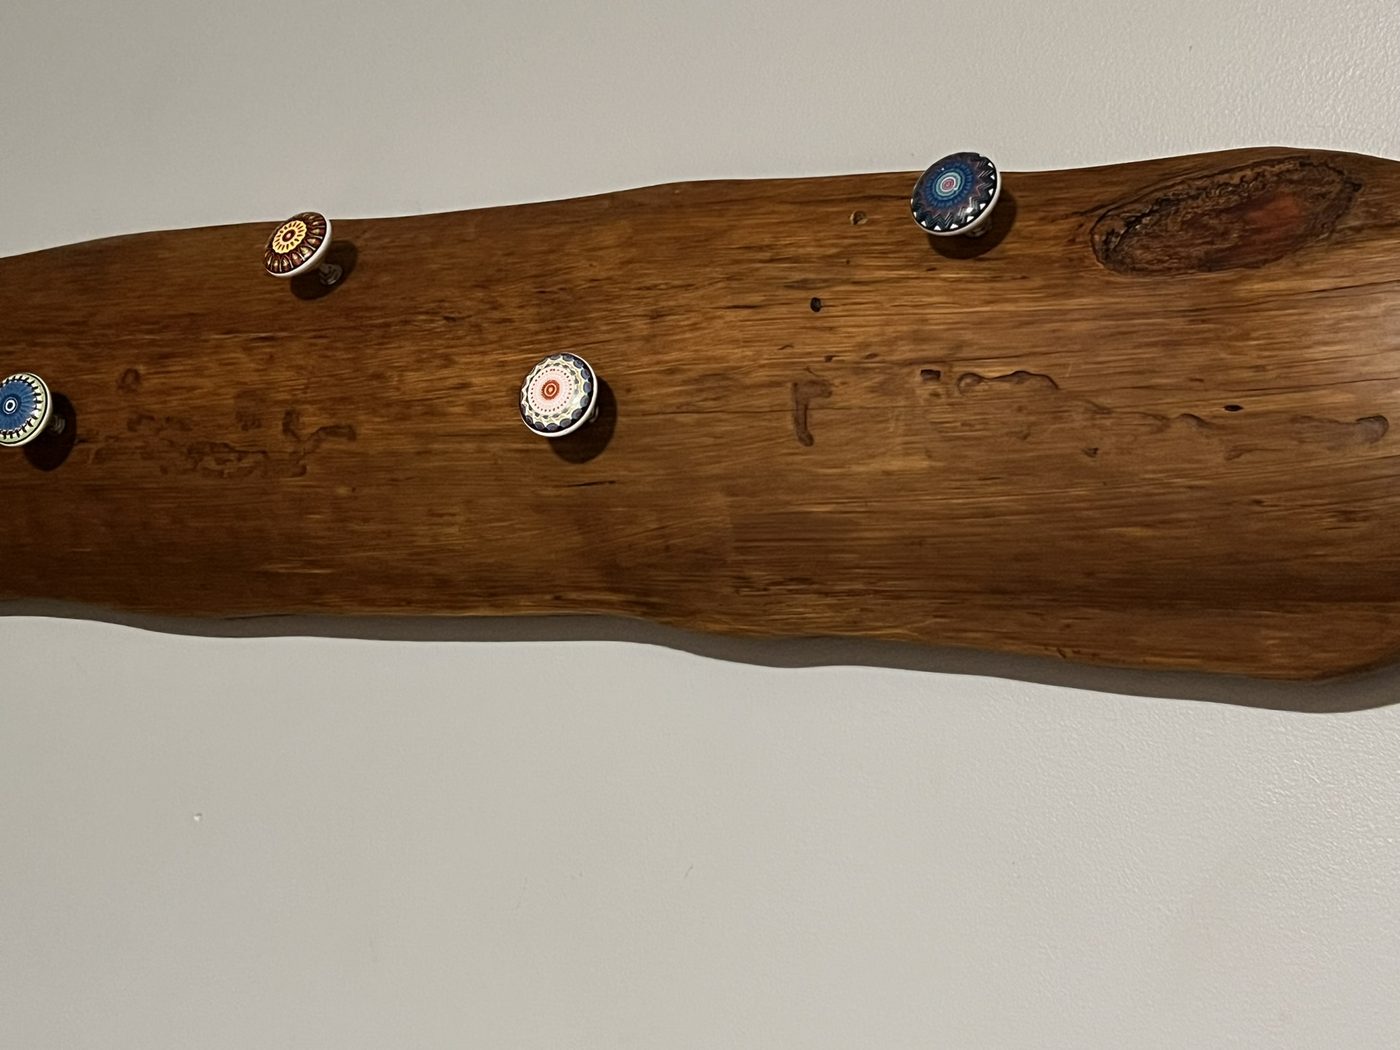
Wall rack
Live-edge oak wall piece with pegs — utility with natural edge.
Finished piece
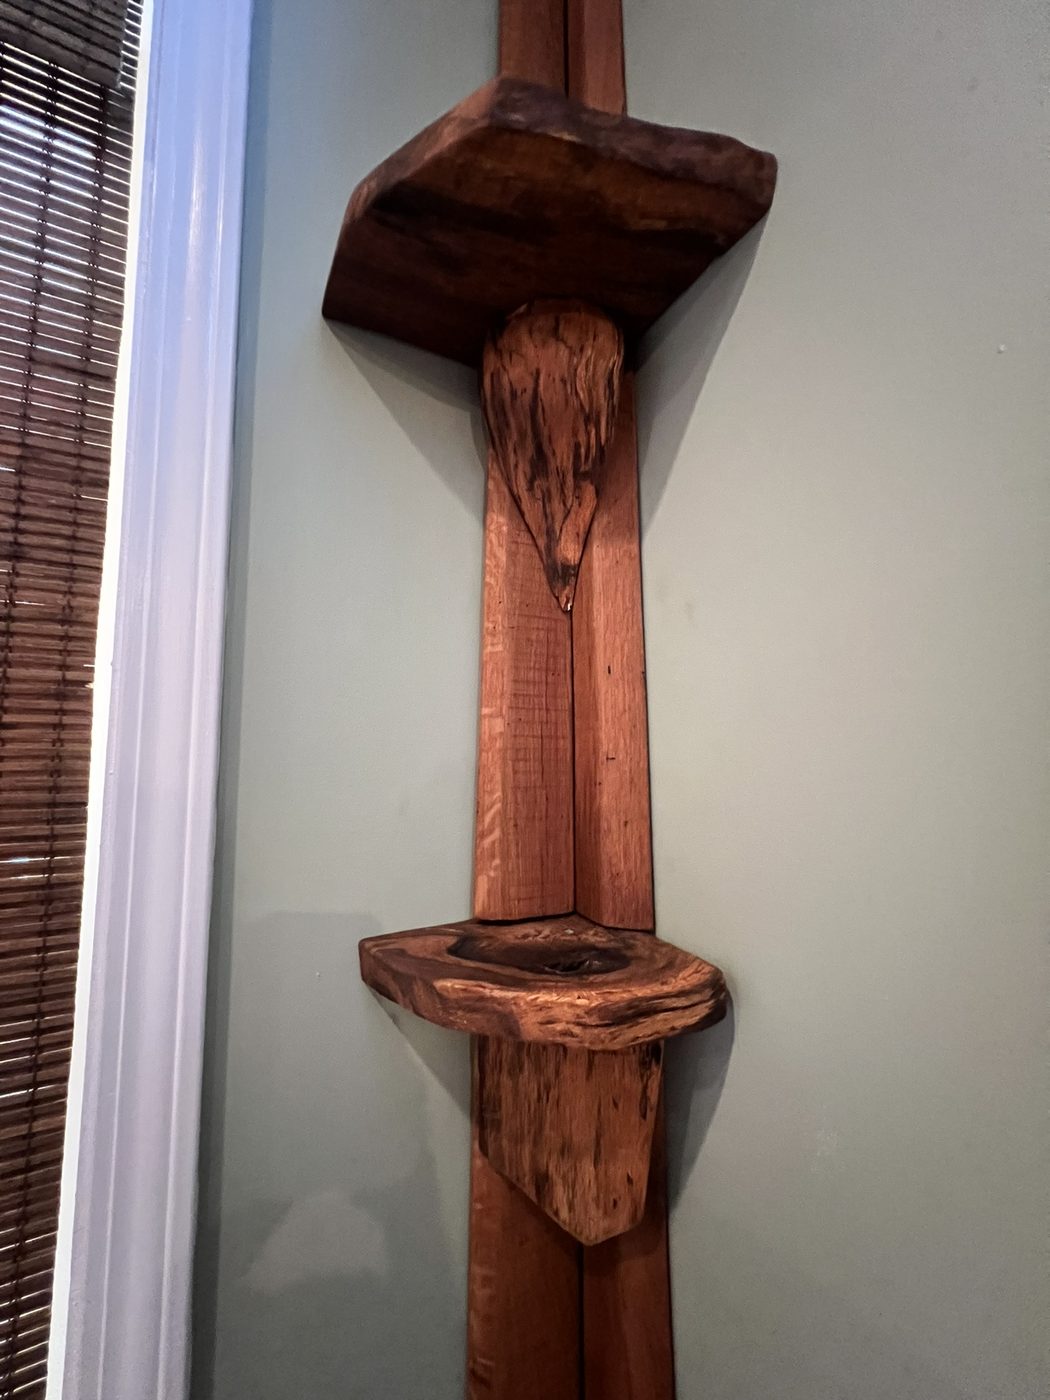
Corner shelving
Custom corner shelves from live-edge stock, installed and ready.
Finished piece
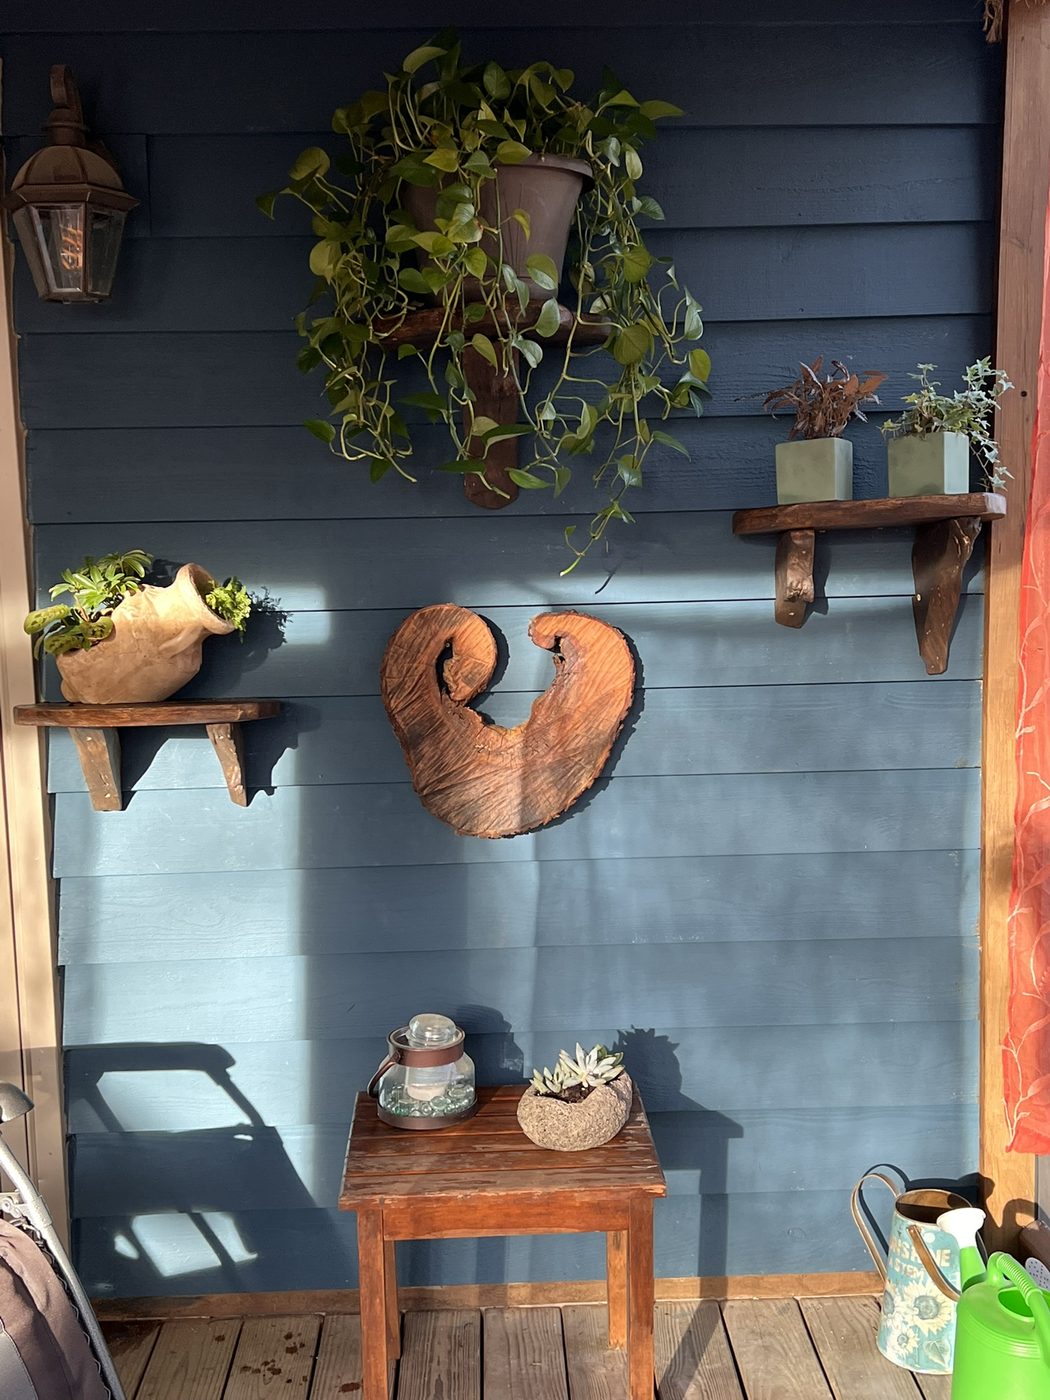
Burl wall art
Heart-shaped burl mounted as wall art — one-of-a-kind figure.
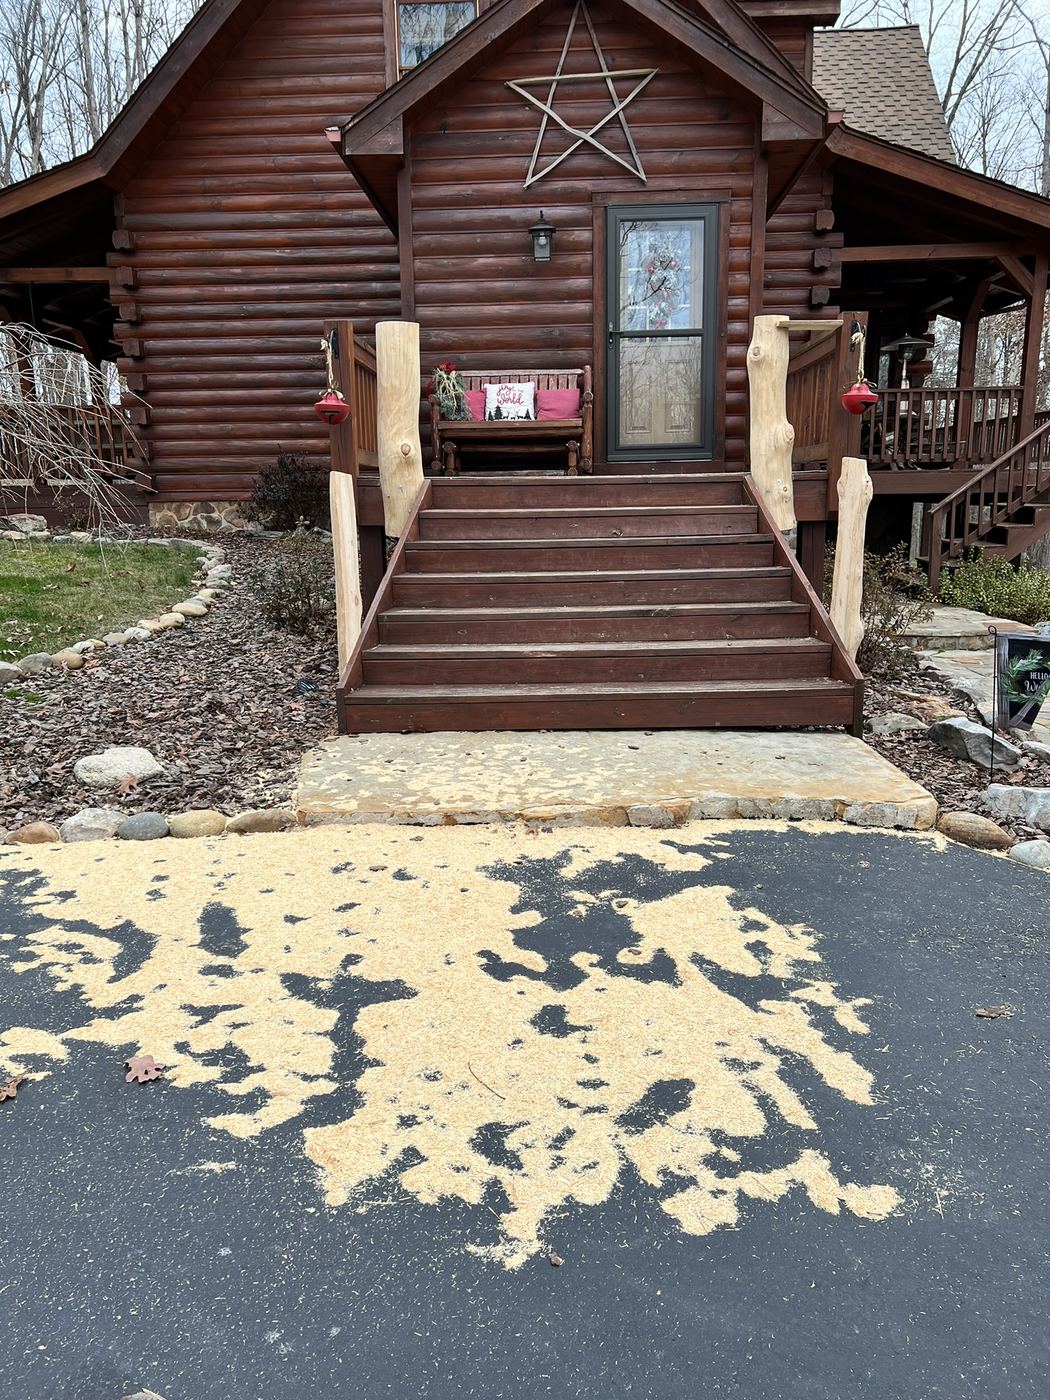
The yard
Cabin & mill yard
Our work sits next to the woods — mill dust and porch boards share the same ground.
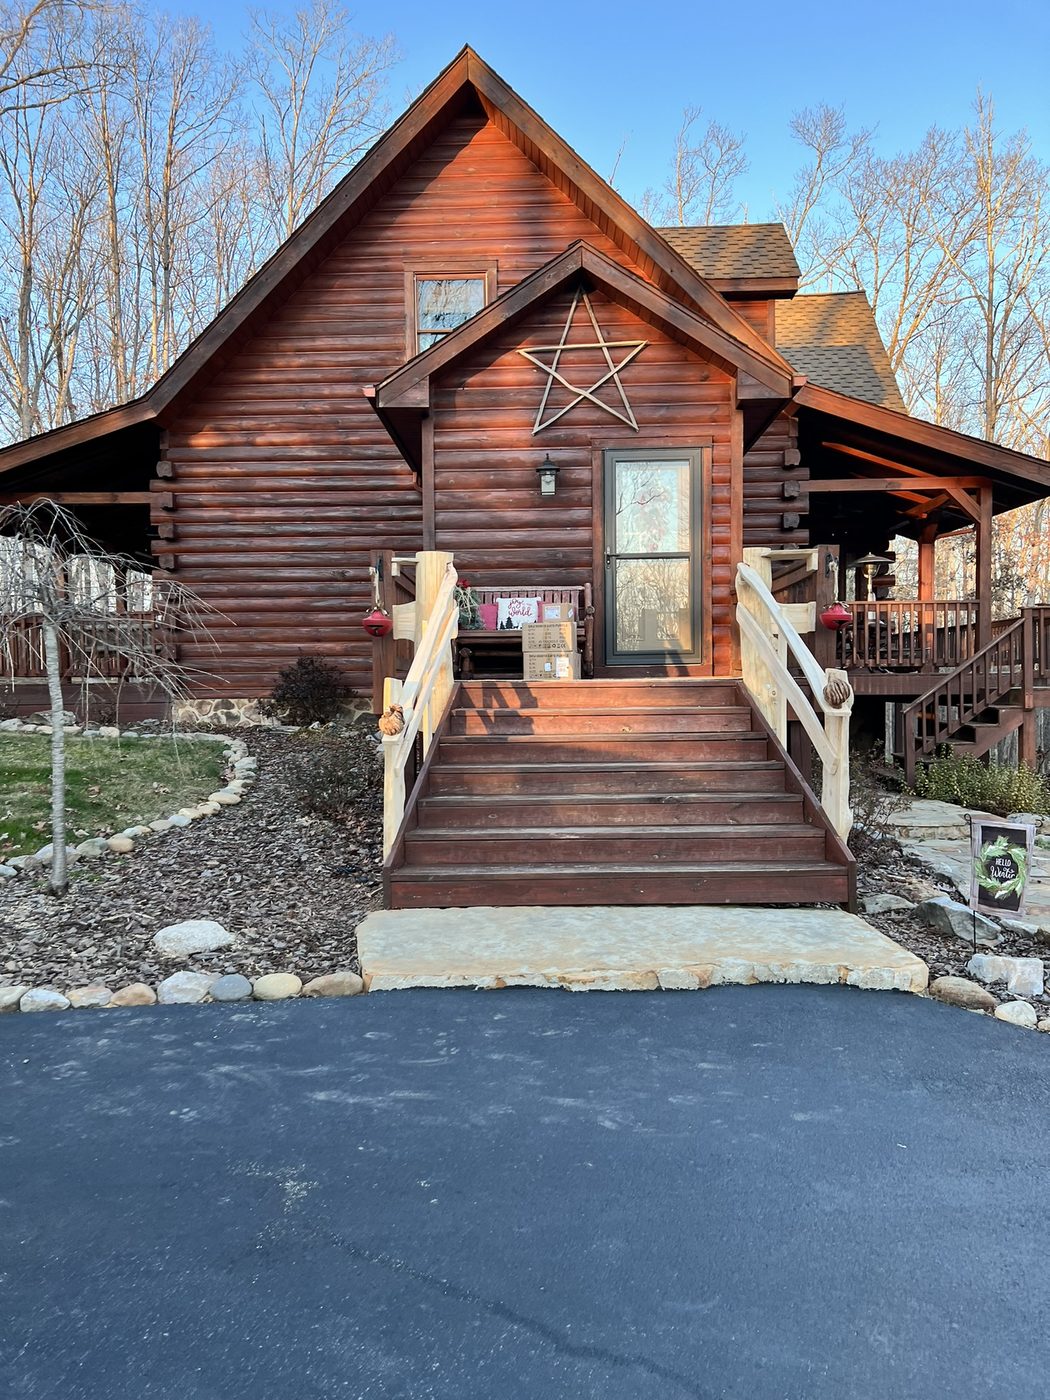
The yard
Shop cabin
Log cabin shop setting where slabs move from mill to finish.
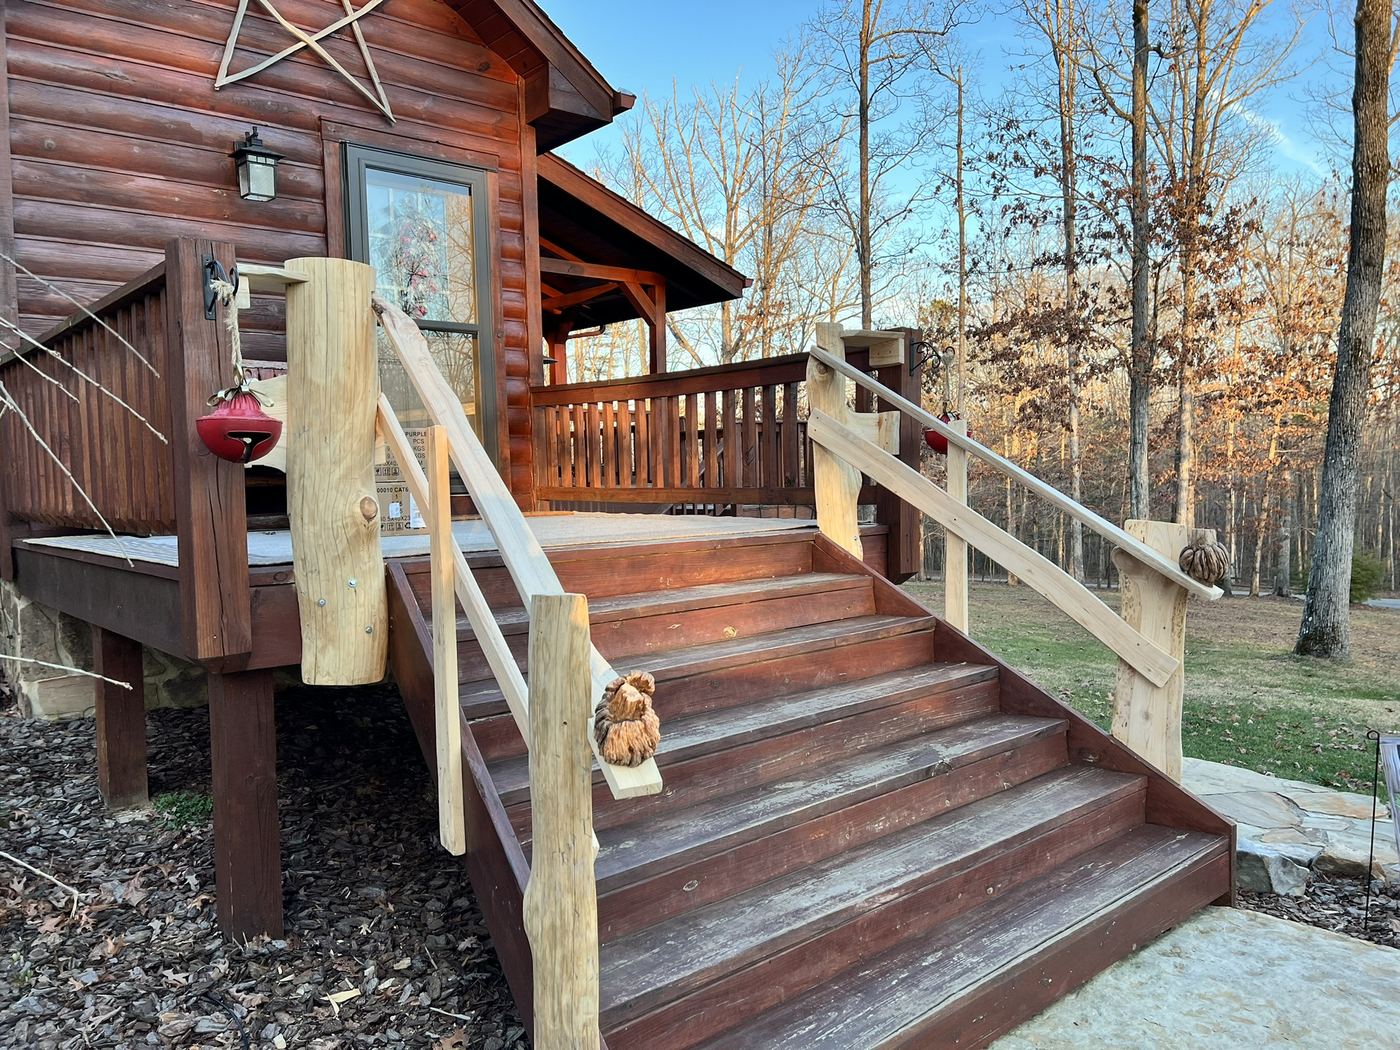
Custom build
Outdoor stair
Natural-log railing and live-edge stair work on a cabin porch.
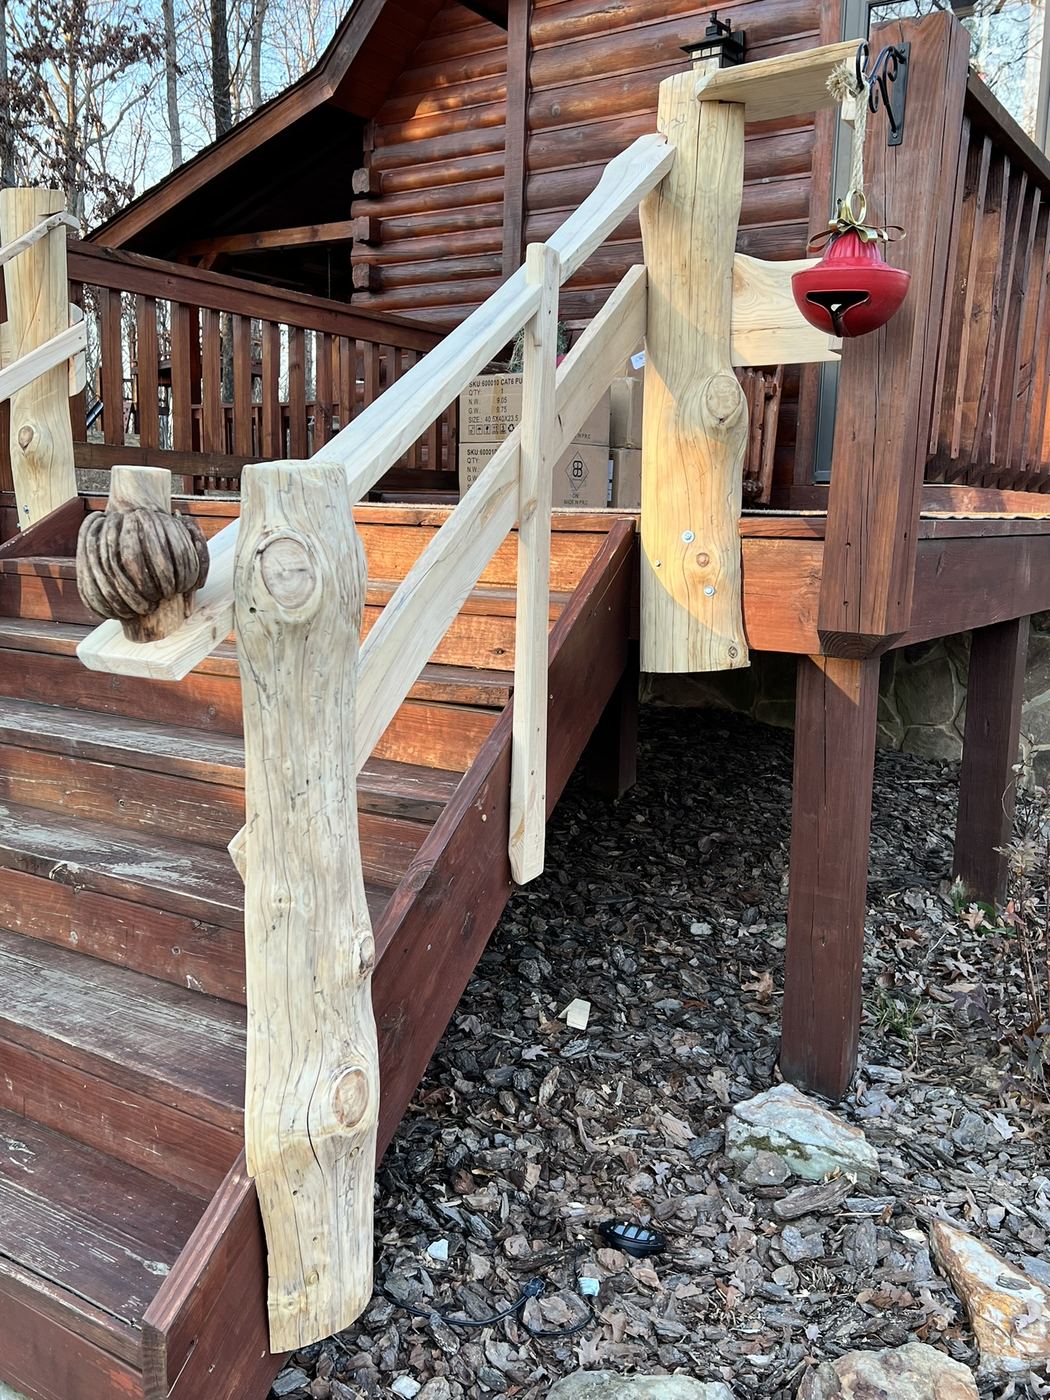
Custom build
Porch stairs
Full stair run — treads, posts, and railings shaped for the site.

Custom build
Finished stair run
Completed exterior stairs with wide treads and clean line.
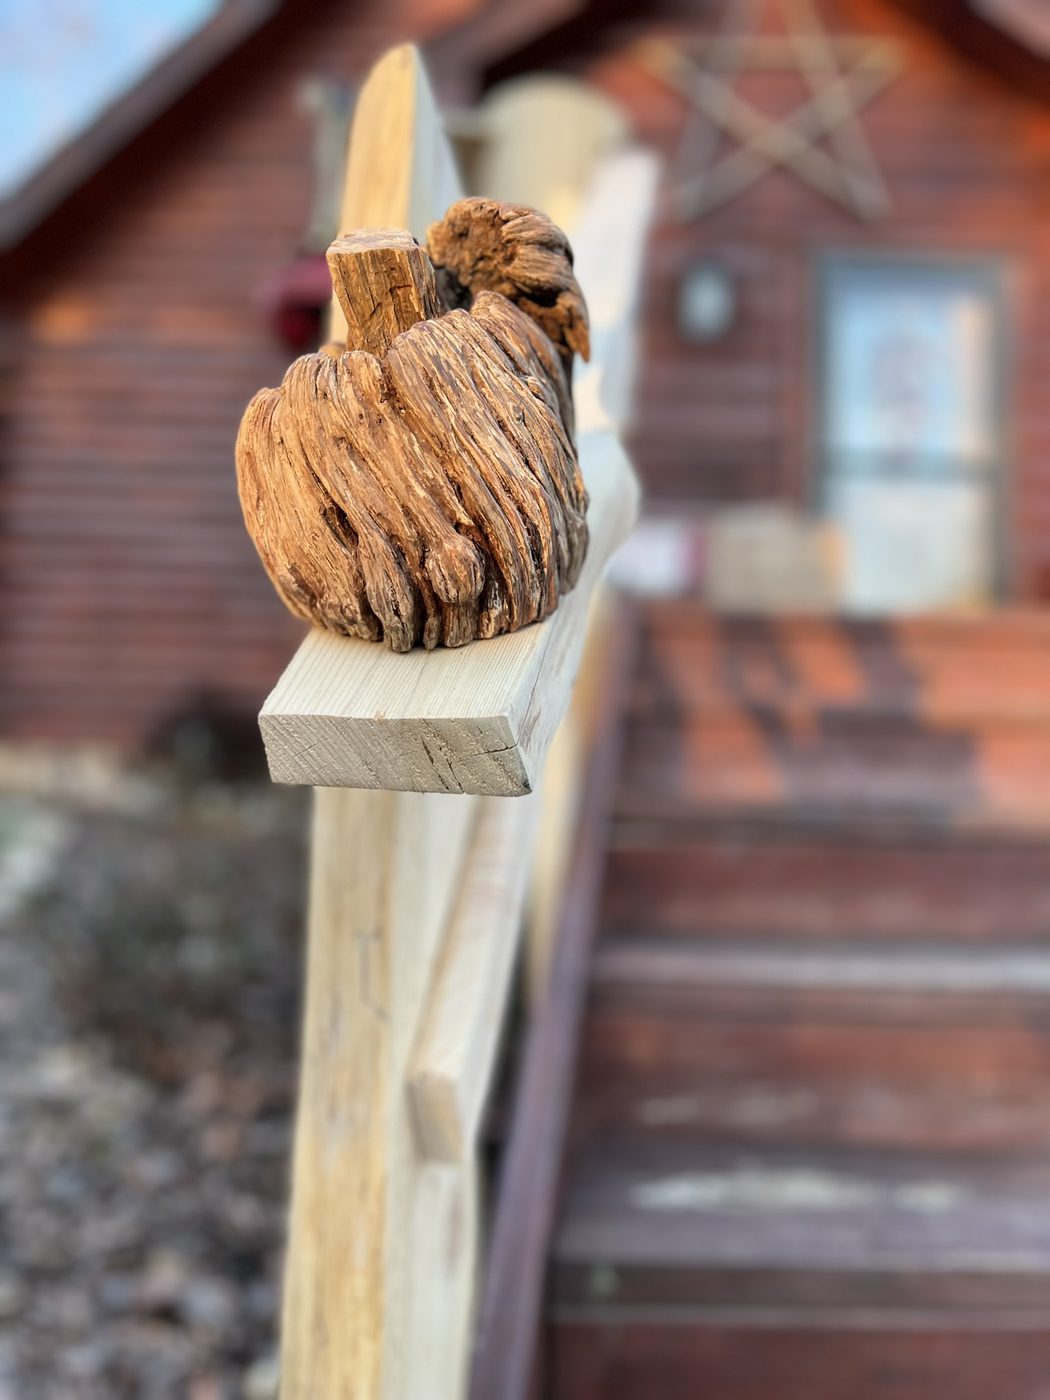
Detail
Carved post top
Hand-carved accent on a natural-log railing post.
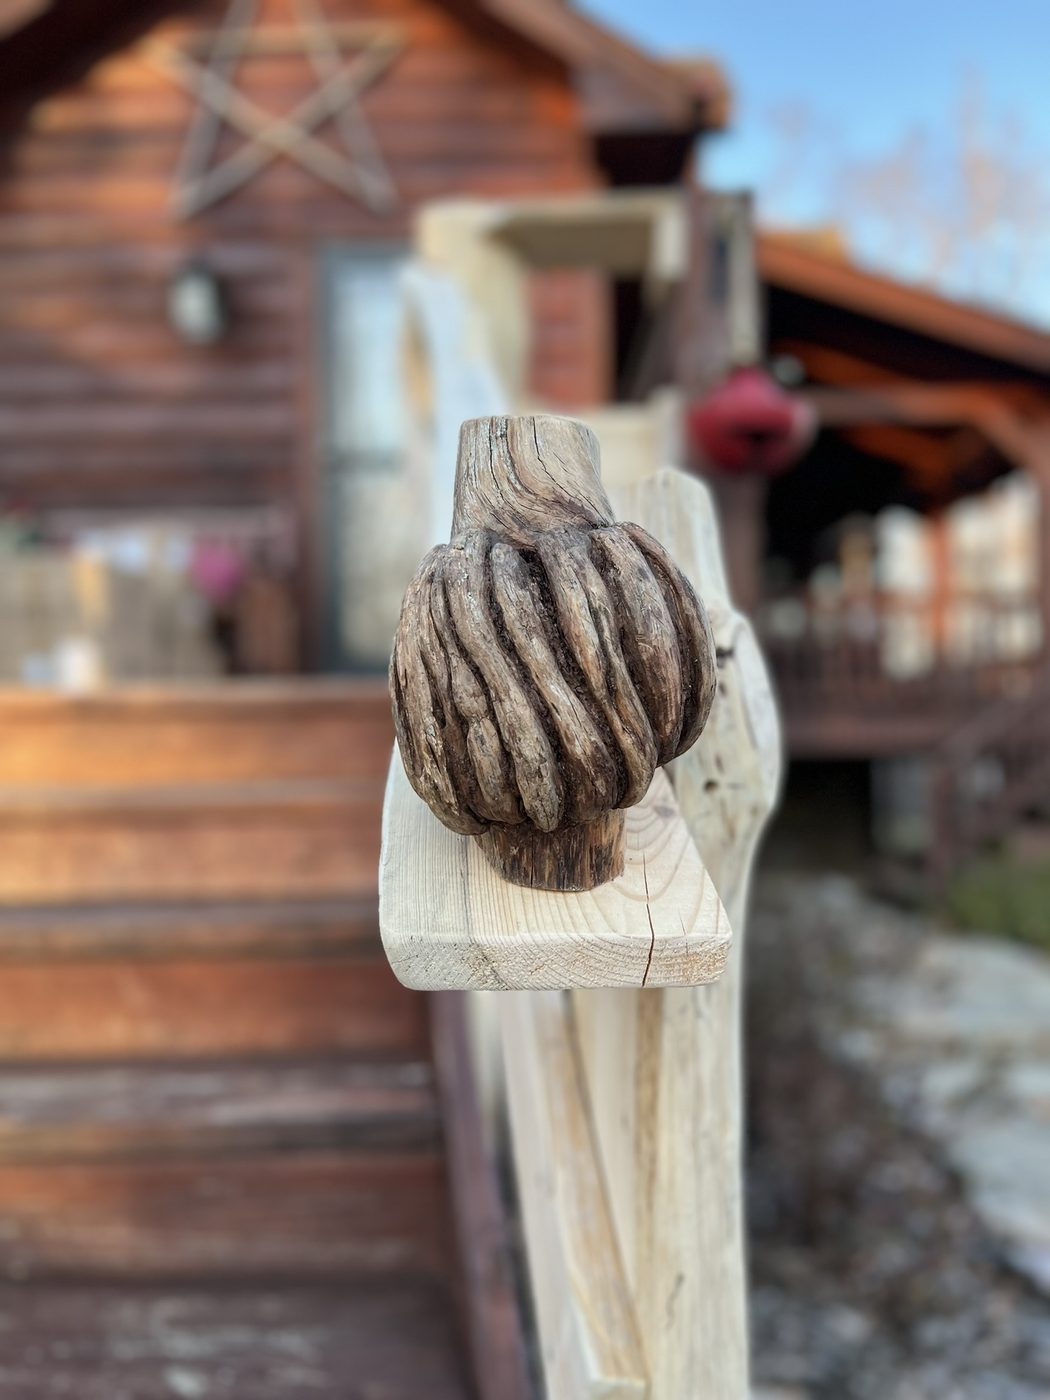
Detail
Burl post finial
Burl and knot detail crowning a porch post.
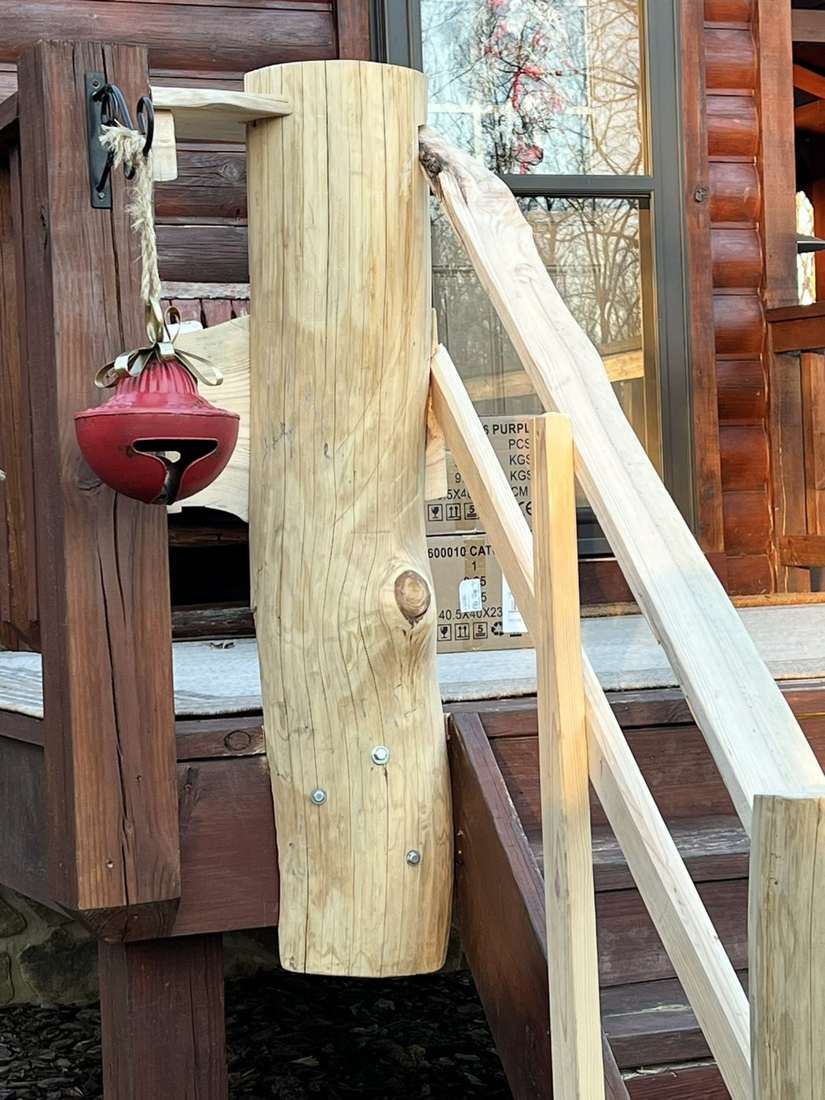
Detail
Railing post
Natural-log post with hardware and character left in place.

Custom build
Stair framing
On-site stair framing against the house — structure before finish.
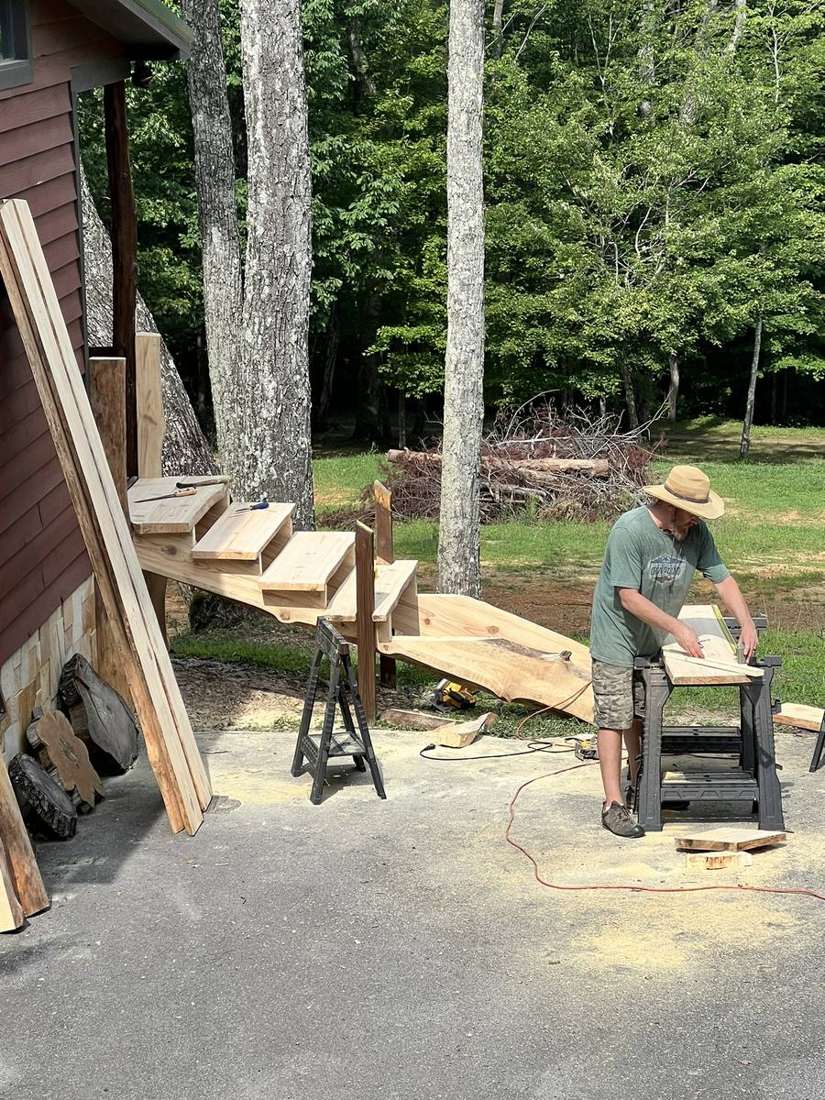
In the yard
Shaping stock
Outdoor shaping with lumber stacks behind — yard as workshop.
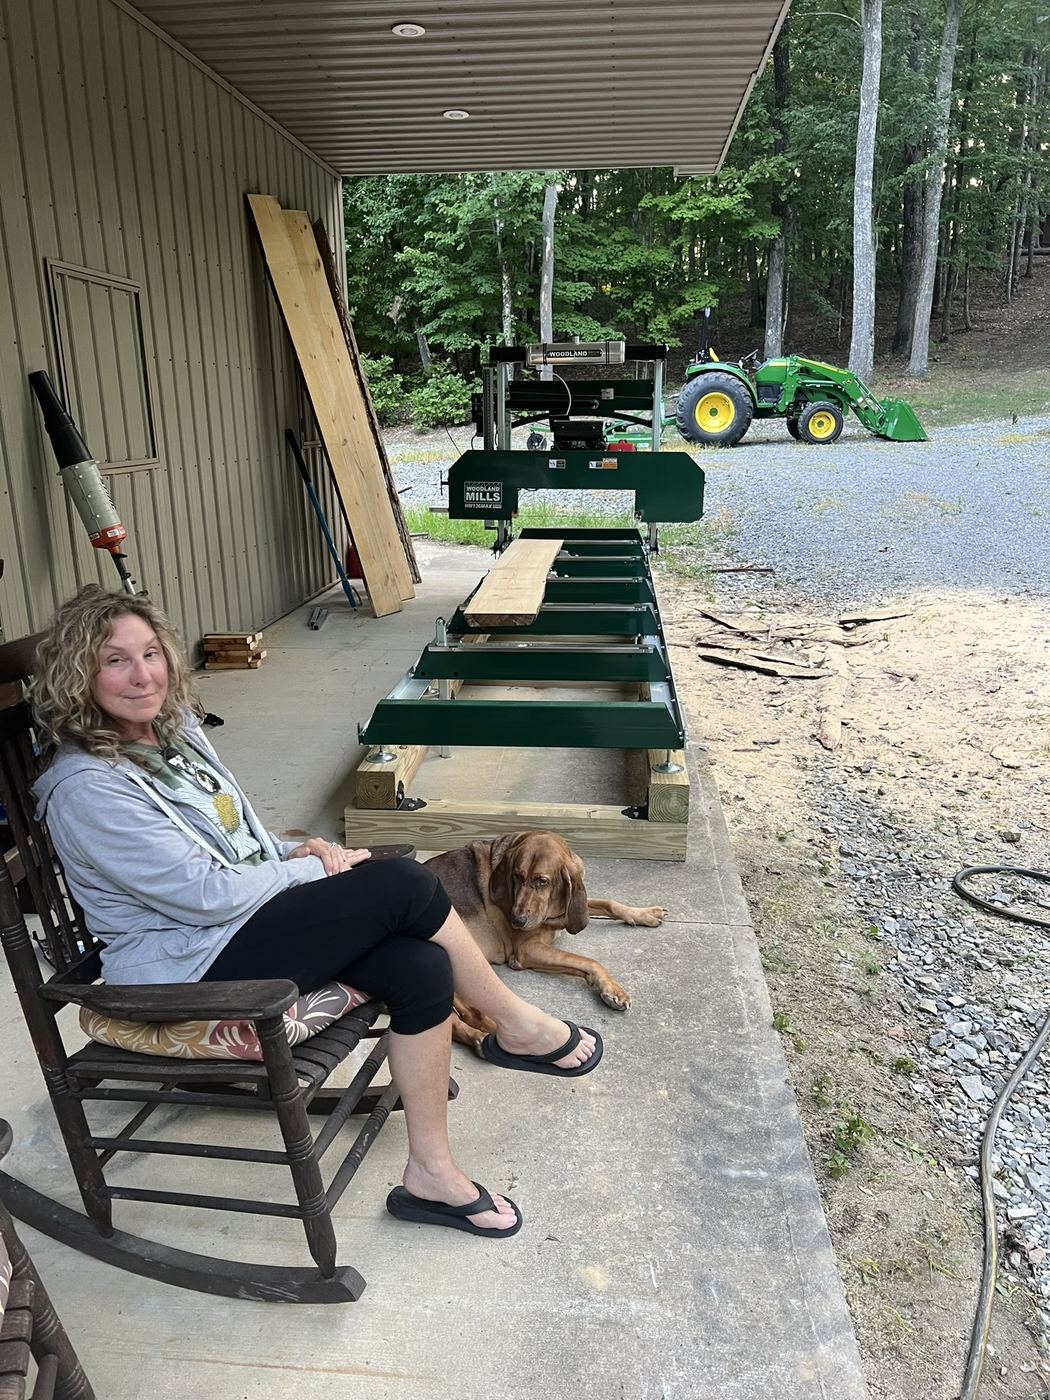
The yard
Porch & mill view
Porch seat with mill work in the background — life at the yard.
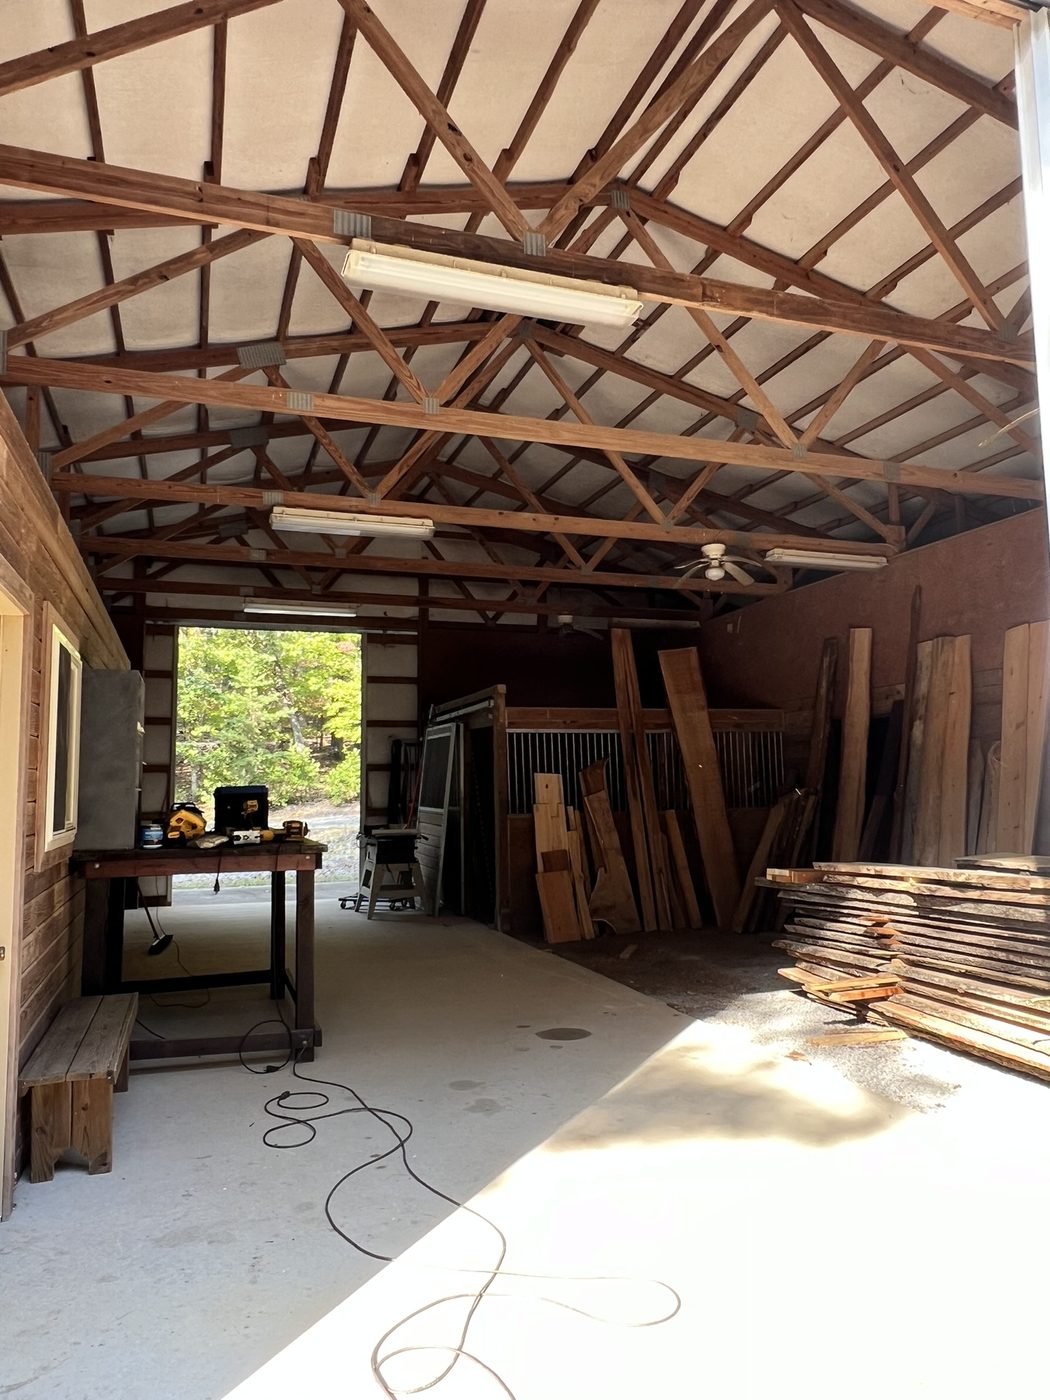
Shop
Inside the shop
High-bay shop with stacks, tools, and room for long slabs.
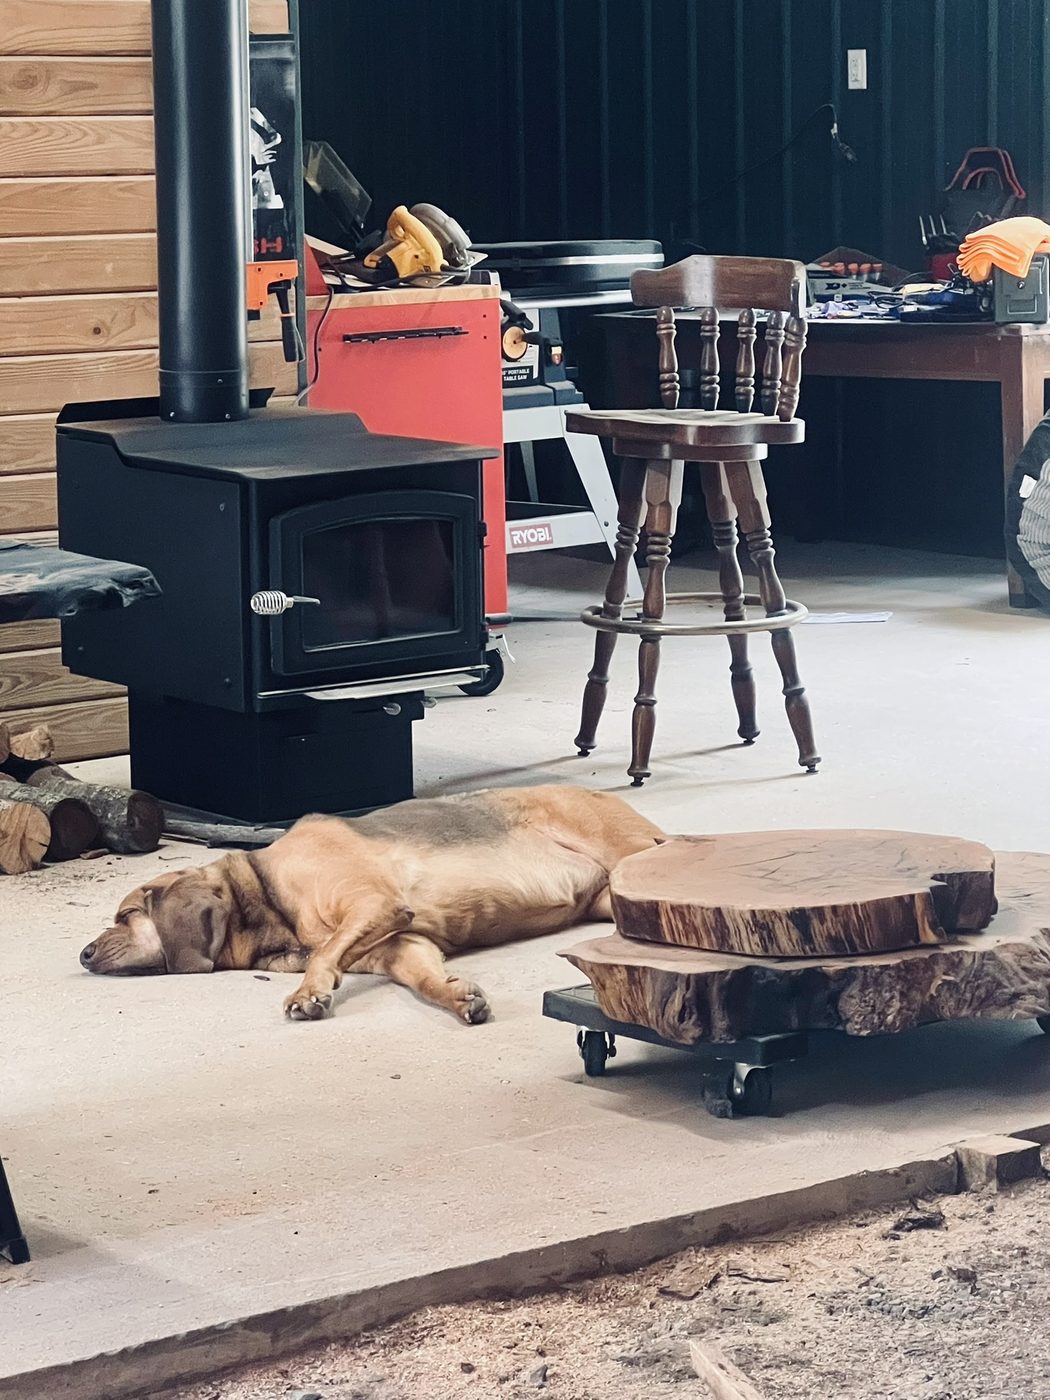
Shop
Workshop quiet
Shop floor, stove, and a finished round — the space between builds.

Detail
Textured burl
Highly figured burl in hand — the kind of feature we build around.
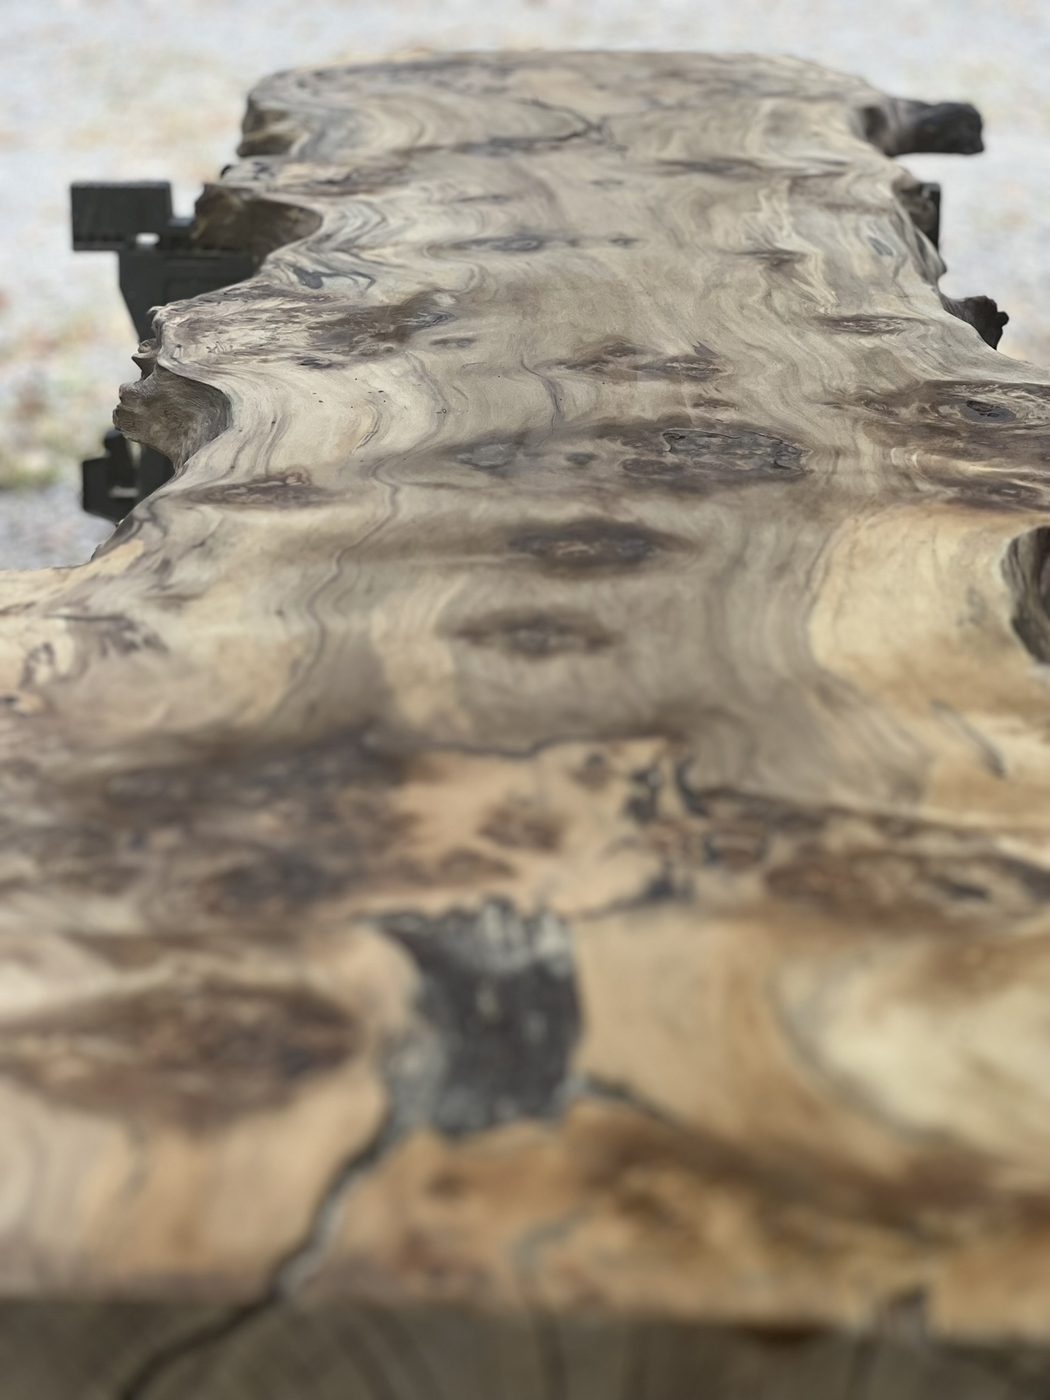
Detail
Knot & figure
Top-down grain, knots, and color shifts across the face.
Detail
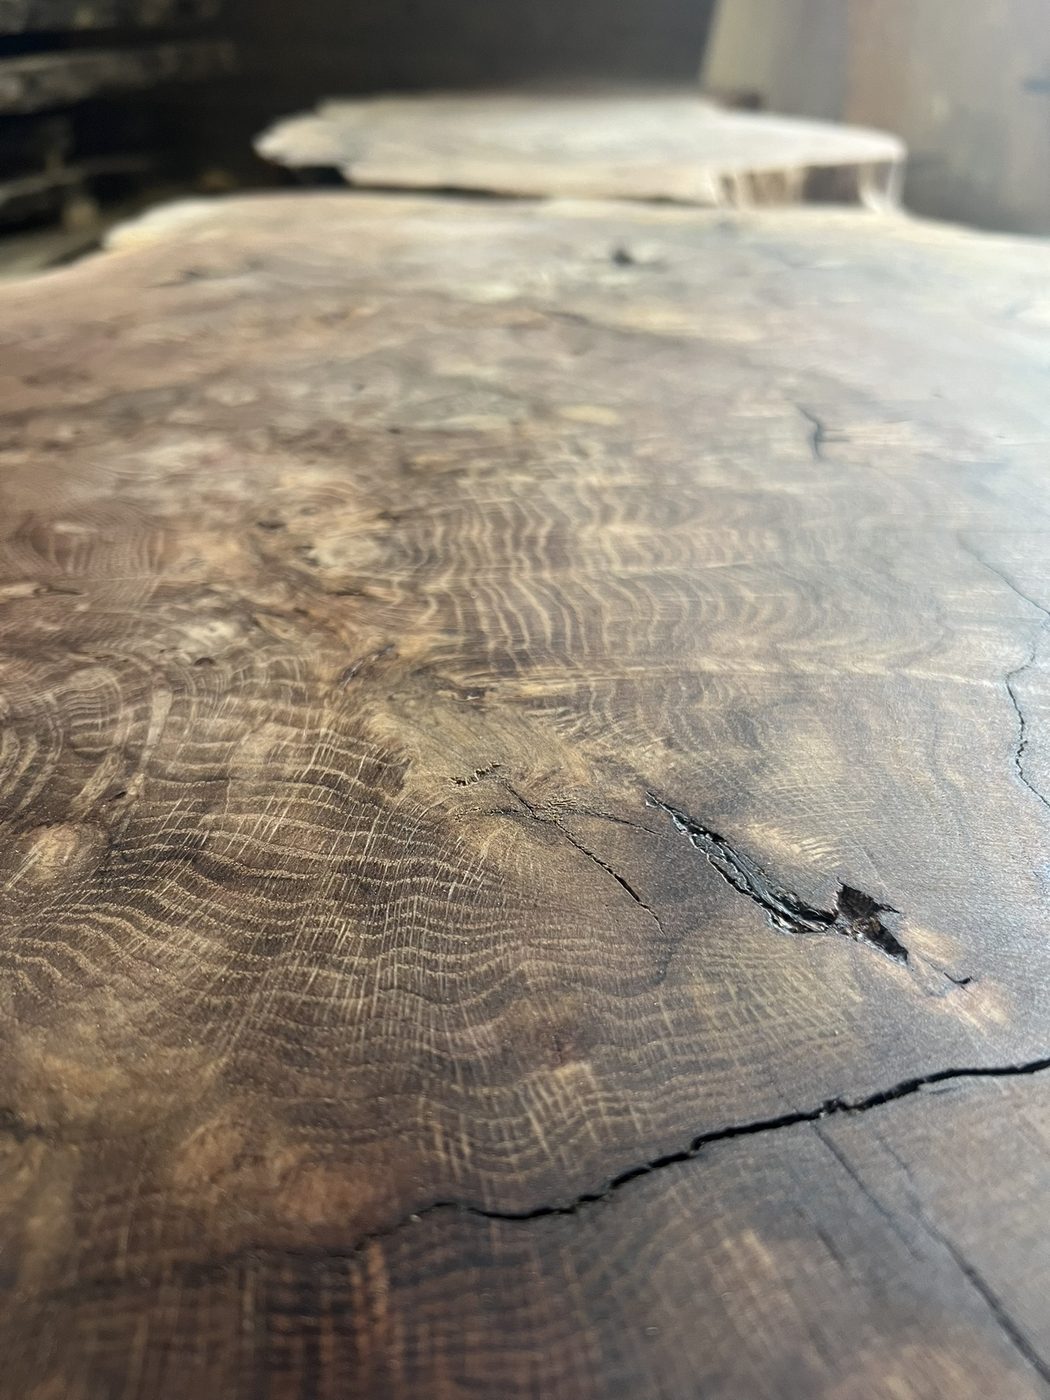
Oak texture
Tight oak texture and natural checking up close.
Detail
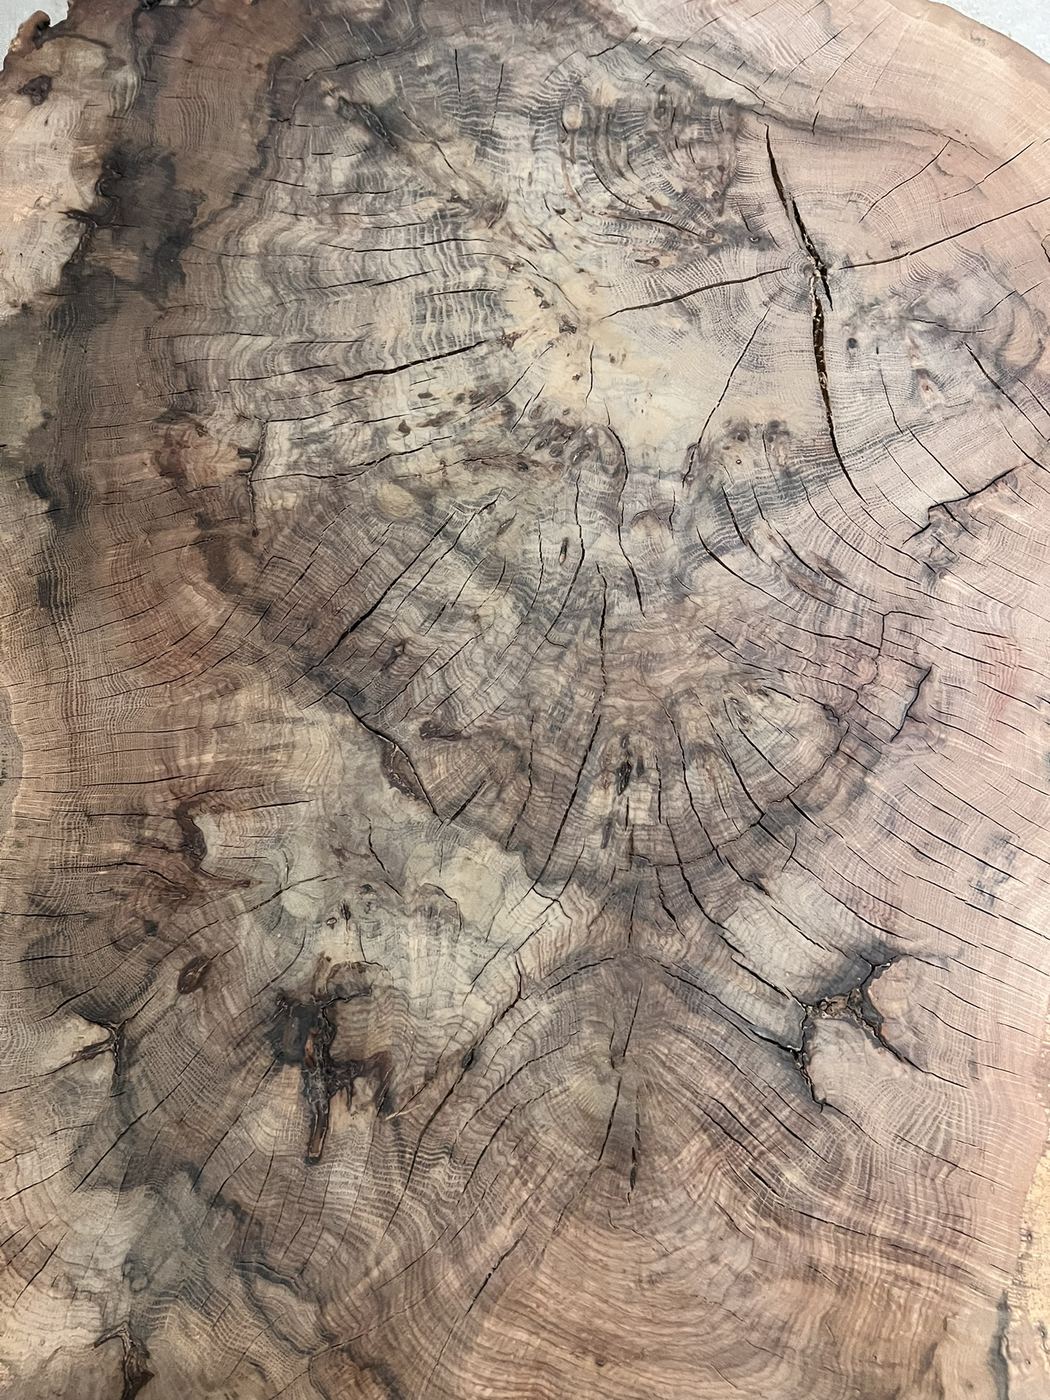
Spalted pattern
Decorative grain and contrast — nature’s drawing on the wood.
Sourcing
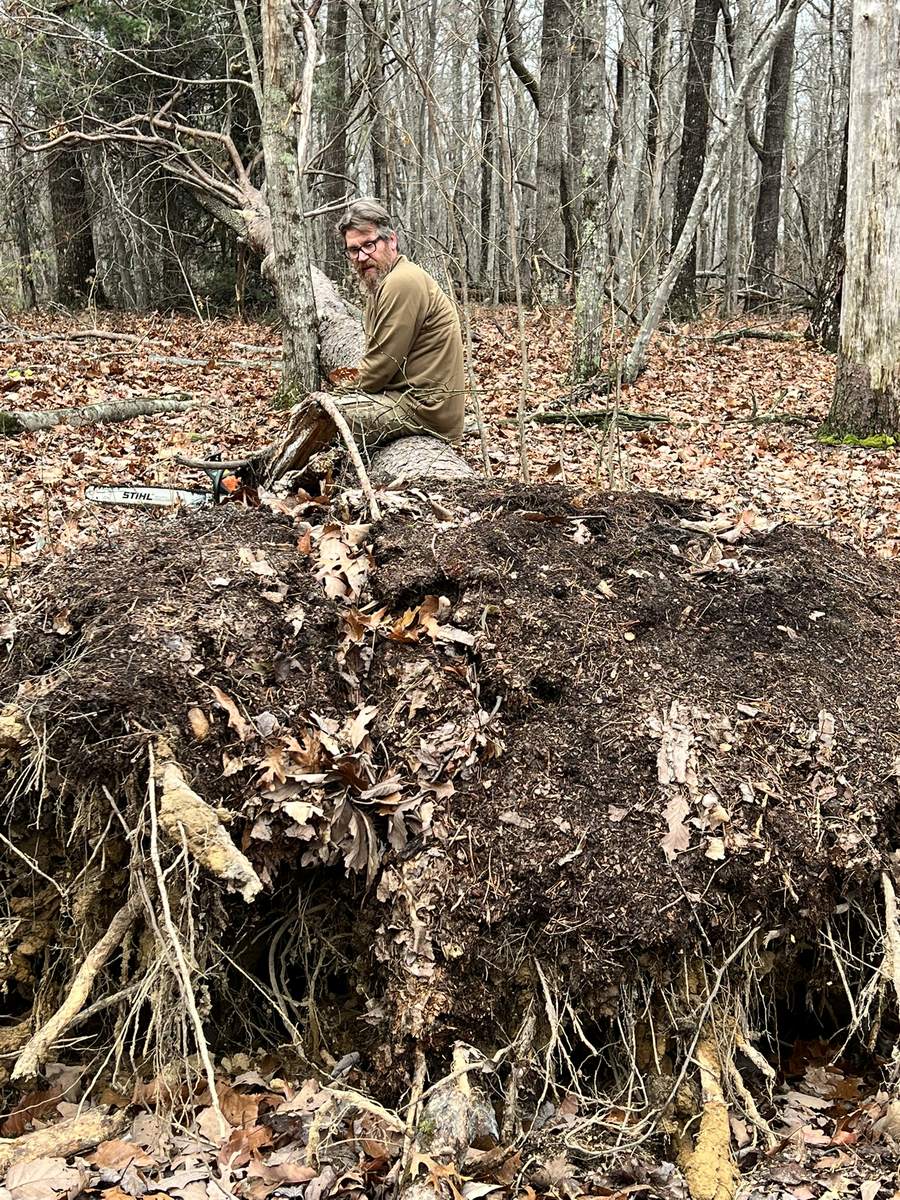
Root & character
Sourcing dramatic root and trunk character for one-off pieces.
Custom build
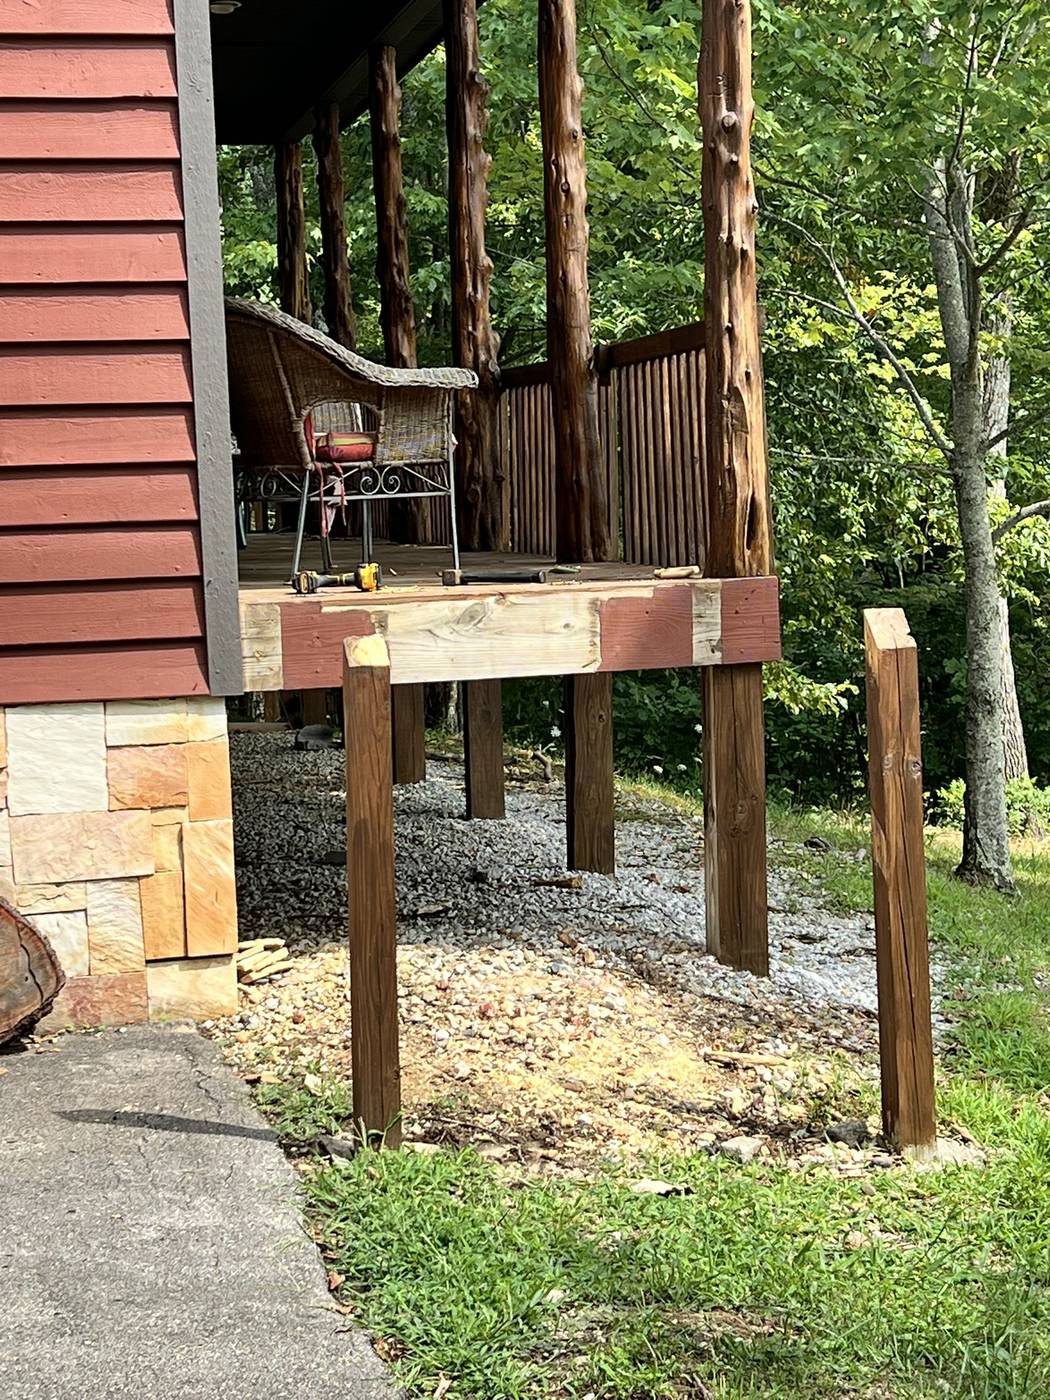
Stair foundation
Posts and understructure — the bones under a custom stair.